ROI Settings (2D)
The ROI defines the image area to be processed by the 2D Step. It currently includes rectangular, circular, polygonal, oblong hole, and sector ring. Setting an ROI restricts the algorithm to process only image data within the specified region, reducing interference from irrelevant areas and improving the stability of detection, matching, fitting, and statistical analysis.
| The types and number of ROIs available in different Steps may vary, depending on the actual interface. |
You can set the ROI in the following ways:
Draw and Adjust ROI in 2D Data View Window
After switching to the 2D data view in the data visualization window, you can directly draw and adjust the ROI to quickly set the position, size, and shape of the ROI.
Draw ROI
The steps to draw an ROI are as follows:
-
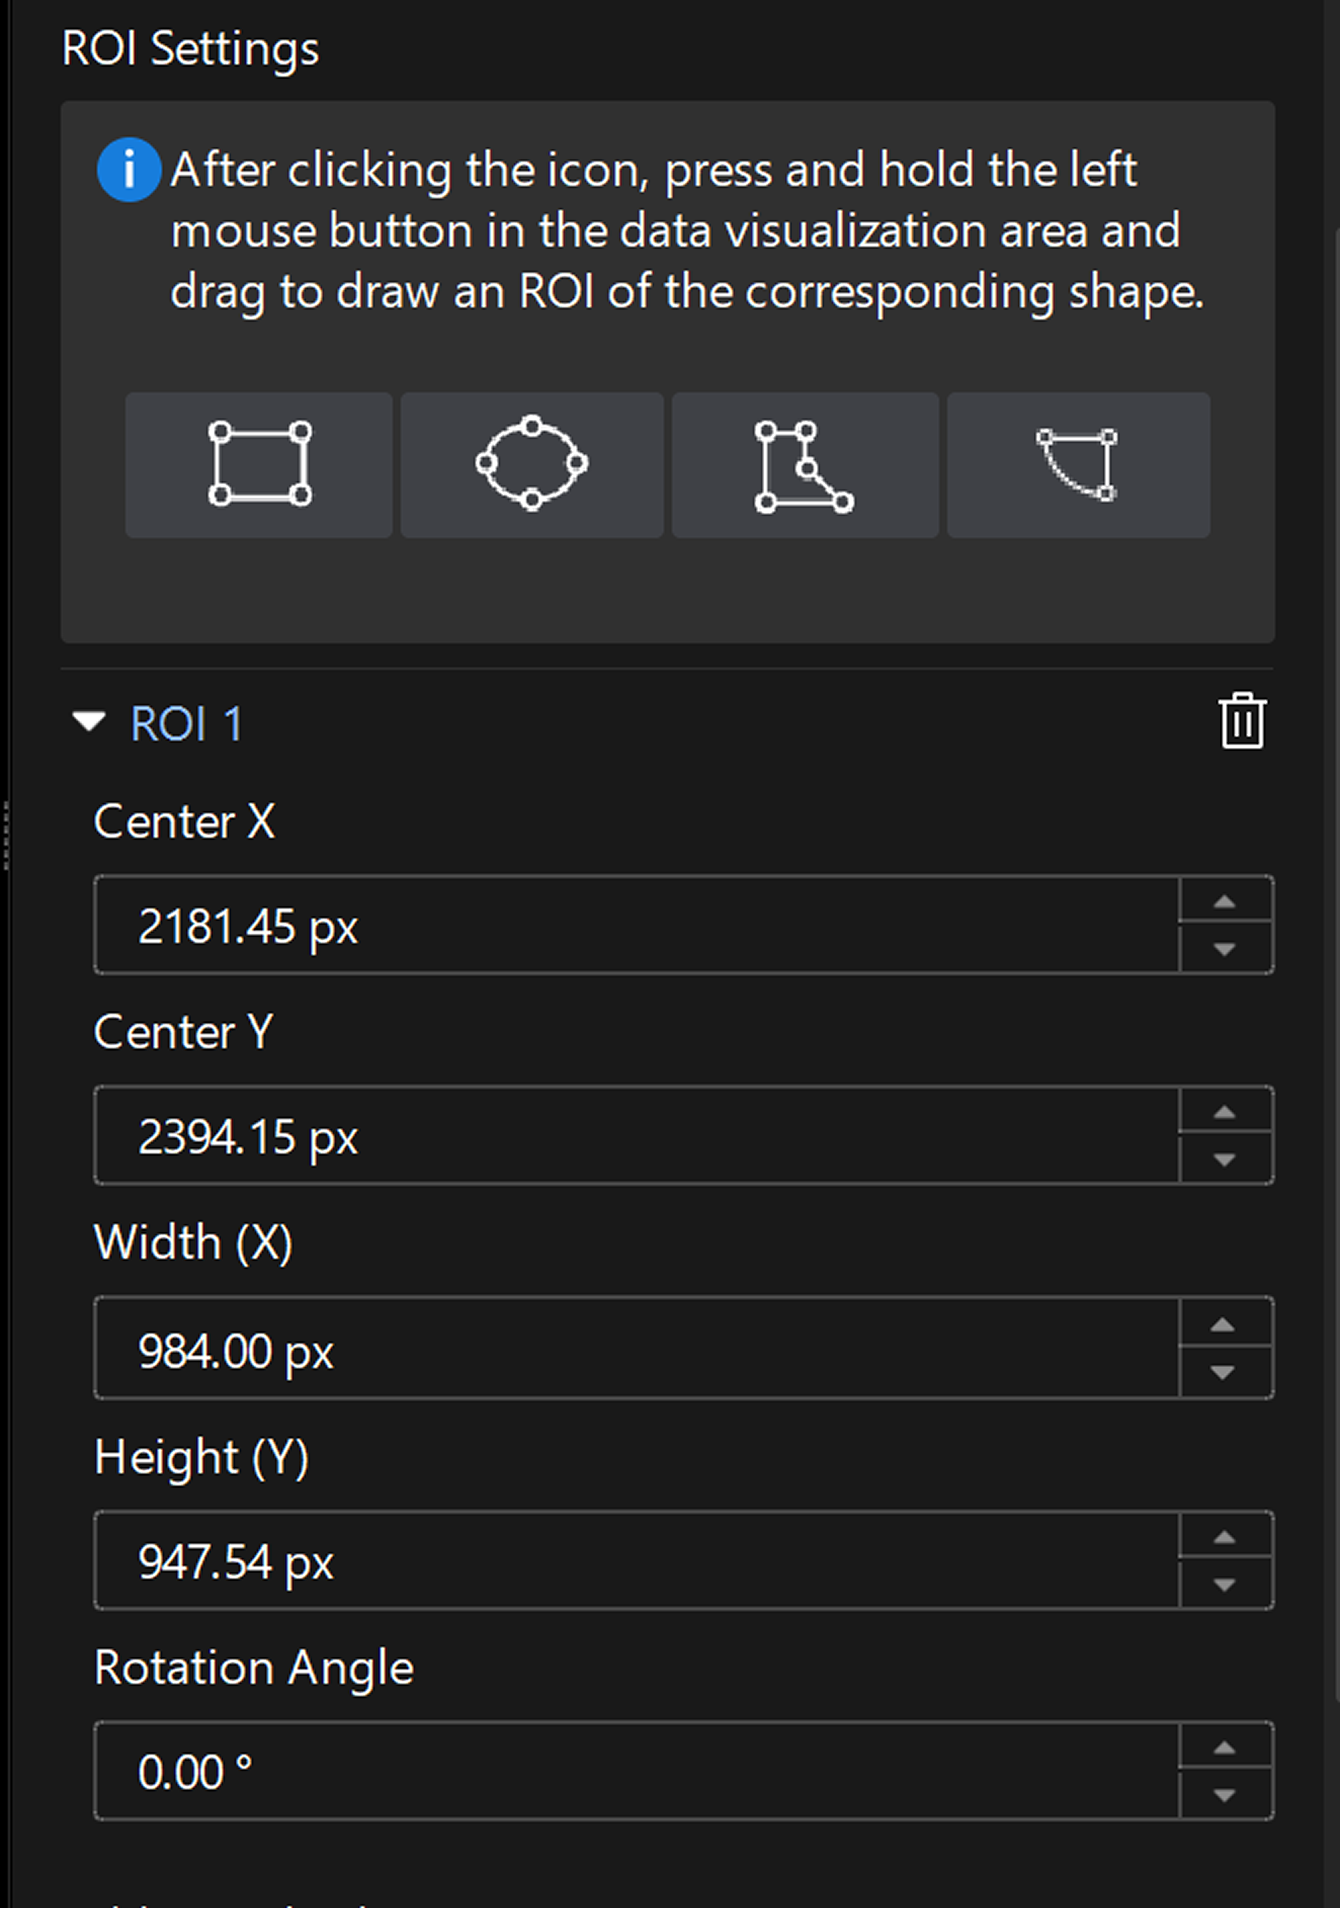
In the parameter configuration panel of the Step, click the available ROI icon.
-
Press and hold the left mouse button and drag in the data visualization window to draw an ROI of the corresponding shape.
To draw a polygon ROI, click the left mouse button on the image to place the first vertex, then continue left-clicking to place subsequent vertices, and finally right-click to complete the drawing. A polygon ROI should have at least three vertices.
Adjust ROI
You can adjust the drawn ROI in the following ways:
-
Move the ROI: Click the ROI in the data visualization window, then press and hold the left mouse button and drag.
-
Adjust the size or shape of the ROI: Click the ROI in the data visualization window, hover the cursor over an anchor point, then press and hold the left mouse button and drag the vertex of the ROI.
For polygon ROIs, double-click the edge of the ROI in the data visualization window to add a vertex.
Set ROI Parameters in the Parameter Configuration Panel
In the parameter configuration panel of the Step, you can adjust the parameters of the ROI directly to fine-tune the ROI.
| Parameter items vary with the ROI type. |
| Parameter | Description |
|---|---|
Center X |
The coordinates of the ROI center point on the X-axis of the image. |
Center Y |
The coordinates of the center point of the ROI in the Y direction of the image. |
Width (X) |
The size of the ROI in the X direction of the image. |
Height (Y) |
The size of the ROI in the Y direction of the image. |
Rotation Angle |
Set the rotation angle of the ROI relative to the initial direction. The center point of the ROI is used as the rotation center. A positive value indicates clockwise rotation, while a negative value indicates counterclockwise rotation. |
Radius |
Set the radius of the circle. |
Inner Radius |
Set the inner radius of the ring-shaped ROI. |
Outer Radius |
Set the outer radius of the fan ring ROI. |
Anchor Point |
A vertex on the edge of a polygon ROI that can be used to define or adjust the shape of the region. |
Start Angle |
Set the start direction of the sector ring ROI. |
Angle Span |
Set the angle range covered by the sector ring ROI. |