Offline Bead Inspection
About the Solution
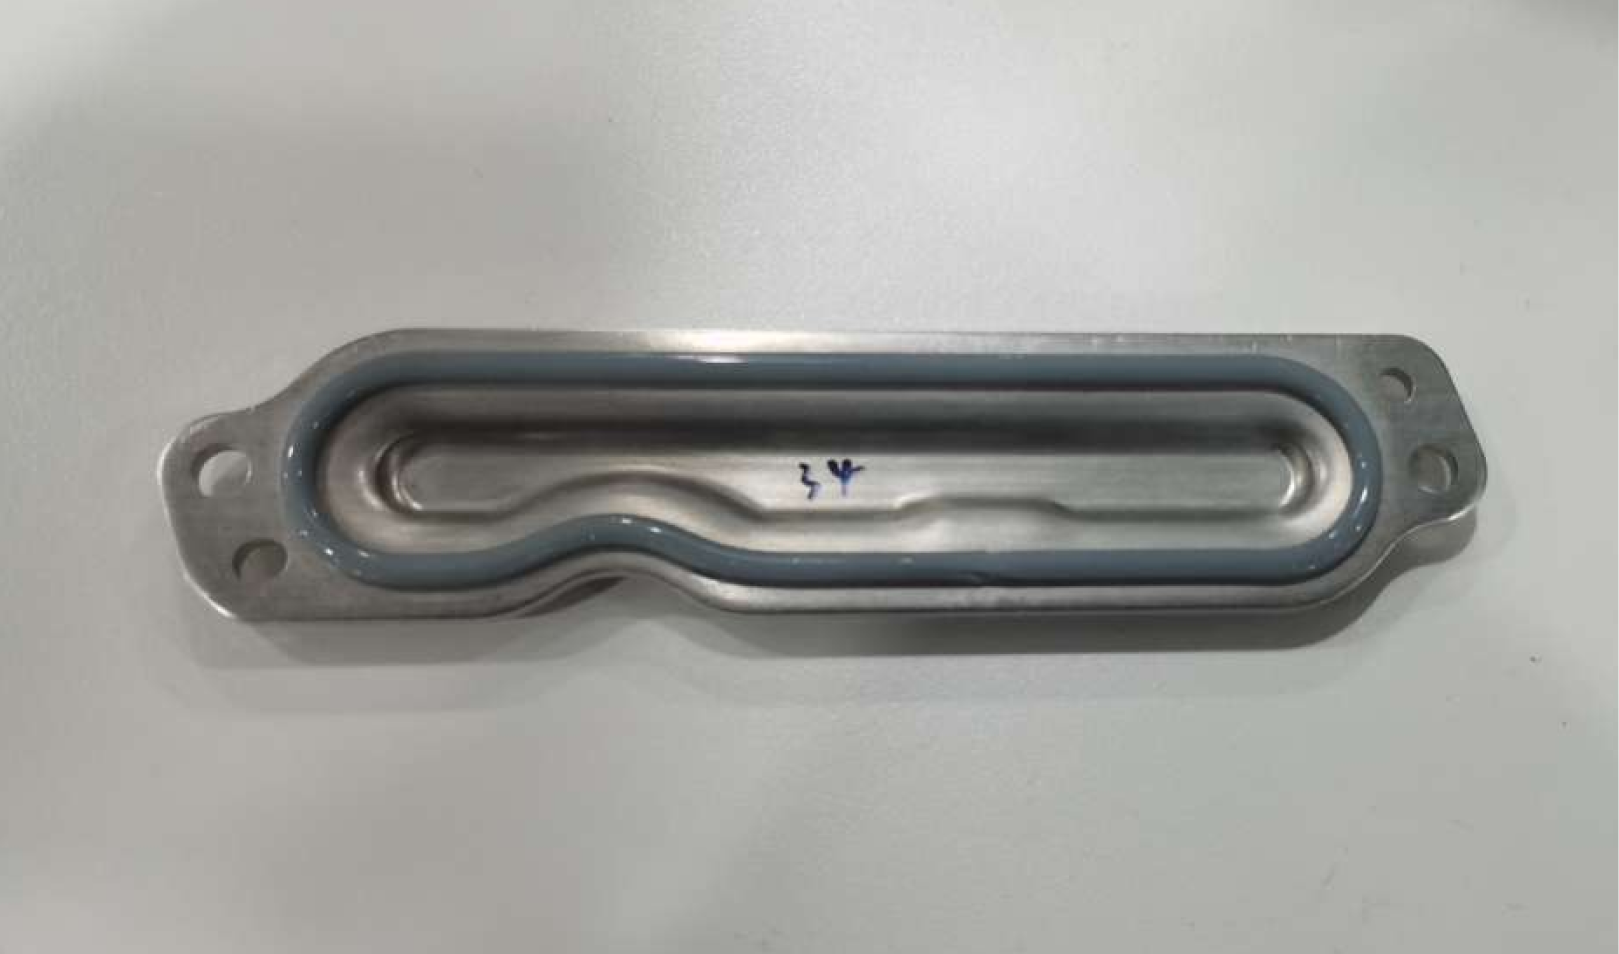
This solution is suitable for sealant or adhesive bead inspection scenarios in industries such as consumer electronics and automobile manufacturing and can quickly adapt to straight, S-shaped, or some complex path of applied beads. Through high-accuracy inspection, it can effectively detect unqualified products and improve inspection efficiency and product quality.
Inspection Target
-
Defects of applied beads
Check the continuity and uniformity of beads to ensure no breakage or bead path deviation.

Inspection Challenges
This solution can meet the following challenges:
-
Complex paths of applied beads: In most cases, beads are applied on a curved, grooved, or irregular surface, or the path of applied beads is winding, which increases the difficulty of measurement.
-
Measurement accuracy requirement: Key indicators such as the width, height, cross-sectional area, and center position of the beads require high-accuracy measurement.
-
Edge issue: The edges of applied beads may coincide or overlap, which poses issues for the inspection algorithms.
Key Technical Specifications
The key technical specifications of the solution are as follows:
-
Repeatability: <0.04 mm
-
Cycle time: The cycle time of measurement should be no more than 2 seconds.
| In different application scenarios, key technical specifications may vary and should be adjusted flexibly according to the actual situation. |
Solution Design
According to project requirements, the sensor head of a Mech-Eye 3D laser profiler should be fixed above the target object. Make sure the sensor head faces the target object and adjust its tilt to fit the working space and scan the whole target region as much as possible.
Hardware and Software Requirements
-
Mech-Eye 3D Laser Profiler + Mech-Eye Viewer software
Quickly scans the surface of an object and generates surface data (including depth map and intensity image).
-
Mech-MSR software
Obtains and processes surface data and detects the defects of beads.
Deployment Process
| Before deploying the solution, you need to get the Offline Bead Inspection solution from Mech-MSR’s solution library. See Quick Guide to Solution Library to learn how to get the solution. |
The deployment process of the solution is as follows:

-
Build the software and hardware environment to acquire and view image data.
-
Transform the surface data to adjust the applied beads to a horizontal level and align data.
-
Detect the defects of applied beads.
-
Set the acceptable ranges for the measurement item and output measurement and inspection results.
Next, you can get started with solution deployment.