Configure Production Interface in Mech-MSR
Read this section to learn how to configure the production interface. Navigate to the upper-right corner of Mech-MSR’s home interface and click the Setting button to open the production interface configurator.
| The production interface cannot be configured if the solution has not been saved to a directory. See Save the Solution to learn about saving methods. |
Configuration Process
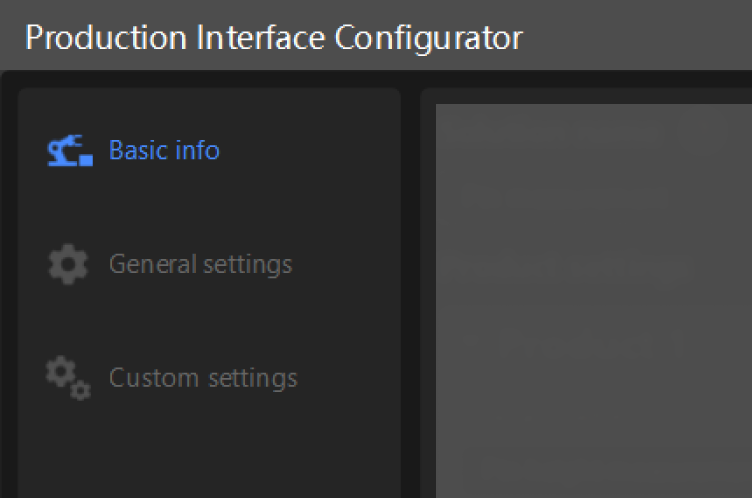
You should configure the production interface before using it.
|
|
|
Set the solution name and product information. |
||
|
||
Configure settings related to production data storage, operation guide association, and the start interface of the software. |
||
|
||
The custom settings include disk space monitoring and brand display. |
Set Basic Information

-
Set the solution name.
The solution name will be displayed as a title at the top of the production interface.
-
Configure the product settings.
A product should be associated with a project. You can add two products at most so that you can switch products in the production interface.
Follow the steps below:
-
Set the product name.
-
Select the project to associate.
The associated project determines the data displayed in the production interface.
-
Set the image layout. The production interface can display 12 images at most. Set the image layout according to the actual needs.

-
|
By default, you need to set one product. Click the + Add button to add a new product, and click the delete icon |
After the above settings are finished, click the Next button to proceed to the general settings.
Complete General Settings
-
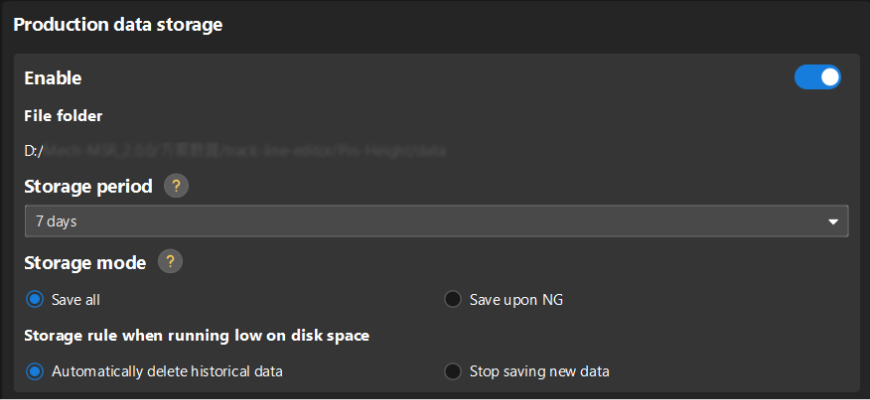
Production data storage.

The settings of production data storage are automatically synchronized with those configured for the Data Storage feature. The settings will always remain consistent. See Data Storage to learn about parameter details. -
Set the start interface for the software.
Select the default interface to enter when the software is restarted. This setting takes effect only if the solution is already auto-loaded.
-
Associate an operation guide.
Specify the path to a local operation guide to associate the guide to the production interface.
After the above settings are finished, click the Next button to proceed to the custom settings.
Complete Custom Settings
The custom settings include Disk space monitoring and Brand display.
Follow the steps below:
-
Disk space monitoring.
Add rules to monitor the free space of disks. Insufficient free disk space will affect the normal running of the system.
Click the + button to add a monitoring rule, and click the delete icon
 to delete a monitoring rule.
-
Only the system disk(s) will be monitored by default.
-
Up to two disks can be monitored.
-
-
Set the brand display.
Select the brand logo and brand name to set the brand information displayed on the production interface. The Mech-Mind brand logo will be displayed by default.
Once the custom settings are completed, the production interface configuration is finished. Click the Enter production interface button to start using the production interface for production tasks.
