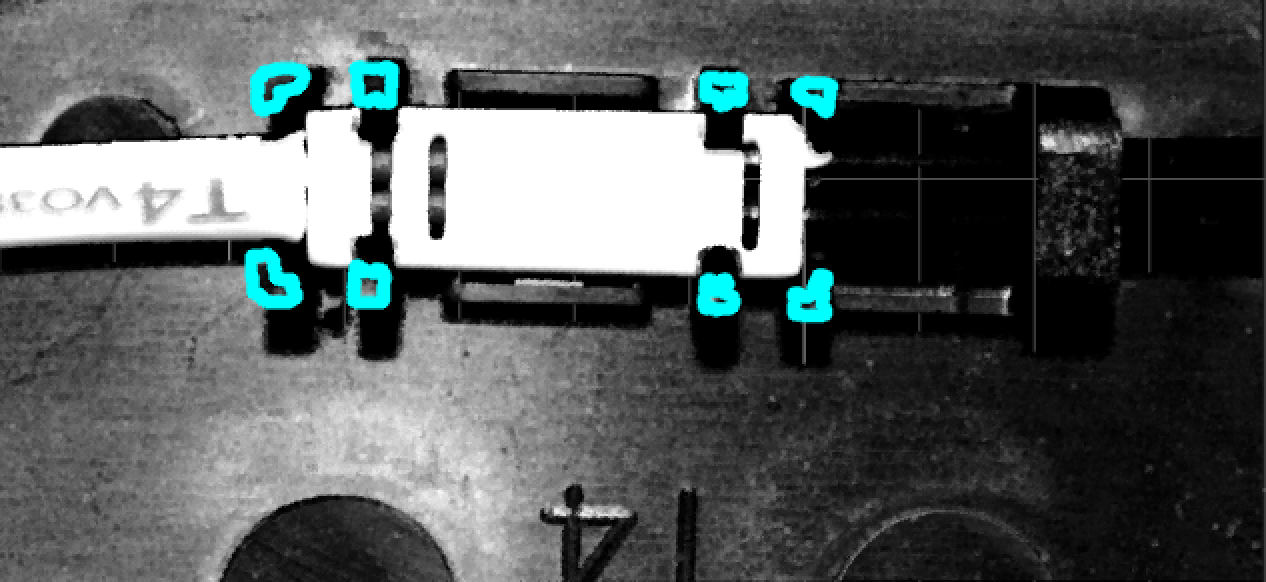
Clip Presence Inspection
About the Solution
This solution is designed for precision manufacturing and aims to inspect whether the number of clips meets the design requirements to ensure that they can effectively fix the cables and protect the cable from damage.
Inspection Challenges
This solution can meet the following challenges:
-
Data acquisition: Due to the limited size of the clip surface, it is difficult to obtain accurate point cloud data.
-
Measurement precision: Accurate measurements are desired. Thus, effective data preprocessing is required to ensure the stability and accuracy of the results.
-
Production efficiency: The 3D laser profiler should be able to quickly scan a large area, and the Mech-MSR software should be able to process data efficiently to ensure the cycle time of production while ensuring high accuracy.
Key Technical Specifications
The key technical specifications of the solution are as follows:
-
Repeatability: <30 μm
-
Cycle time: The cycle time of measurement should be no more than 2 seconds.
| In different application scenarios, key technical specifications may vary and should be adjusted flexibly according to the actual situation. |
Solution Design
According to project requirements, the sensor head of a Mech-Eye 3D laser profiler should be fixed above the target object. Make sure the sensor head faces the target object of inspection and adjust its tilt to fit the working space and scan the whole target region as much as possible.
Hardware and Software Requirements
-
Mech-Eye 3D Laser Profiler + Mech-Eye Viewer software
Quickly scans the surface of an object and generates surface data (including depth map and intensity image).
-
Mech-MSR software
Obtains and processes surface data and calculates the number of clips.
Deployment Process
| Before deploying the solution, you need to get the Clip Presence Inspection solution from Mech-MSR’s solution library. See Quick Guide to Solution Library to learn how to get the solution. |
The deployment process of the solution is as follows:

-
Build the software and hardware environment to acquire and view image data.
-
Align the surface data and extract the surface data for clip identification.
-
Calculate the number of clips.
-
Set the acceptable range for the measurement item and output measurement and inspection results.
Next, you can get started with solution deployment.
