Learning Guidance for 3D Measurement and Inspection
Learning Guidance
|
 Overview of 3D Measurement and Inspection
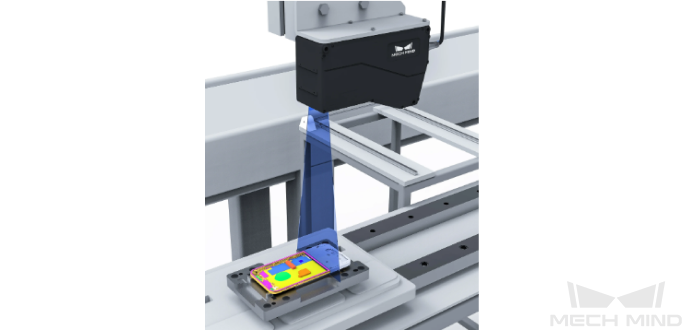
Based on the Mech-Eye 3D Laser Profiler and Mech-MSR 3D measurement and inspection software developed by Mech-Mind, the 3D measurement and inspection solution provides various typical 3D measurement and inspection applications. This solution is applicable to consumer electronics, EV battery, automobile, photovoltaic and other industries.
The typical 3D measurement and inspection applications include 3D geometric measurement, height measurement, flatness inspection, hole locating, 3D defect inspection, and object counting.
The 3D measurement and inspection solution mainly consists of the Mech-Eye 3D Laser Profiler, industrial personal computer (IPC), and Mech-Mind software products (Mech-Eye Viewer and Mech-MSR). For more information, refer to Introduction to 3D Measurement and Inspection Solution.
 Practical Application Deployment
Provides the approach to, operation guide of, and experience for deploying applications in actual projects. After you learn about the 3D measurement and inspection solution, you can continue to learn the knowledge and expertise required for deploying 3D measurement and inspection applications in this part.
The approach to deploying a 3D measurement and inspection application is shown in the following figure.

Designing the 3D measurement and inspection solution refers to selecting the hardware models, and determining the mounting method and communication method according to project requirements.
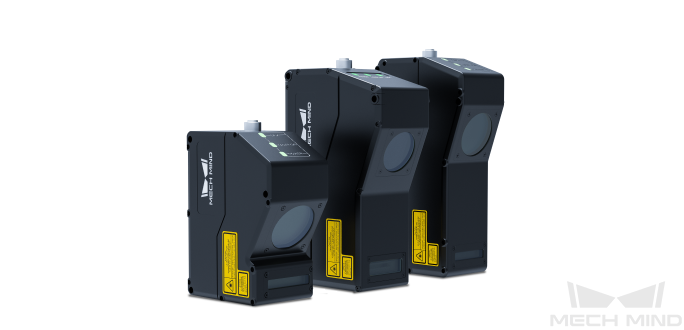
For more information, refer to Design 3D Measurement and Inspection Solution.
In this phase, you need to integrate the hardware (laser profiler and IPC) of the 3D measurement system into the actual environment to support the normal operation of the 3D measurement system.
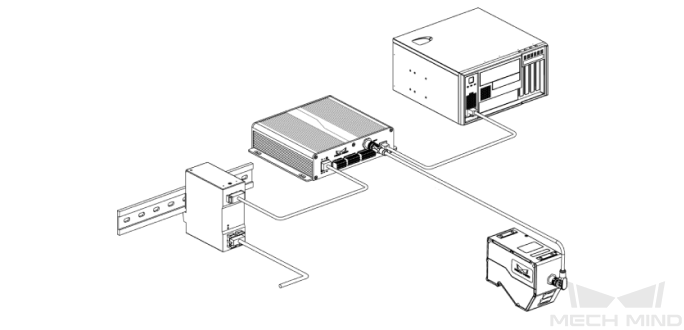
For more information, refer to Set up System Hardware.
In this phase, you need to adjust the parameters of the laser profiler to ensure that you can acquire high-quality data (intensity images, depth maps, and point clouds).
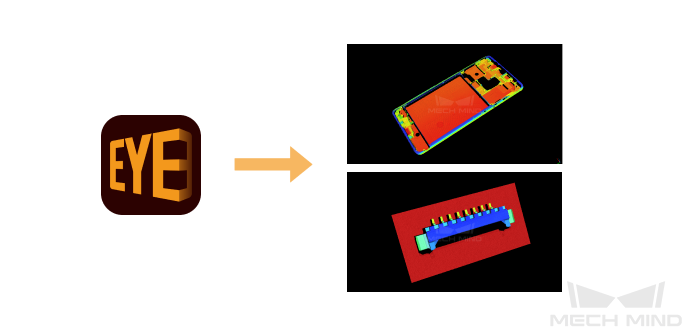
For more information, refer to Acquire High-Quality Data.
In this phase, you need to build and configure the Mech-MSR project so that it can conduct measurement based on the acquired data and output the measurement results.
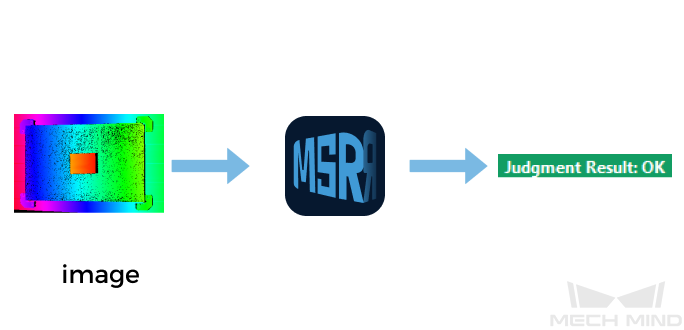
For more information, refer to Perform Measurement Based on Data.
By conducting test runs on the 3D measurement system, you can confirm that the deployed application meets project requirements.
For more information, refer to Conduct Test Runs on 3D Measurement System.
For practical guidance on more application scenarios, please refer to Typical Case Practices of 3D Measurement and Inspection.