Solution Access Control
This chapter introduces the function and usage of solution access control.
Function
Mech-Vision provides the feature of solution access control, which manages the permissions of different roles to effectively reduce the leakage risk of data and enhance the safety of solution.
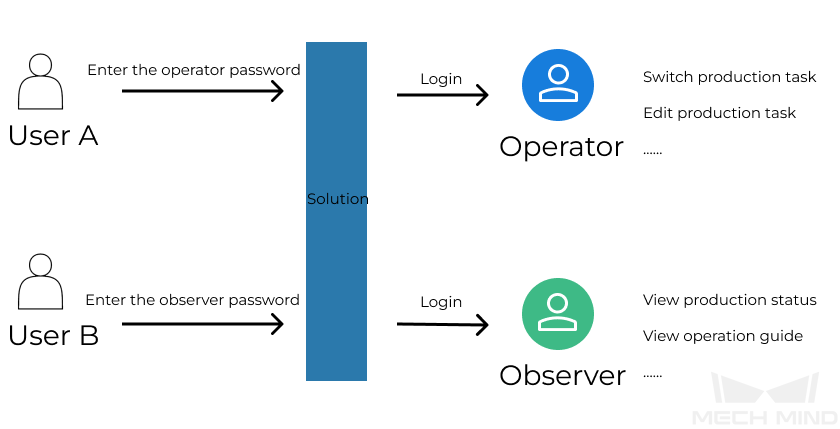
After enabling the solution access control feature, all users need to log in before accessing the solution. Only after successful login can they obtain the corresponding permissions.
As shown in the figure below, users must log in before accessing the solution. Upon successful login, they will receive the corresponding permissions.
You can go to , or right-click the solution name in the project list, and then click Solution Access Control in the shortcut menu to use this feature. If this feature is being used for the first time in a solution, an administrator must be added first.
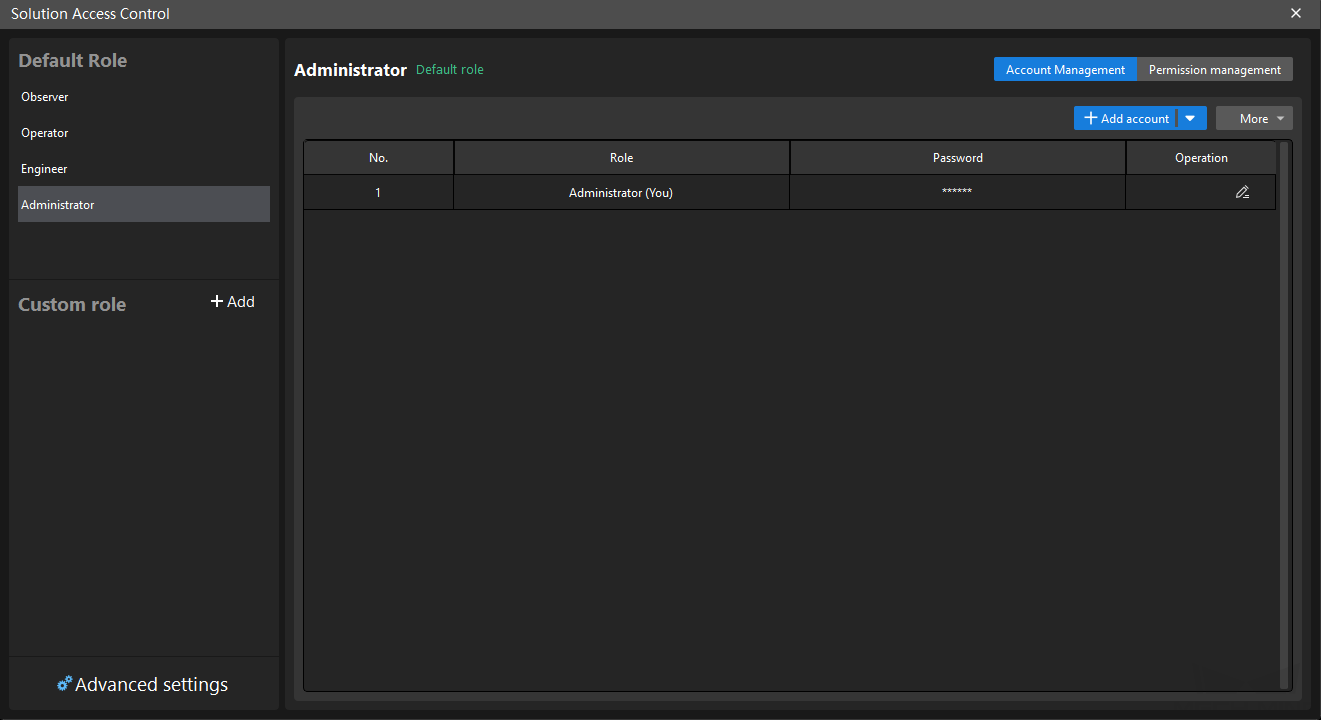
The figure below shows the main interface of the “Solution Access Control” feature.
Reading Guide
If you are an administrator, please refer to the following section to learn how to manage the solution access control.
If you are in another role (observer or operator), please refer to the following section to learn how to use the solution access control.
For a detailed introduction to each role’s access, please refer to the following section.