Solution Access Control
This chapter introduces the function and usage of solution access control.
Function
Mech-Vision provides the feature of solution access control, which manages the permissions of different roles to effectively reduce the leakage risk of data and enhance the safety of solution.
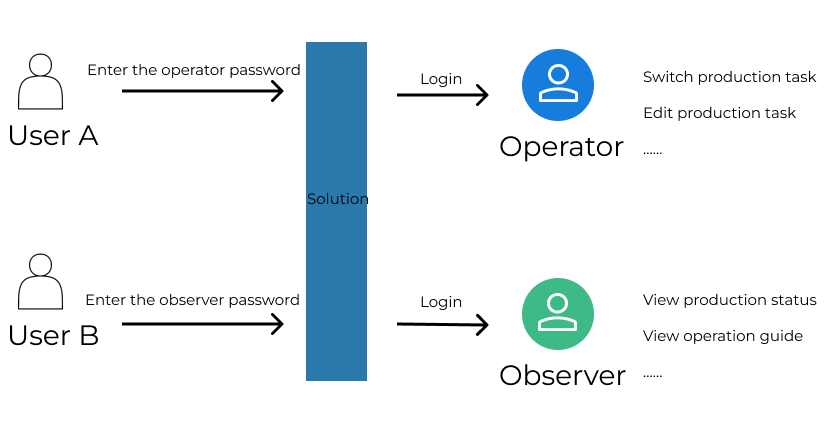
After enabling the solution access control feature, all users need to log in before accessing the solution. Only after successful login can they obtain the corresponding permissions.
As shown in the following figure, users must enter the corresponding password before accessing the solution. After successful login, they will obtain the corresponding permissions.
You can go to , or right-click the solution name in the project list, and then click Solution Access Control in the shortcut menu to use this feature.
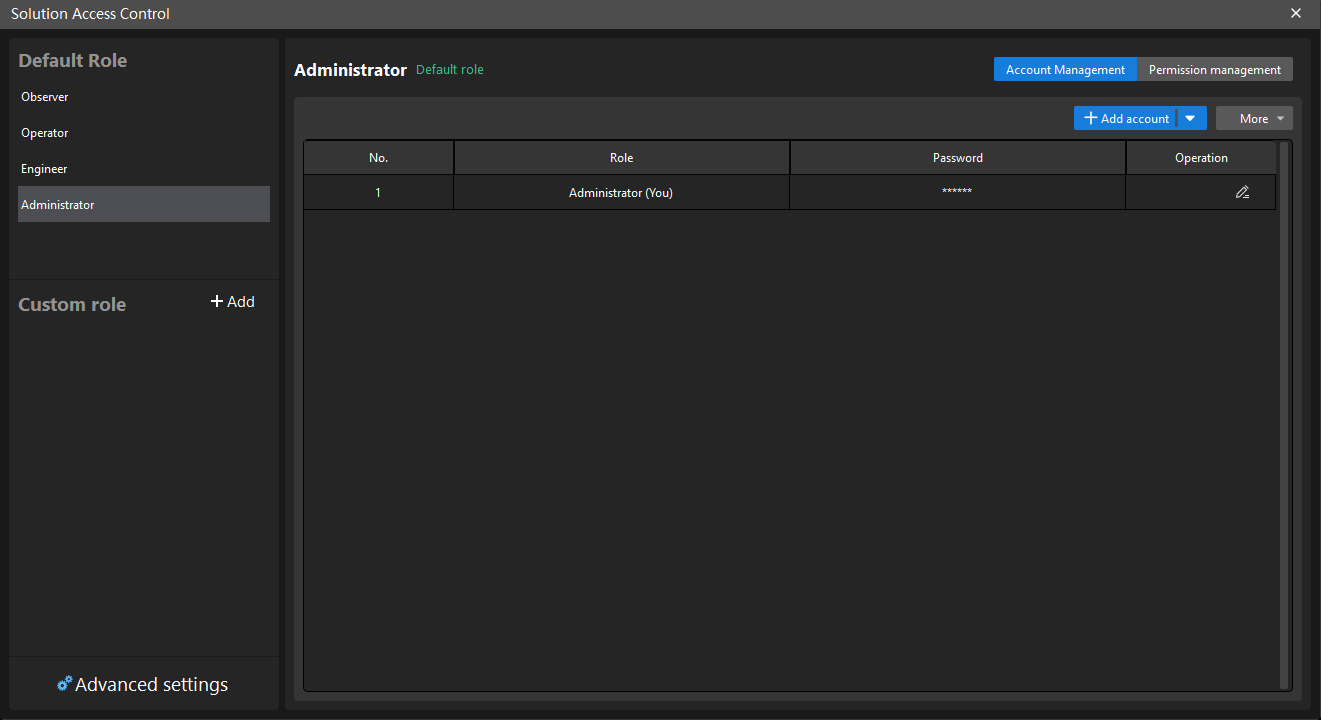
Solution access control
This section introduces how administrators can manage solution permissions. The main process is illustrated in the following figure.

-
Enable solution access control: Enable the solution access control feature for the solution, and then administrators can manage solution permissions.
-
Configure the required roles: Configure the necessary roles for the solution, including configuring default roles and adding custom roles (optional).
-
Configure permissions for roles: Configure the required permissions for custom roles.
-
Add accounts to roles: Add accounts to each role.
Enable Solution Access Control
By default, the solution access control feature is disabled. Please follow the steps below to enable the solution access control:
-
Right-click the solution name in the project list, and then click Solution Access Control in the shortcut menu to use this feature.
-
Enter a password in the pop-up window to add an administrator, and then click OK to enter the “Solution Access Control” interface.
Once the administrator account is added to the solution, the solution access control will take effect. Afterward, when users open the solution, they need to enter the correct password on the login interface to obtain the corresponding roles and permissions.
|
When the solution access control is not enabled, any user can open the solution and perform any operation. |
Configure the Required Roles
The feature provides four default roles, including Administrator, Engineer, Operator, and Observer. As different roles are equipped with different operation permissions, a brief introduction is shown below. To learn about the detailed introduction, please refer to Appendix.
-
Administrator: All permissions relevant to the solution, including view permissions, operation permissions, production task permissions, role management, account management, and advanced settings.
-
Engineer: View permissions, operation permissions, and production task permissions.
-
Operator: View permissions, production task permissions, and some operation permissions.
-
Observer: Only view permissions.
If the four default roles cannot meet on-site requirements, the solution access control feature allows the configuration of custom roles, enabling customized permission control.
Use the Default Roles
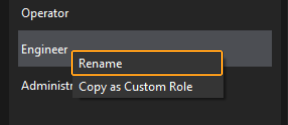
The solution access control feature provides four built-in default roles, which can only be renamed, and cannot be added or deleted.
If you want to rename the default role, right-click the role, select Rename, and then enter the new name in the pop-up window.
Use Custom Roles
To add a custom role, click on Add in the custom role list, then enter the new role name in the pop-up window to add a custom role.
For additional configuration operations related to custom roles, please refer to the Role Management.
Configure Permissions for Roles (Custom Roles)
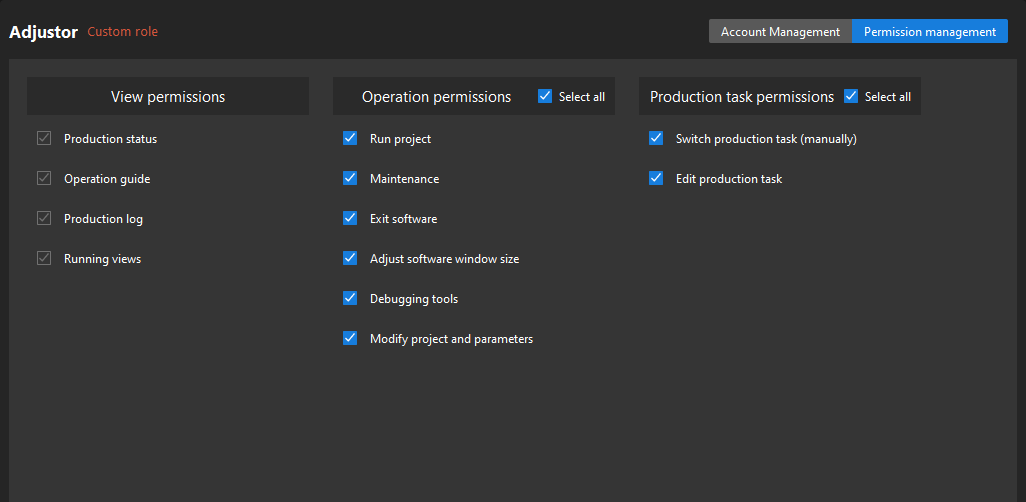
The permissions of the default roles are fixed and cannot be modified. The system can only support configuring permissions for custom roles.
To configure permissions for a custom role, you can select this role, and then configure permissions in the Permission Management interface. When the permission management is completed, click Save.
Adding Accounts to Roles
After configuring roles, it is necessary to add accounts to the roles. Once the role is selected, you can add accounts in the account management interface. There are two kinds to add accounts. The detailed description is shown below.
Add one account
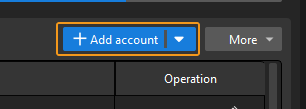
Click the Add account button on the top of the account list, and then enter the password in the pop-up window to add an account under the role.
Batch import
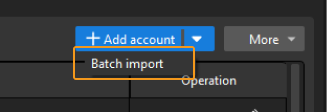
Click the ![]() button on the right side of the Add account button, and then select Batch import. Follow the tips in the new window to perform operations.
button on the right side of the Add account button, and then select Batch import. Follow the tips in the new window to perform operations.
|
When importing accounts in batches, please pay attention to:
|
Now you have completed operations related to managing solution permissions. For further information on other operations, please refer to the following sections.
Other Operations
Role Management
You can add, delete, and rename the custom roles. The detailed description is as follows.
| Operation | Description | Illustration |
|---|---|---|
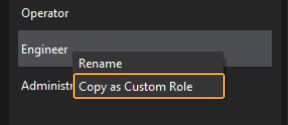
Copy the default role as a custom role |
Right-click the default role, select Copy as Custom Role, and then enter the new name in the pop-up window. |
|
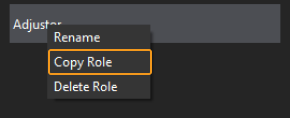
Right-click the added custom role, select Copy Role, and then enter the new name in the pop-up window. |
|
|
Delete custom role |
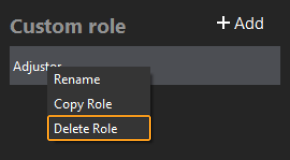
Right-click this role, and select Delete Role. |
|
Rename custom role |
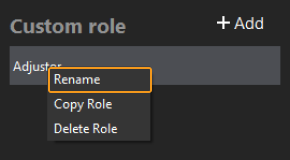
Right-click the role, select Rename, and then enter the new name in the pop-up window. |
|
Account Management
Edit Headings of Account List
When the default headings of the account list cannot meet the requirements, you can customize the headings.
Click the More button at the top right of the account list and select Set heading. Then you can add new headings in the Set Heading window.
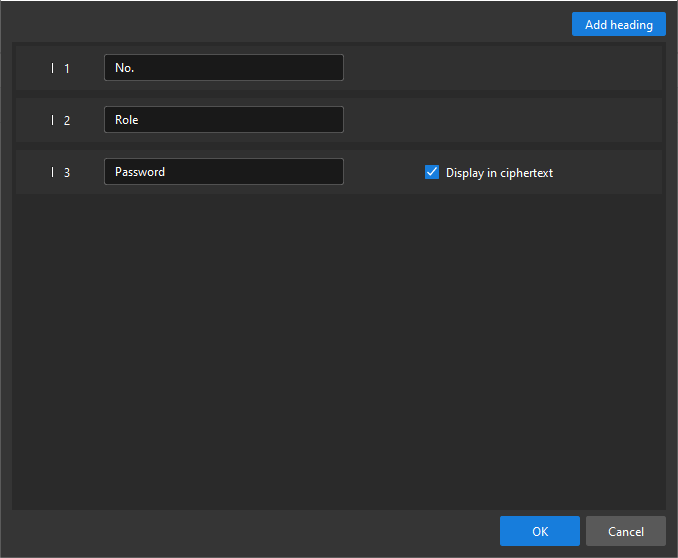
The figure below shows the account information after adding a “Name” column.

Reset Account Password
When you forget your account password, you can contact the administrator to reset the password. As an administrator, follow the steps below to reset the password.
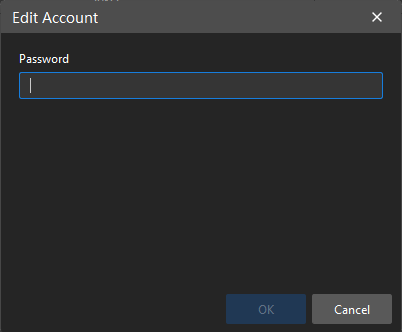
Click ![]() on the right of the account information line, enter a new password in the pop-up window, and click OK.
on the right of the account information line, enter a new password in the pop-up window, and click OK.
Permission Management (Custom Roles)
The permissions of the default roles are fixed and cannot be modified. Only the permissions for custom roles can be modified.
Modify Permissions
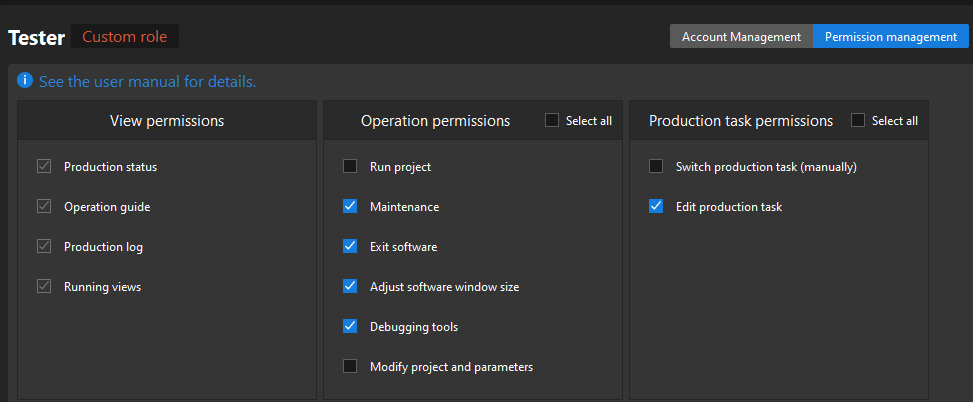
After completing the permission configuration, if you need to modify permissions, click Permission management in the upper right corner to enter the permission management interface. Then, select or unselect the permission checkboxes, and then click Save.
Reset Permissions
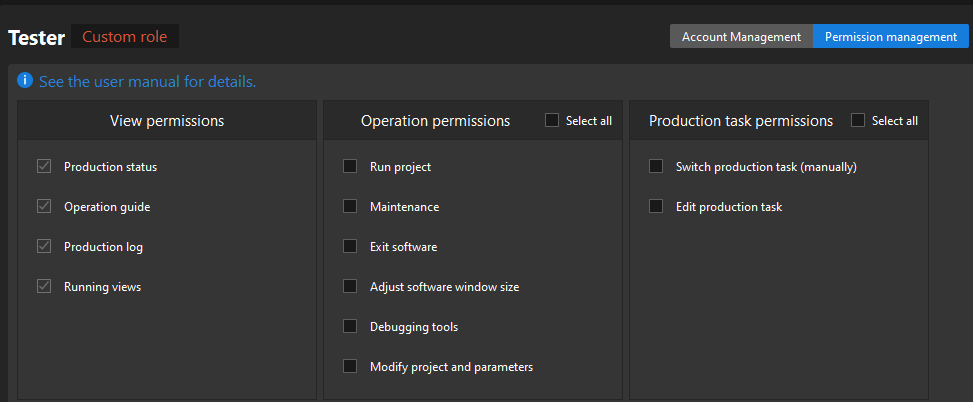
If you need to reset permissions after completing the permission configuration, click Permission management in the upper right corner to enter the permission management interface. Then, click Reset in the lower right corner, and then click Save to reset the permissions.
After resetting, the role will only have default permissions.
Advanced Settings
In the advanced settings, the functions including “Delete all account,” “Auto logout after inactivity,” and “Login settings” are provided. Please use these functions according to actual requirements.
| No. | Function | Operating Instruction |
|---|---|---|
1 |
Delete all account |
This operation will clear the accounts of all default and custom roles, delete all custom roles, and disable the access control for this solution. |
2 |
Auto logout after inactivity |
After the set period of inactivity, the account will be automatically logged out. The period can range from 1 to 120 min. |
3 |
Login settings |
Set login background. |
Appendix
The specific description of each permission is shown in the following table.
| Category | Permission | Specific Description |
|---|---|---|
View permissions |
Production status |
Check production status in the production interface. |
Operation guide |
View operation guide in the production interface. |
|
Production log |
Check production logs in the production interface. |
|
Running views |
Check the running views to view production results in the production interface. |
|
Operation Permissions |
Run project |
Run the project in the home screen and production interface of the Mech-Vision. |
Maintenance |
Conduct camera management, backup management, and troubleshooting in the production interface. |
|
Exit software |
Exit Mech-Vision. |
|
Adjust software window size |
Maximize and minimize the software window. |
|
Debugging tools |
Perform operations in the menu bar, toolbar, Step library, Project Assistant, and Debug Output of Mech-Vision. |
|
Modify project and parameters |
Delete project, rename project, modify Step parameters, and check Step quick information. |
|
Production task permissions |
Switch production task (manually) |
Switch production task to switch workpiece types in the production interface. |
Edit production task |
Edit production task to add new workpiece in the production interface. |
|
Solution access control |
Solution access control |
Enable access control for the solution and manage roles and permissions. |
Role management |
Add role |
Add the roles. |
Delete role |
Delete the roles. |
|
Copy role |
Copy the roles. |
|
Rename role |
Rename the roles. |
|
Permission management |
Manage permissions for the roles. |
|
Account management |
Add account |
Add new account under the role. |
Edit account |
Edit account information. |
|
Set heading |
Set the heading information such as adding a heading. |
|
Advanced settings |
Delete all account |
Clear the accounts of all default and custom roles, delete all custom roles, and disable the access control for this solution. |
Auto logout after inactivity |
When the time of inactivity is set, the account will be automatically logged out after the set period. |
