Add Pick Point by Teaching
A pick point is the position on the object that can be grasped by the robot. The pick point is in the object reference frame, and the point’s position and orientation are relative to the object. The robot needs a picking pose (the tool pose of the robot when picking) provided by Mech-Vision to actually perform the picking. The picking pose is transformed from the pick point on the target object. Therefore, pick points need to be added to point cloud models, so that Mech-Vision can generate pick points for target objects through matching, and further output picking poses for the robot.
|
The first pick point you add will be automatically set as the geometric center.
|
You’ll need to input the TCP manually when adding a pick point this way. Therefore, please have the TCP data ready for use beforehand.
|
If you are using Mech-Viz, you can check the TCP by going into and double-clicking the corresponding tool model. |
The procedure for adding a pick point by teaching differs depending on how your camera is installed. Please read on to learn about detailed instructions for ETH and EIH.
|
Add Pick Point by Teaching under ETH
-
Click
 in the toolbar to open the Add Pick Point by Teaching window.
 -
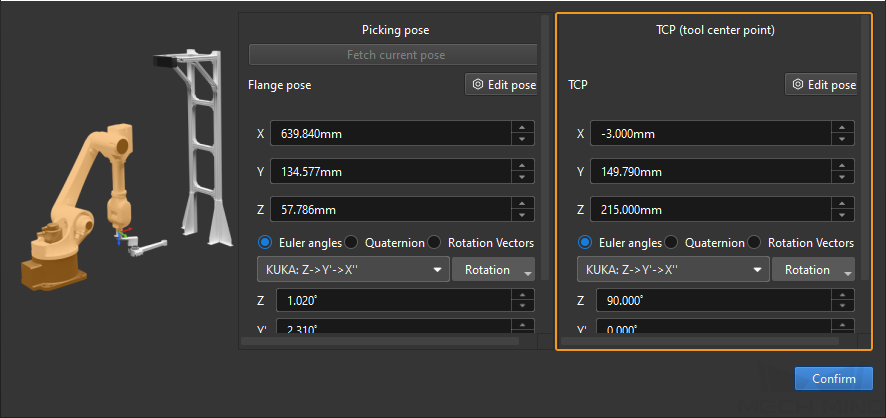
Input the TCP obtained beforehand into the TCP section.
-
Move the robot to the picking pose using the teach pendant. Operate the tool to perform picking to make sure the picking pose is accurate.
If you are using a gripper, you can grasp and drop the target object several times to make sure that the object can be firmly grasped in this picking pose.
-
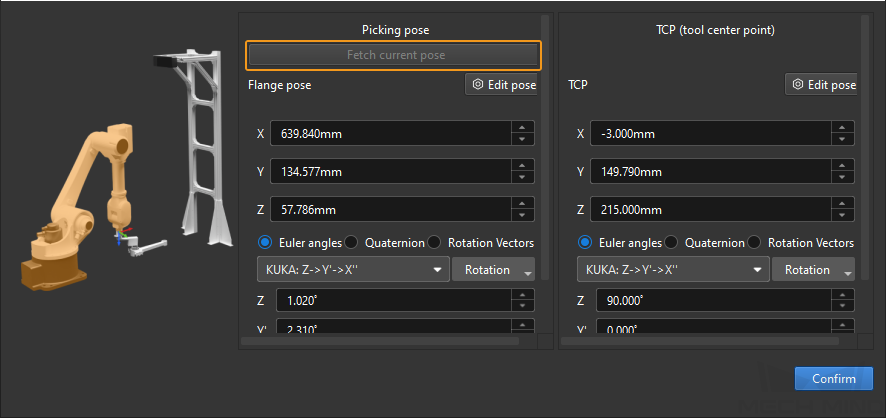
In the Picking pose section, click Fetch current pose, or input the pose displayed on the teach pendant manually. Click Confirm to generate a pick point. The newly generate pick point will show up in the Model files list.
-
Move the robot outside the camera’s field of view. Be careful not to touch the target object in this process to avoid altering its pose.
-
Generate the point cloud model of the target object using the connected camera. Please follow the instructions in Generate Point Cloud Model of using a real camera.
-
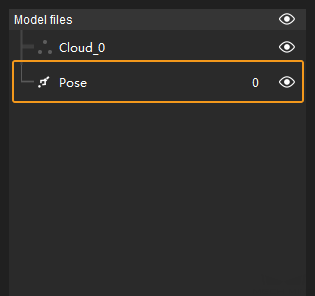
In the Model files list, select the pick point generated in step 4 and drag it onto the point cloud model to associate the pick point with the model. Successfully associated pick point will be nested below the point cloud model.
Click
 on the right of Model files, and make it into
  to hide all point cloud models.
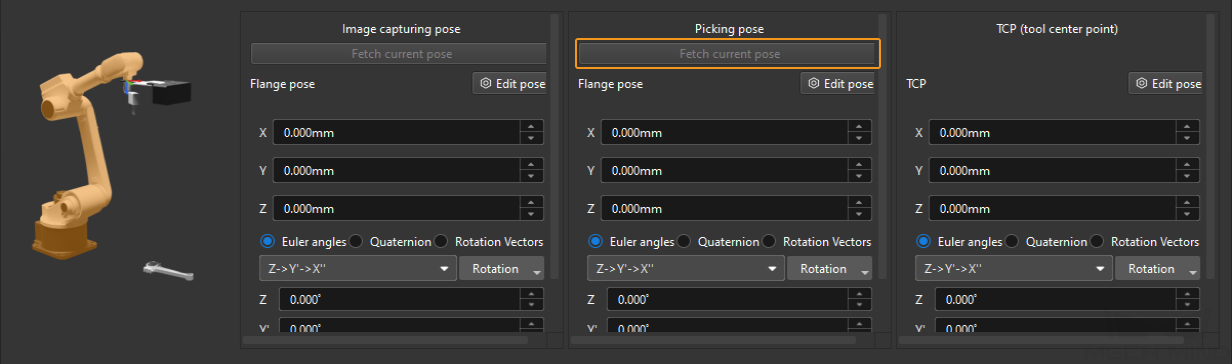
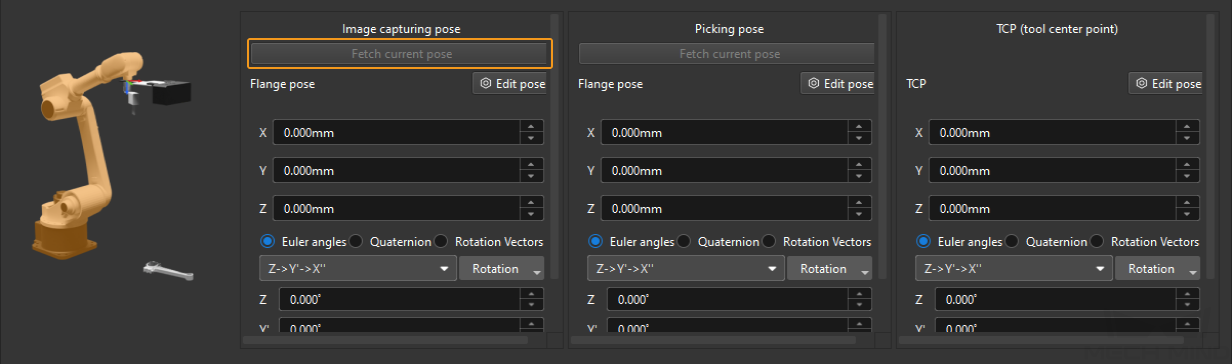
Add Pick Point by Teaching under EIH
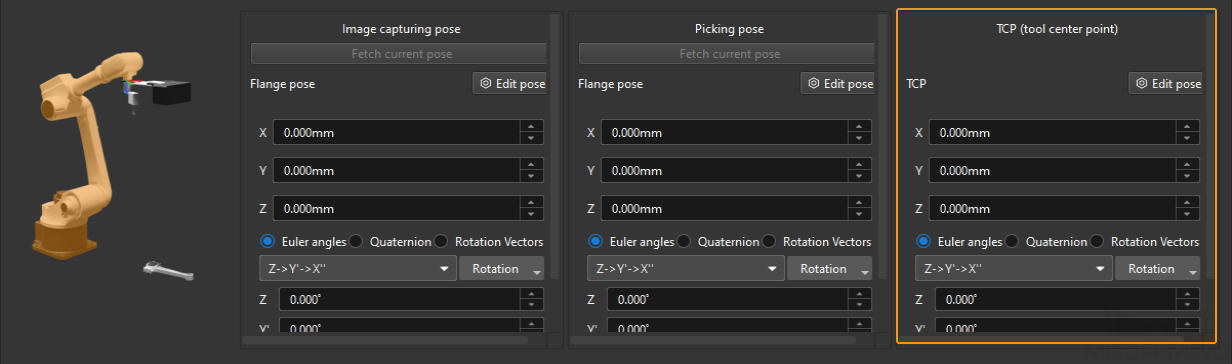
Under EIH, you also need to obtain the image-capturing pose in addition to the picking pose.
-
Click
in the toolbar to open the Add Pick Point by Teaching window. -
Input the TCP obtained beforehand into the TCP section.
If the robot is a truss robot in the left-handed coordinate system, you need to take the inverse of the Y-axis value when entering the image-capturing pose, picking pose, and TCP.
-
Move the robot to the picking pose using the teach pendant. Operate the tool to perform picking to make sure the picking pose is accurate.
If you are using a gripper, you can grasp and drop the target object several times to make sure that the object can be firmly grasped in this picking pose.
-
In the Picking pose section, click Fetch current pose, or input the pose displayed on the teach pendant manually.
-
Move the robot outside the camera’s field of view. Be careful not to touch the target object in this process to avoid altering its pose.
-
Move the robot to the image-capturing pose using the teach pendant. Capture an image to check if the pose is accurate.
-
In the Image capturing pose section, click Fetch current pose, or input the pose displayed on the teach pendant manually. Click Confirm to generate a pick point. The newly generate pick point will show up in the Model files list.
-
Generate the point cloud model of the target object using the connected camera. Please follow the instructions in Generate Point Cloud Model of using a real camera.
-
In the Model files list, select the pick point generated in step 7 and drag it onto the point cloud model to associate the pick point with the model. Successfully associated pick point will be nested below the point cloud model.
After you finish the configuration, click (Shortcut Ctrl + S), the point cloud model and pick point file will be saved to Project Folder/resource/3d_matching by default.
|
|
When closing the tool window, a message reminding you to save the files will pop up whether the files have been saved or not. |