TOPSTAR Automatic Calibration
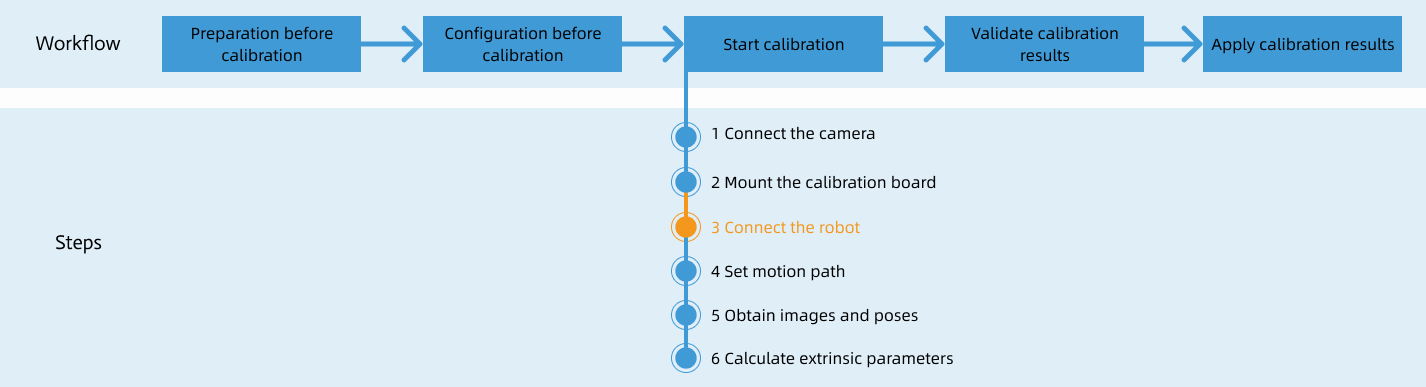
After you set up Standard Interface communication, you can connect the robot to perform automatic calibration. The overall workflow of automatic calibration is shown in the figure below.
Special note
During the calibration procedure, when you reach the Connect the robot step and the Waiting for robot to connect... button appears in Mech-Vision, perform the steps below on the robot side. After you perform the steps, proceed with the remaining steps in Mech-Vision.
|
1. Select and Modify Calibration Program
-
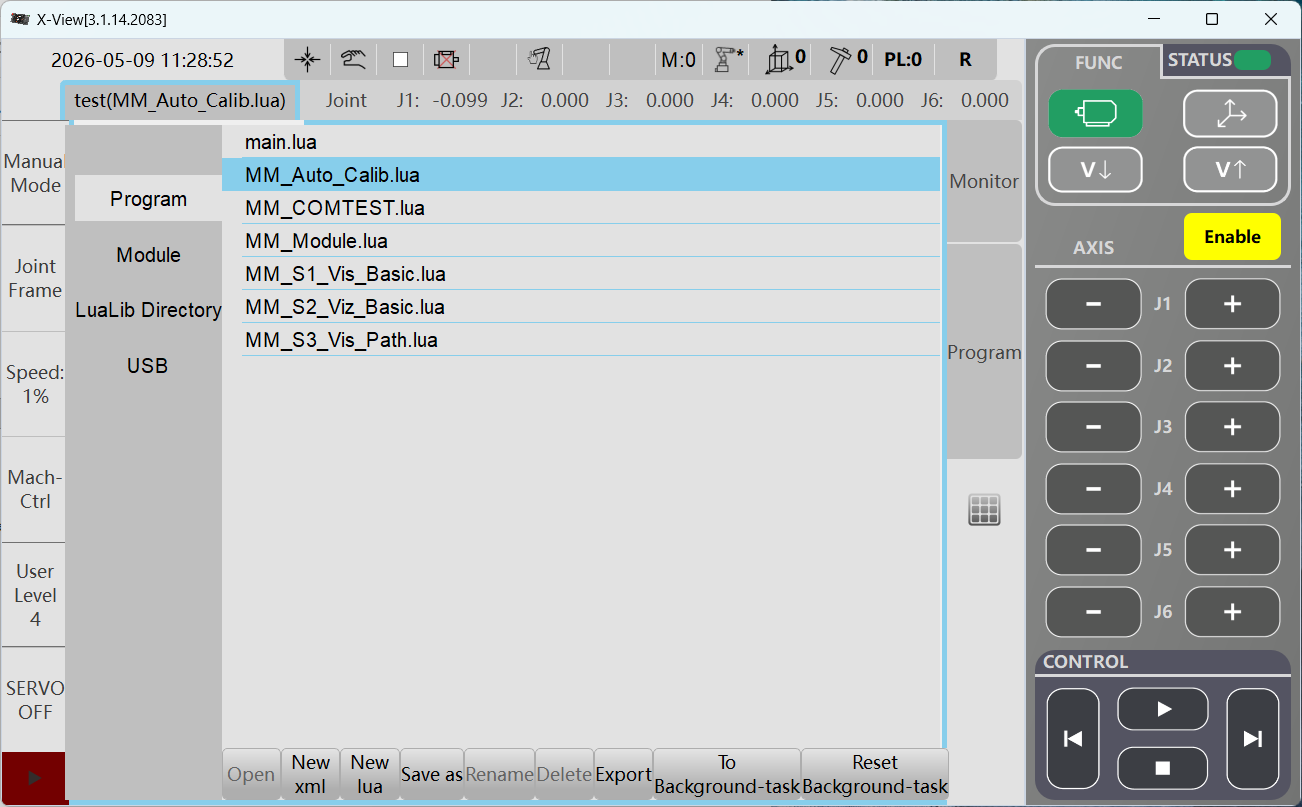
In the X-View software interface, click main and select MM_Auto_Calib.lua from the program list.
-
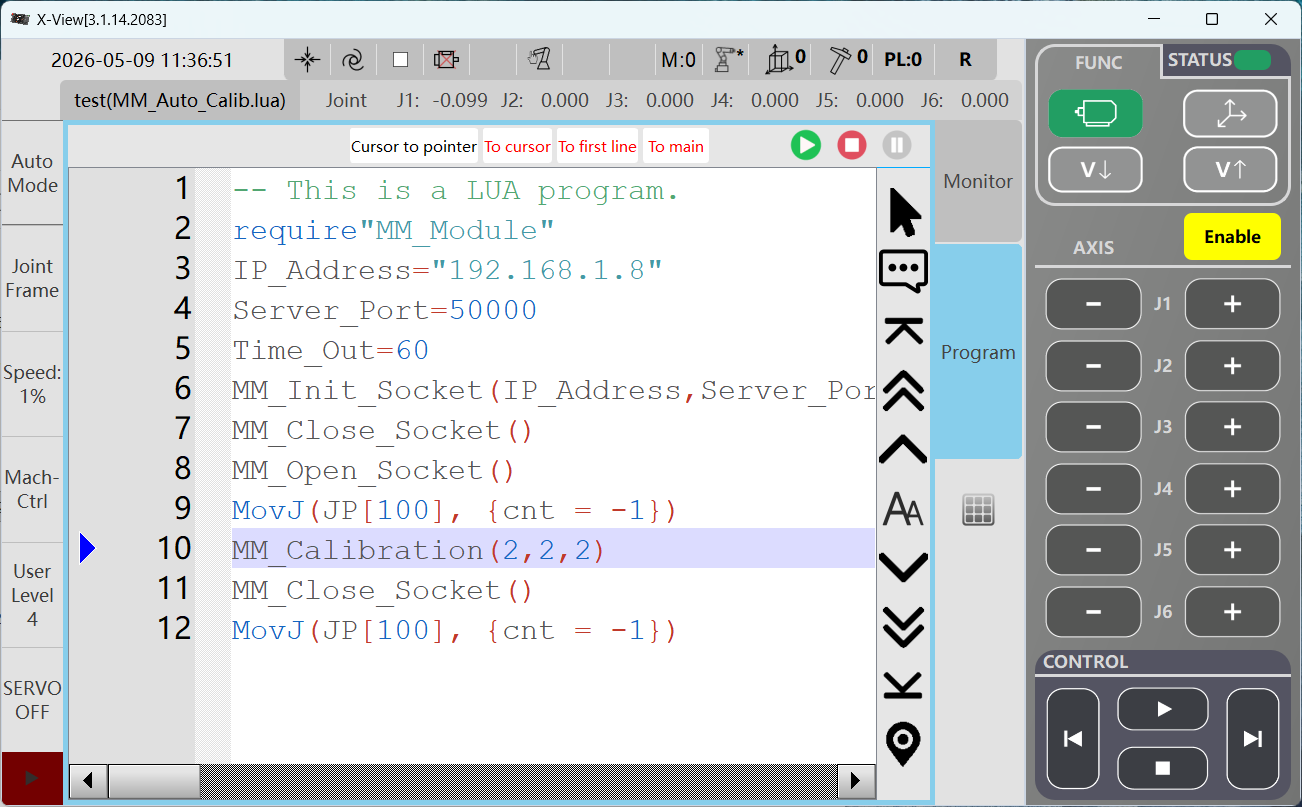
Navigate to the MM_Calibration.luaprogram page to modify the IP address and port number. Update the variable values for the MM_Calibrationcommand; for details, refer to the Calibration Command Specifications.
2. Teach Calibration Start Point
-
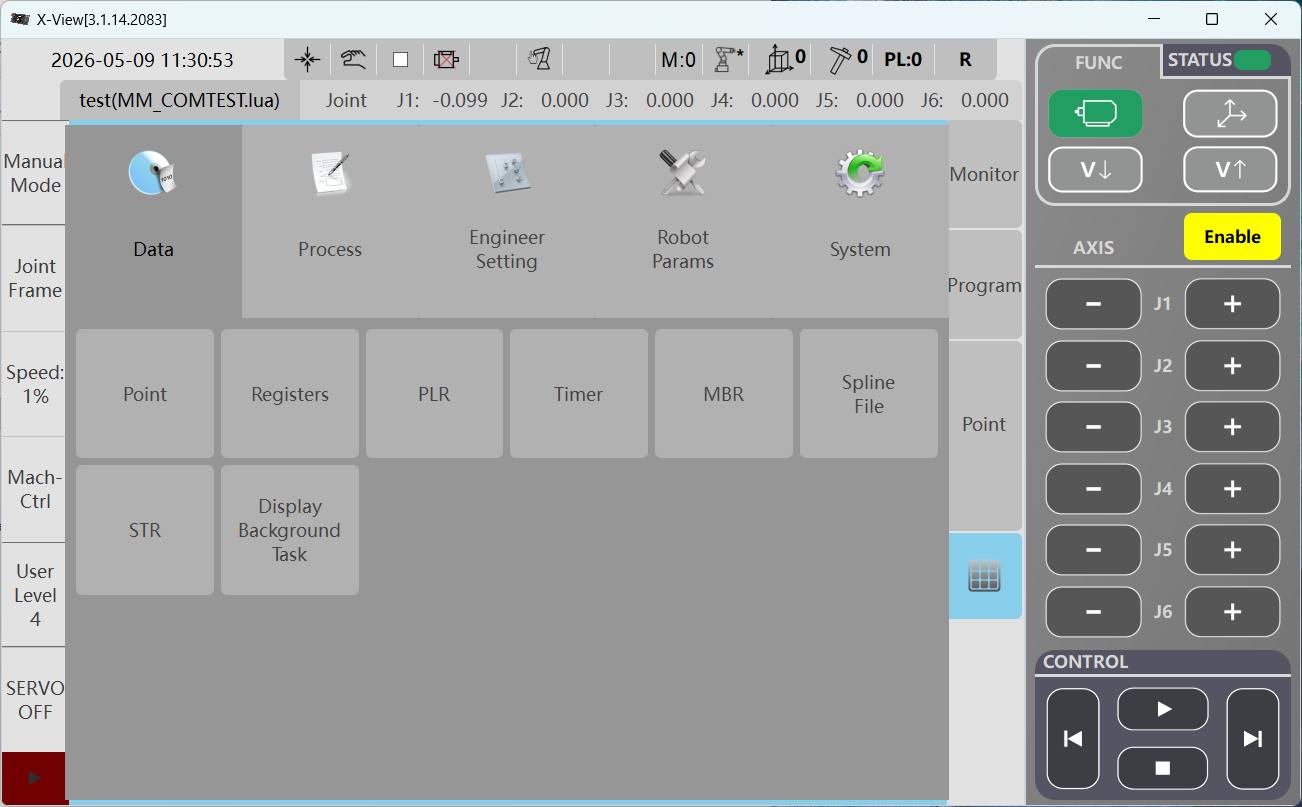
Move the robot to a suitable starting position, then navigate to the Data menu within the X-View square grid and click Position.
-
Select the JP variable and click Edit in the bottom-right corner of the interface.
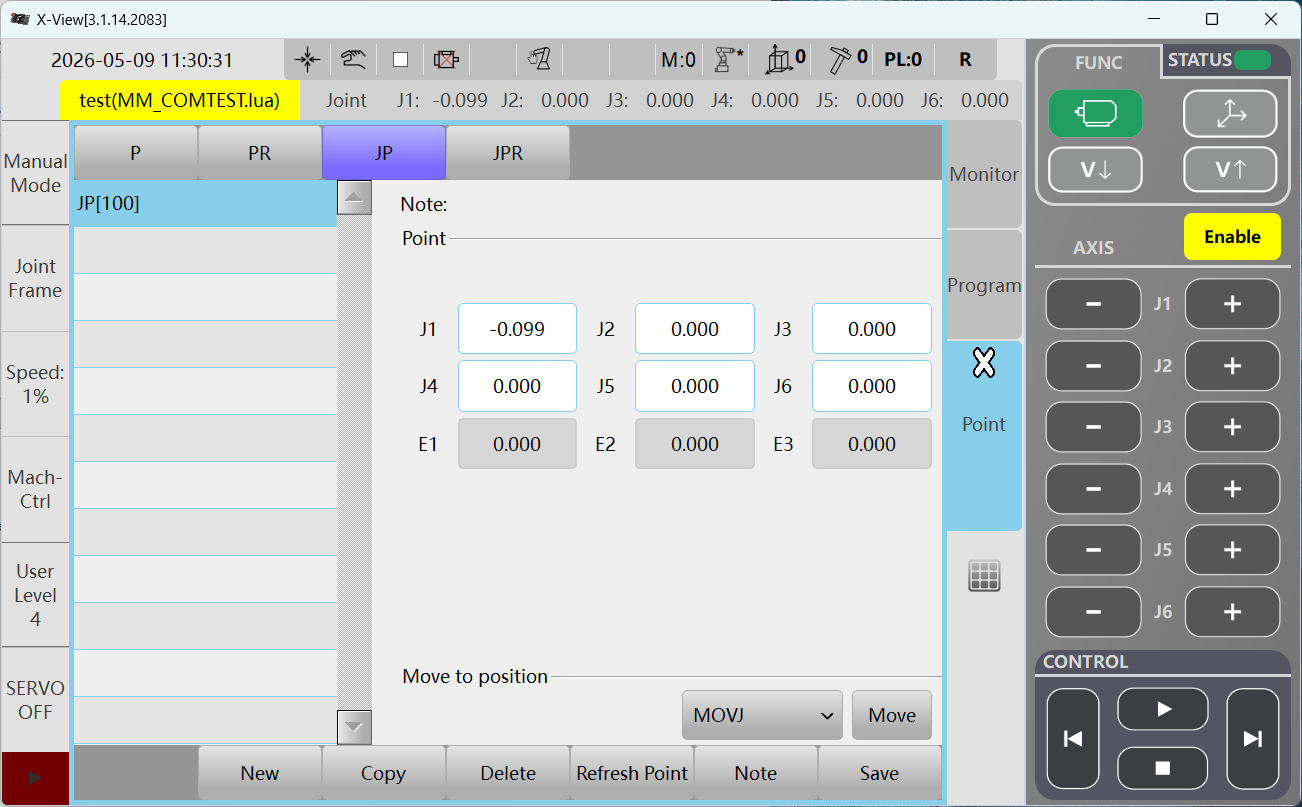
-
Click Refresh Points to ensure the position data is accurate, then click Save. When the Position file saved message appears, proceed to the next step.
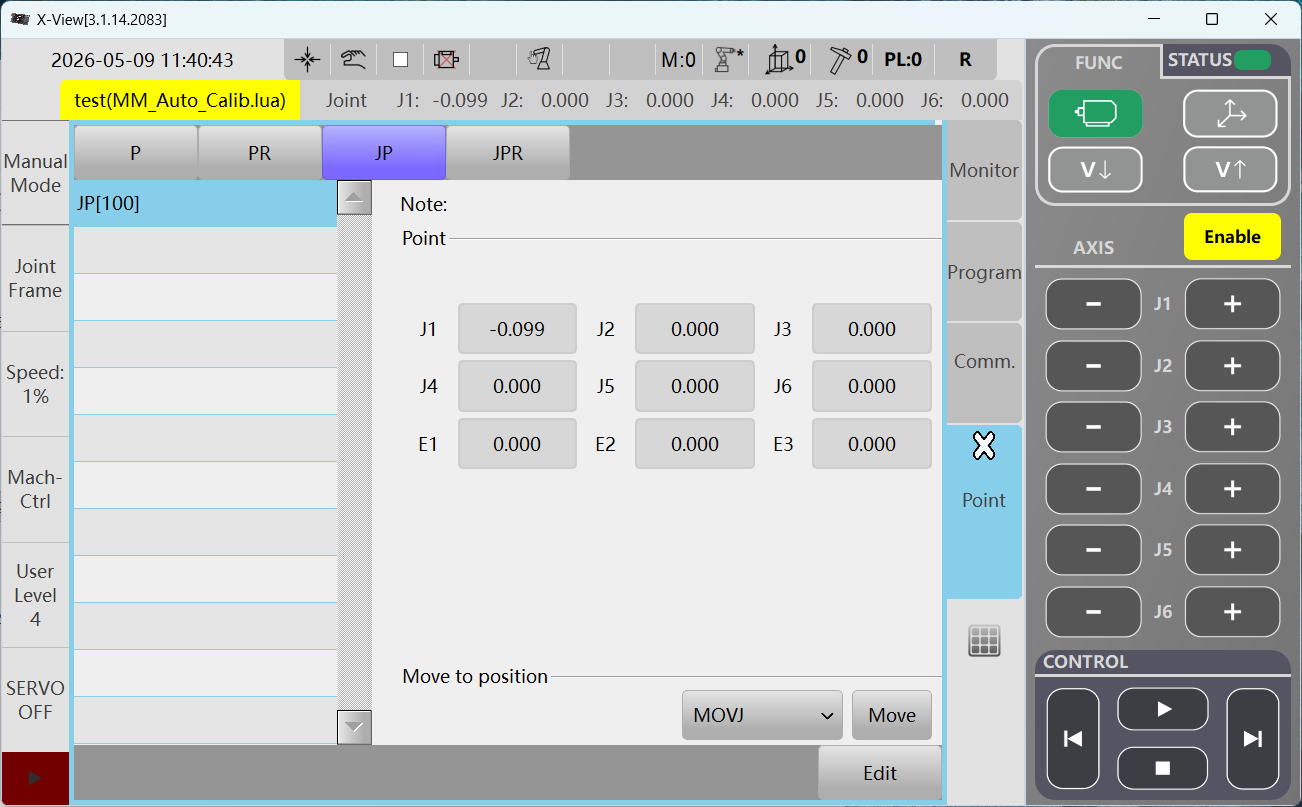
3. Run Calibration Program
-
Click the Robot icon in the top-right corner of the software interface, then click Compile from the trigger menu.
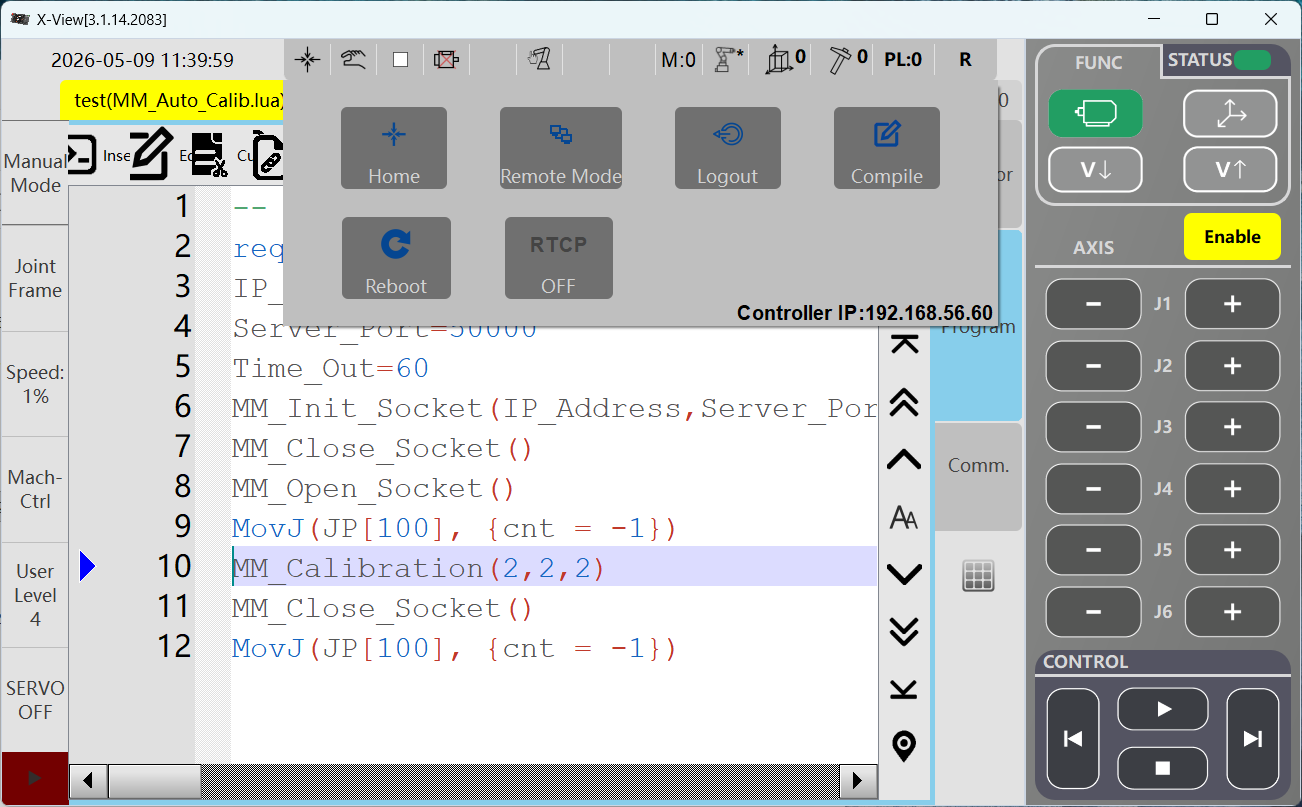
-
Click to open the MM_Auto_Calib.lua edit page, switch to Debug mode, and click Pointer to First Line.
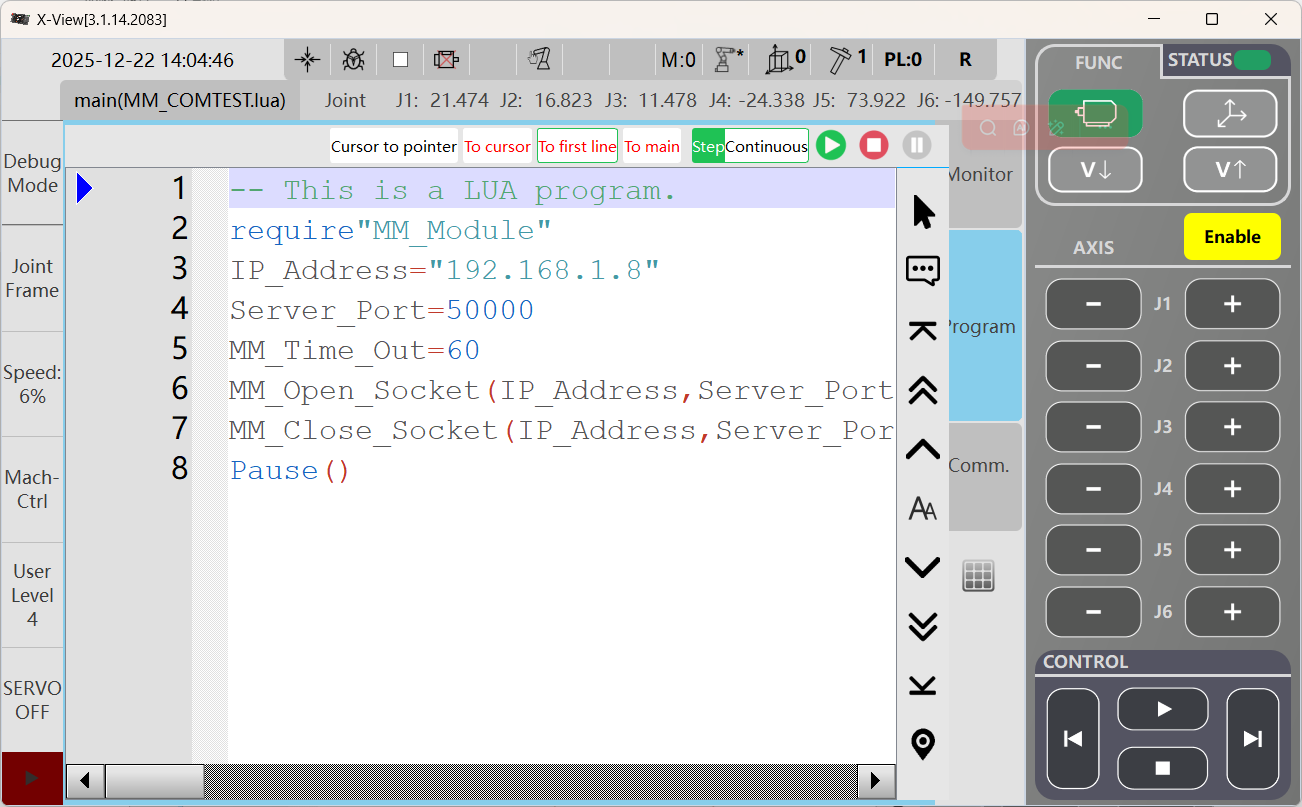
-
In the FUNC module at the top-right of the interface, click the Motor icon. Once the robot is powered on, click the Run button
 in the CONTROL area at the bottom-right to start the robot program.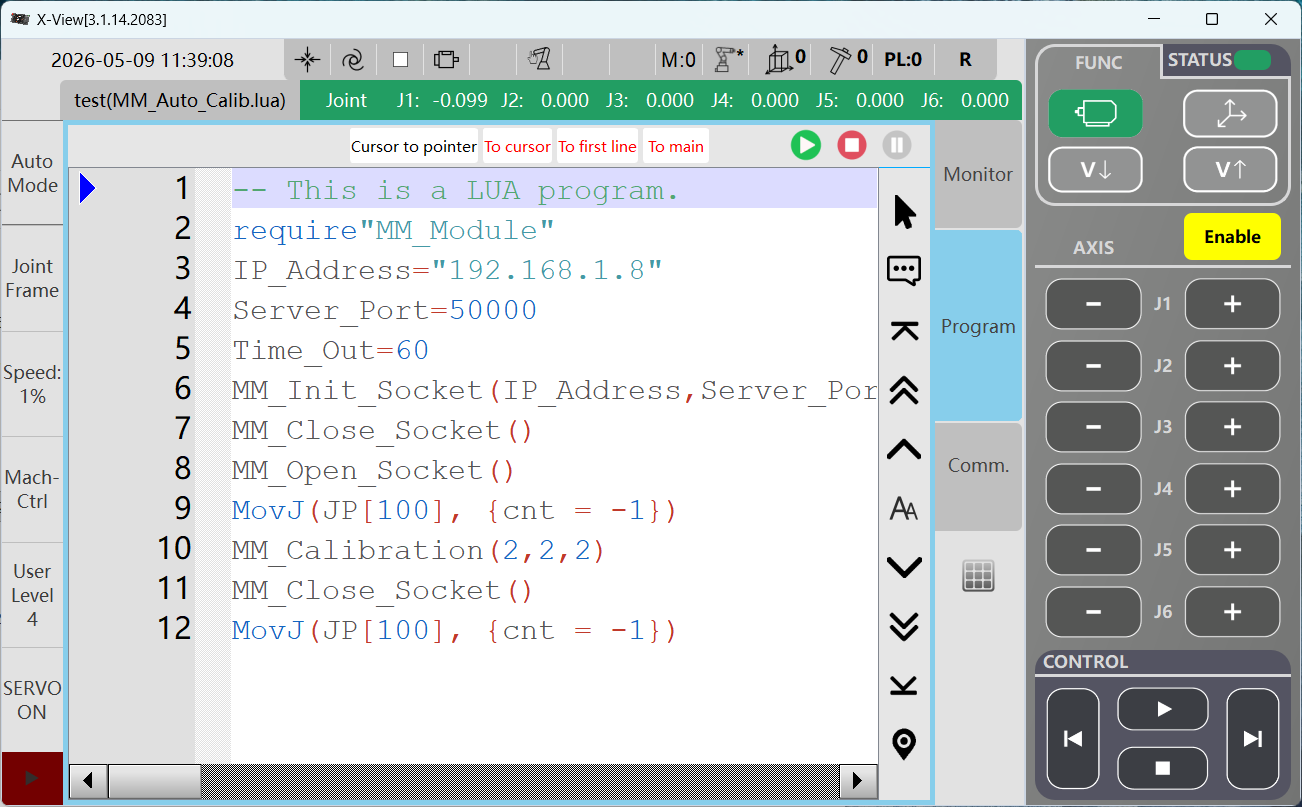
-
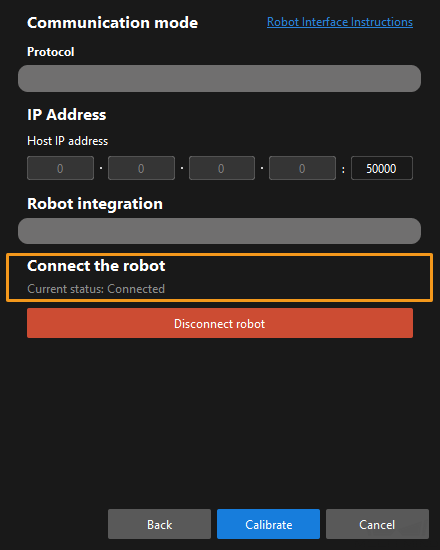
When, in the Calibration window in Mech-Vision, the current status changes to connected and the button Waiting for the robot to connect... changes to Disconnect robot, click Next at the bottom.
-
Perform Step 4 of Start calibration (which is Set motion path) and the subsequent operations based the following links.
-
If the camera mounting mode is eye to hand, see this document and proceed with the relevant operations.
-
If the camera mounting mode is eye in hand, see this document and proceed with the relevant operations.
-