Set up Standard Interface Communication with HYUNDAI
This guide shows how to set up the Standard Interface communication with a HYUNDAI robot.
Check Controller and Software Compatibility
|
The models and versions listed below are tested and can be used. For other models and versions, you may refer to this guide for operation. If any issues occur, please contact Mech-Mind Technical Support. |
Robot controller version: Hi5a-S or Hi5a-T10.
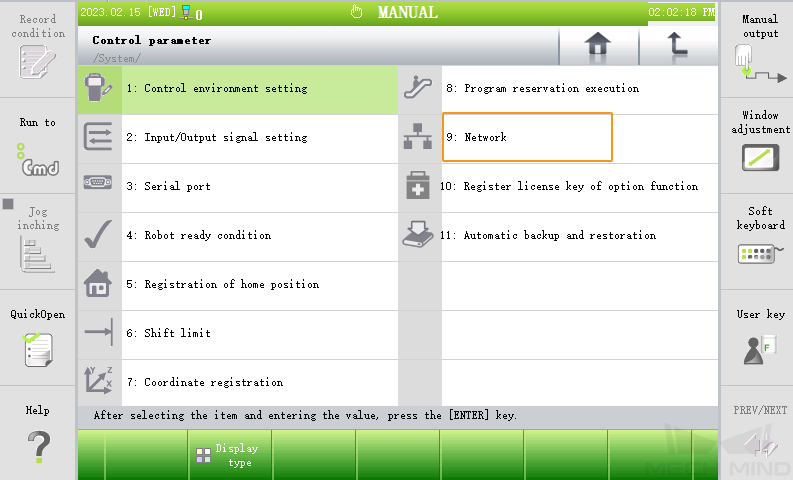
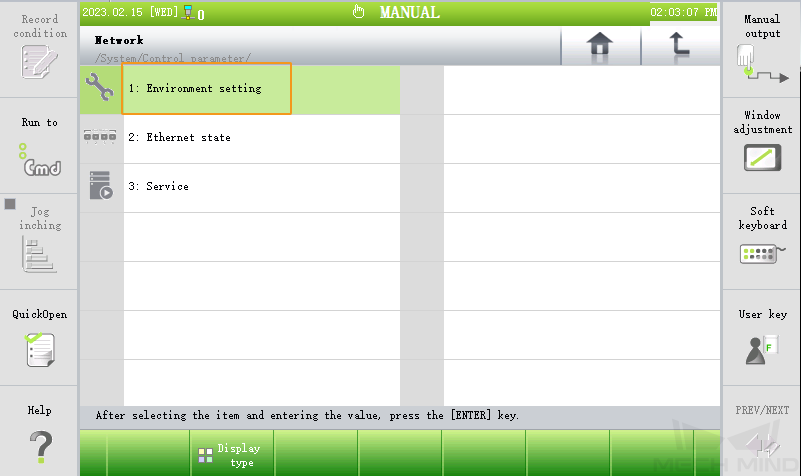
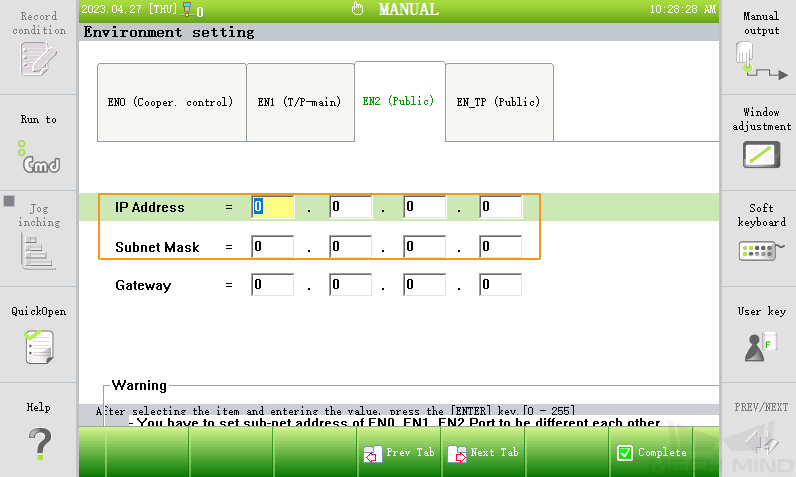
Set up the Network Connection
Connect the Hardware
There are three ports inside the controller, namely CNETN1, CNETN2, and CNETN3, which correspond to the EN0 address, TP address, and EN2 User Ethernet address on the teach pendant respectively. The Ethernet port outside the controller corresponds to the CNETN3 port inside.
-
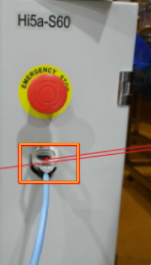
For the Hi5a-S controller, plug the Ethernet cable of the IPC into the Ethernet port on the outside, as shown below.
-
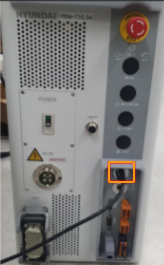
For the Hi5a-T10 controller, plug the Ethernet cable of the IPC into the Ethernet port on the outside, as shown below.

Set up Robot Communication Configuration
-
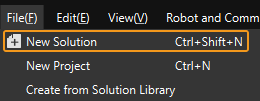
Open Mech-Vision. You may enter different interfaces. Create a new solution according to the instructions below.
-
If you have entered the Welcome interface, click New blank solution.

-
If you have entered the main interface, click on the menu bar.
-
-
Click Robot Communication Configuration on the toolbar of Mech-Vision.
-
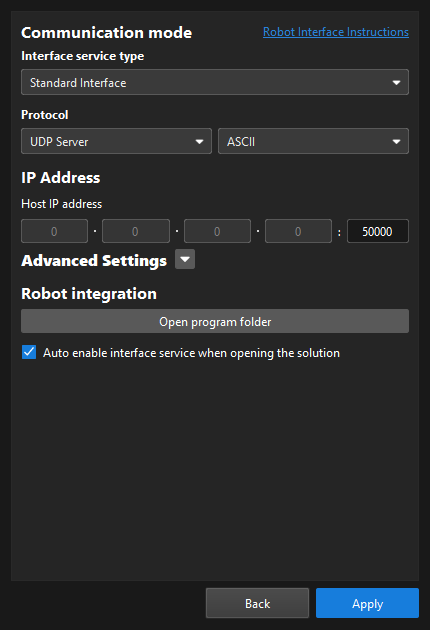
In the Robot Communication Configuration window, complete the following configurations.
-
Click the Select robot drop-down menu, and select Listed robot. Click Select robot model, and select the robot model that you use. Then, click Next.
-
In the Communication mode section, select Standard Interface for Interface service type, UDP Server for Protocol, and ASCII for the protocol format.
-
Set the port number to a value less than 9999 (such as 8000) and make sure that the set port number is not occupied by other programs.
-
Under Robot integration, click Open program folder.
The files needed for subsequent loading will be copied from this folder. Do not close this folder. -
(Optional) Select Auto enable interface service when opening the solution.
-
Click Apply.
-
-
On the main interface of Mech-Vision, make sure that the Robot Communication Configuration switch on the toolbar is flipped and has turned blue.

Prepare Program Files
-
Open the
Hi5folder in the opened program folder (theHYUNDAIfolder).You can also find the program folder in the
Communication Component/Robot_Interface/HYUNDAIpath in the installation directory of Mech-Vision and Mech-Viz. -
In the
Hi5folder, please change the first line in each .JOB file according to specific robot models, for example, “Program File Format Version : 1.6 MechType: 739(HH4-01) TotalAxis: 6 AuxAxis: 0”.-
If the specific robot model is known, change the file.
-
If the robot model is unknown, but the .JOB file is in the robot, export the program file, and copy the first line to replace the first line of each .JOB file in the
Hi5folder. -
If the robot model is unknown, and the .JOB file is not in the robot, please refer to Create Program File and Export Program File to create a .JOB file.
-
-
Plug the USB flash drive into the USB port of the IPC. Copy the modified
Hi5folder to the USB flash drive and then remove the USB flash drive safely.
Load the Program Files to the Robot
-
Connect the flash drive to the teach pendant.
-
Go to , select all the JOB files under the
Hi5folder, and then select Copy in the bottom panel. Then, switch to the T/P folder and select Paste in the bottom panel to load the files to the robot.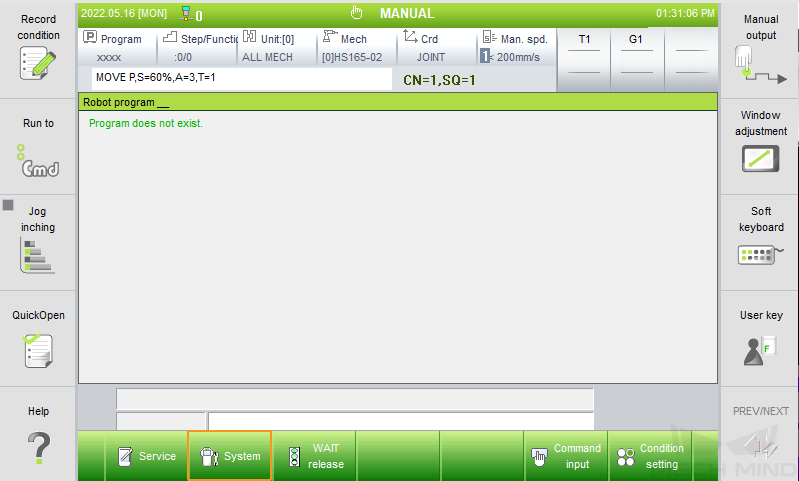

Further Configuration
-
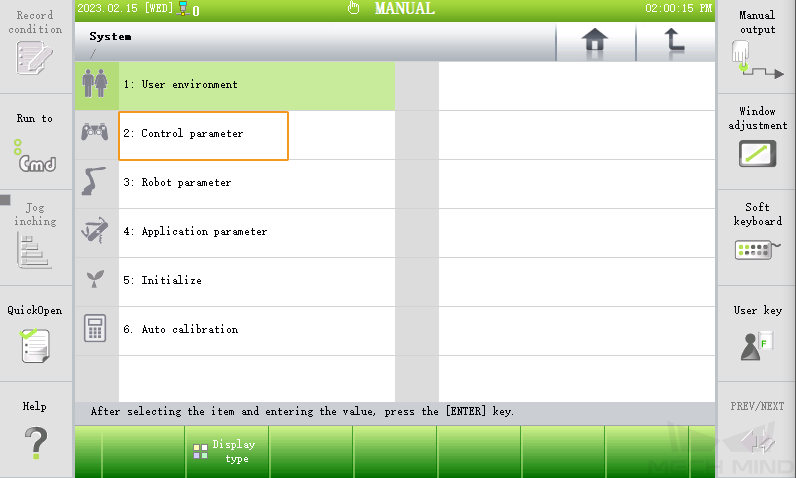
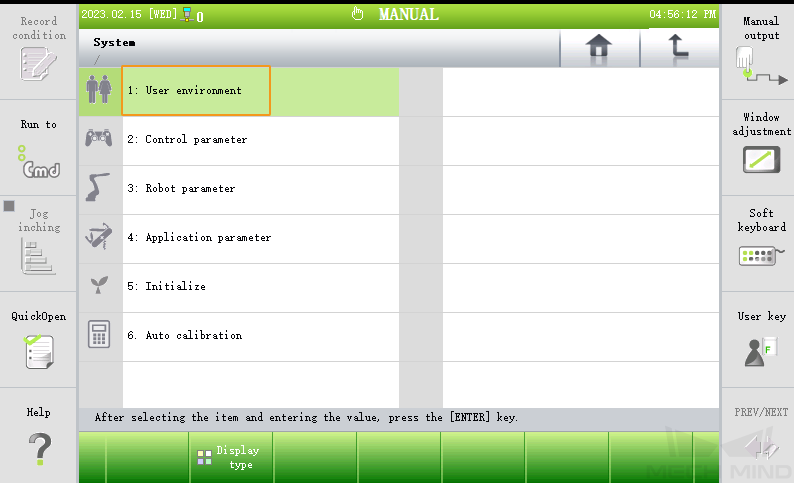
Go to .
-
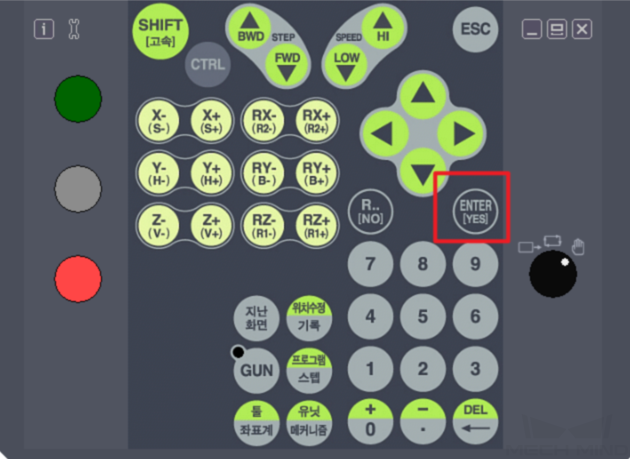
Select User key, and enter 314 to request permission.
-
On Pose record type, press the Shift button on the teach pendant and the left/right button to select Axis.

Test Standard Interface Communication
-
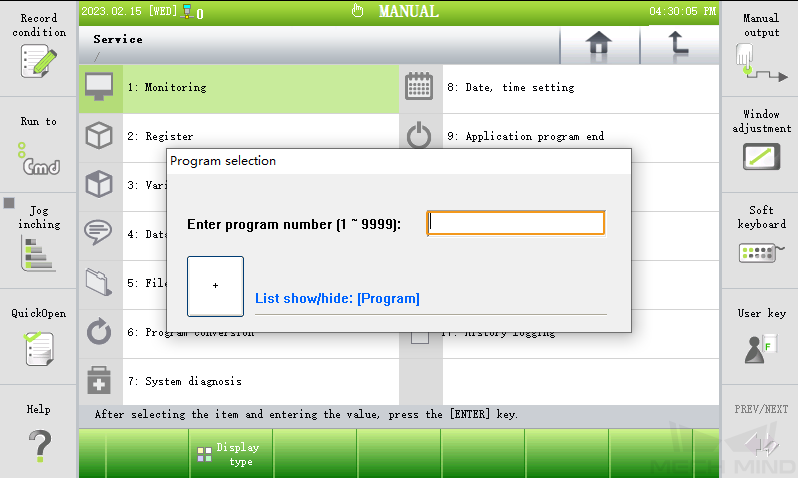
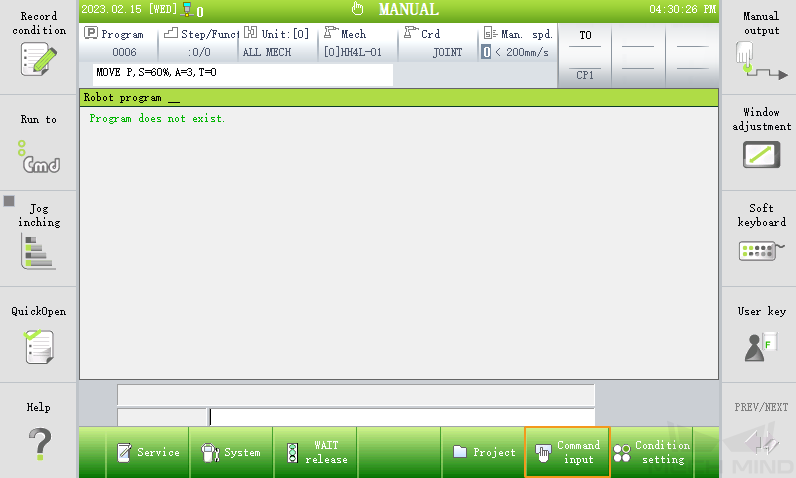
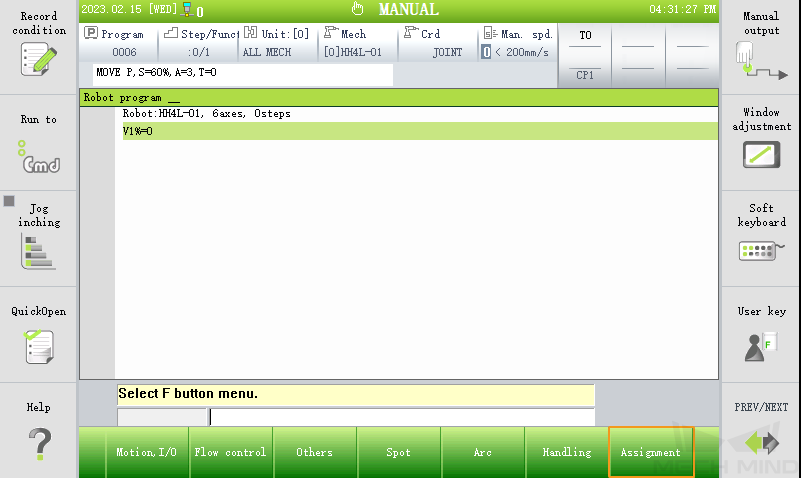
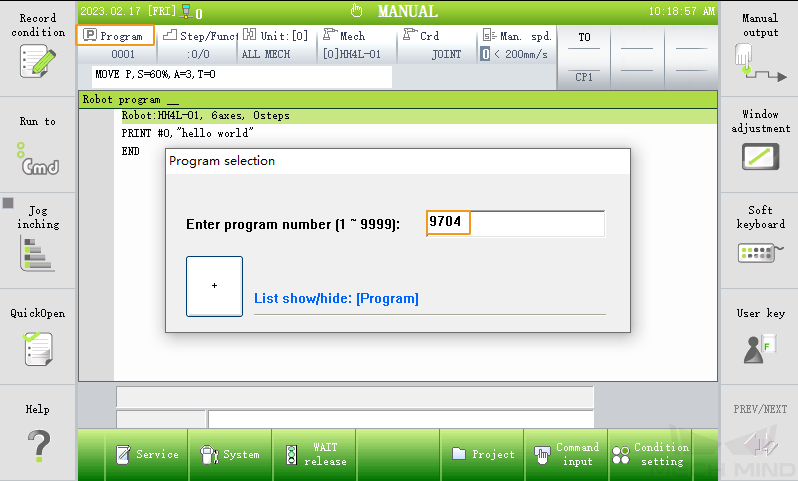
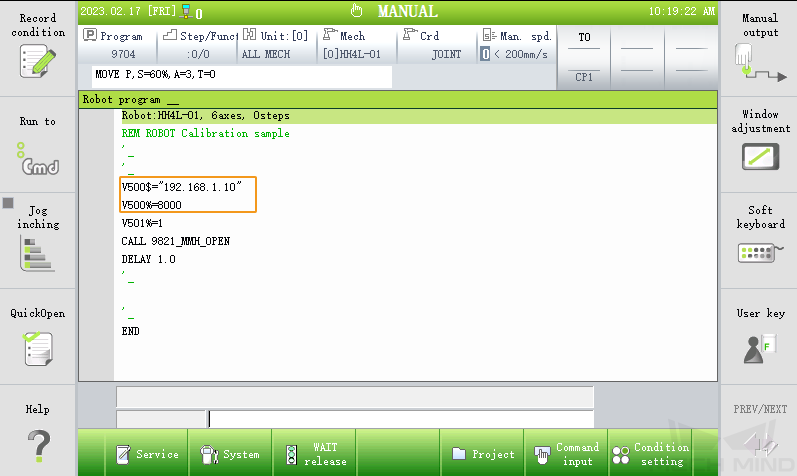
On the teach pendant, select Program at the upper left corner and enter the program number 9704 to open the program.
-
Change the value of V500$ to the IP address of the IPC, and set the value of V500% to the port number configured in Mech-Vision.
-
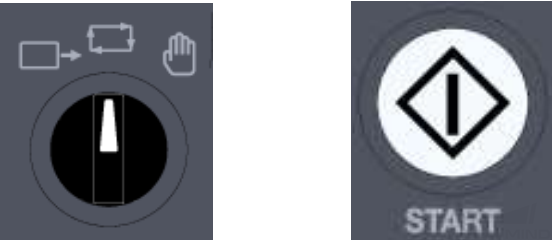
Switch to AUTO mode, and press START to execute the robot program 9704.