Master-Control Communication Setup
This guide shows you how to set up Master-Control communication with an Epson robot.
Set the IP Address
The default IP address of the robot is 192.168.0.1. Modify the IP address of the IPC to one that belongs to the same subnet as the robot, for example, 192.168.0.10.
For details on configuring robot’s IP address, refer to section Set the IP address.
Load the Program Files to the Robot
Load the Program Files
-
Click to download the program file for the Epson robot. Then unzip the epson.zip file.
-
In the unzipped folder, find the setup.exe file by the path
epson/v751/EpsonRC70. Double-click the file, keep the default options and click Next to install EPSON RC+. -
Go to
Communication Component/Robot_Server/Robot_FullControl/esponfrom the installation directory where Mech-Vision and Mech-Viz are installed. Copy the mm_control folder and paste it to the projects folder in the installation directory of EPSON RC+.
Configure the Program File
-
Open the mm_control file in EPSON RC+.
-
Click in the toolbar.
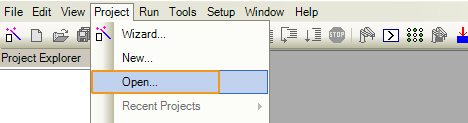
-
Select mm_control in the pop-up window and click Open.

The program file is successfully opened when the Project Explorer panel on the left side appears as shown below.

-
-
Set the IP Address.
-
Click the icon in the toolbar.

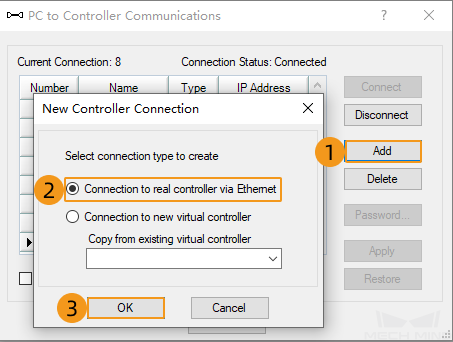
-
Click Add in the pop-up window, select Connection to real controller via Ethernet, and click OK.
-
Input the default IP address of the robot (192.168.0.1). Click .

-
-
Connect to the robot by selecting Ethernet 1 in the drop-down list.

-
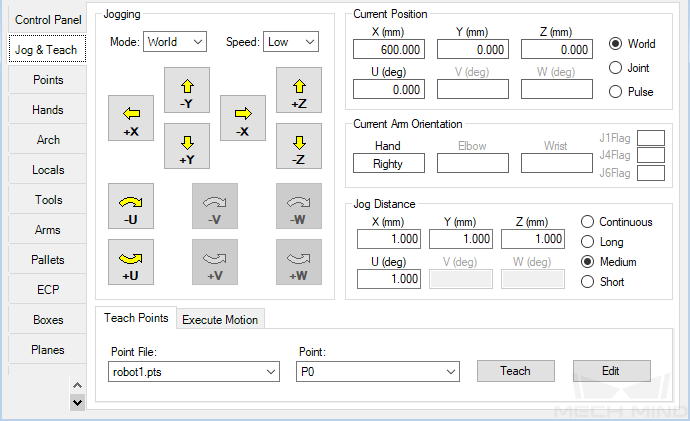
Click in the toolbar to check the robot status.

This panel, on which you can manually control the robot, is a teaching board for other robots.
-
Click the icon in the toolbar. In the pop-up Run window, select “main” and click Start to run the program.

Test Master-Control Communication
Create a Mech-Viz Project
-
Open Mech-Viz, press Ctrl + N on the keyboard to create a new project. Select the robot model corresponding to your real robot brand and model on the interface as shown below.

-
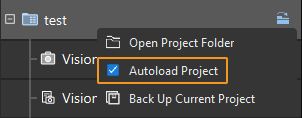
Press Ctrl + S and create or select a folder to save the project.
-
Right-click the project name in the left panel in Mech-Viz and select Autoload Project.
Connect to the Robot
-
Click Master-Control Robot on the toolbar of Mech-Viz.
-
Input the IP address of the real robot in Robot IP address (the IP address in the picture is only an example). Click Connect the robot.

If Mech-Viz successfully connects the real robot, the current status will change to Connected. Meanwhile, the icon in the toolbar will turn from blue to green.
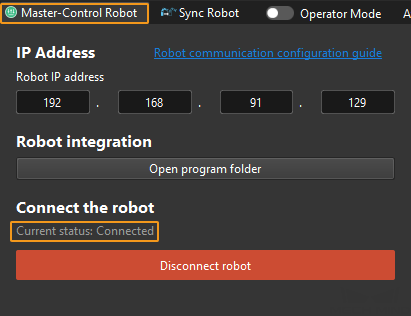
If the connection fails, please double-check the robot IP address.
Move the Robot
-
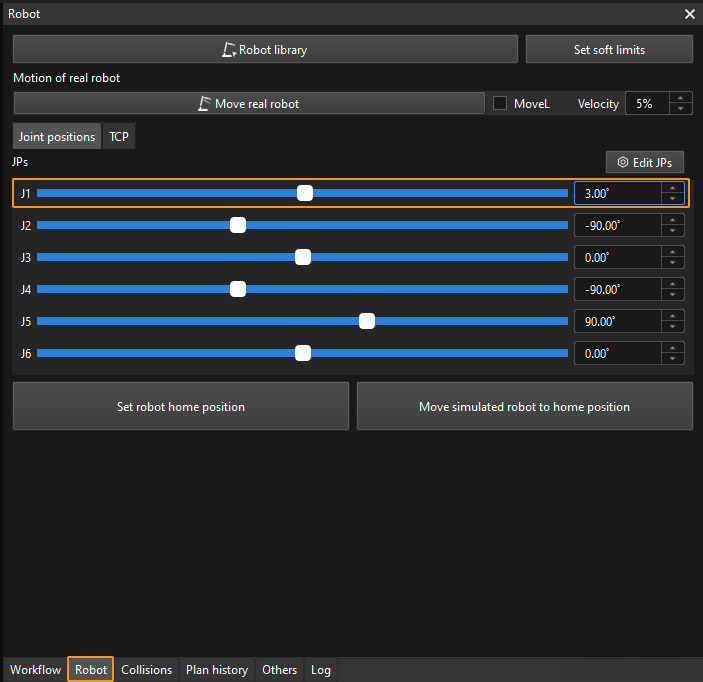
In the toolbar of Mech-Viz, change the “Vel.” (velocity) and “Acc.” (acceleration) parameters to 5%.

-
Click Sync Robot in the toolbar, and you can synchronize the poses of the simulated robot in the 3D simulation space with the poses of the real robot. Then click Sync Robot again to unselect it.

-
In the Robot tab, slightly adjust the value of “J1”, for example, from 0˚ to 3˚. This operation will move the simulated robot.
-
Click Move real robot and check if the real robot has moved. If the real robot has reached the JPs set for the simulated robot, the master-control communication is working.
When moving the robot, please ensure the safety of personnel. In the case of an emergency, press the emergency stop button on the teach pendant! 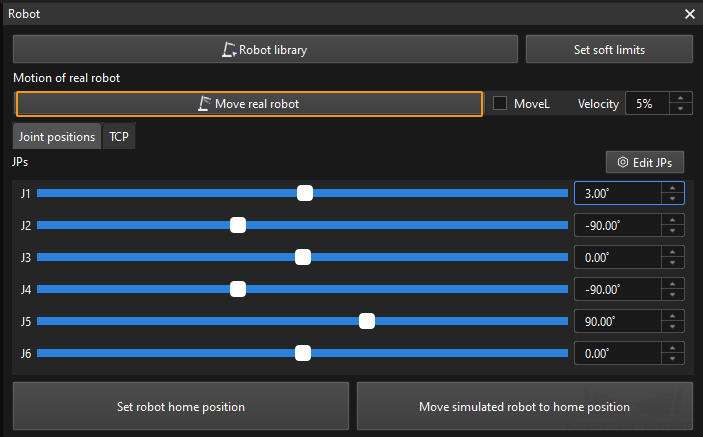
Notes
-
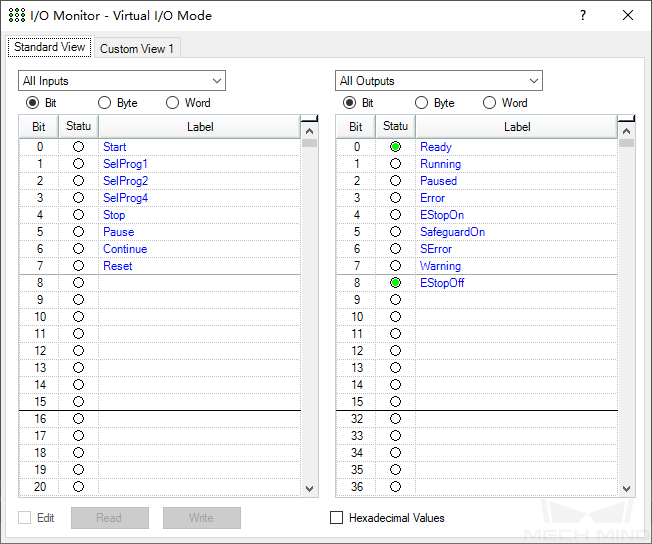
Check if the port is occupied by the robot before testing Set DO. If so, the system will prompt an error message.
-
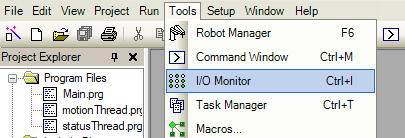
Click in the toolbar.
-
Check the status of I/O ports in the pop-up window as shown below.
-
-
You can connect to the robot using a square USB cable (same as the printer) if you forget the IP address of the robot.