Check Robot Absolute Accuracy
This section describes how to check the absolute accuracy of the robot.
Ways to check the absolute accuracy are as follows.
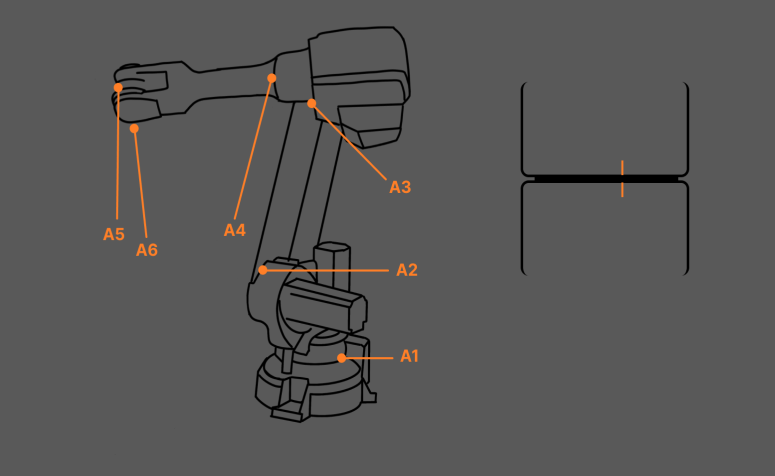
Check the Zero Position of Each Axis
Refer to the manufacturer’s instructions for checking zero positions on the specific robot in use.

Measure the Error in the Robot’s Movement Distance
Use the teach pendant to control the robot to move a certain distance along a fixed direction (e.g., X or Y-direction) in the workspace. After the movement, compare the theoretical distance with the actual distance the robot moved and measure the difference.

For example, the movement distance displayed on the teach pendant is 1000 mm. However, the measured distance the robot actually moved is 998 mm. Then the error of the robot’s movement distance is 2 mm.
Check By Rotating around a Pinpoint

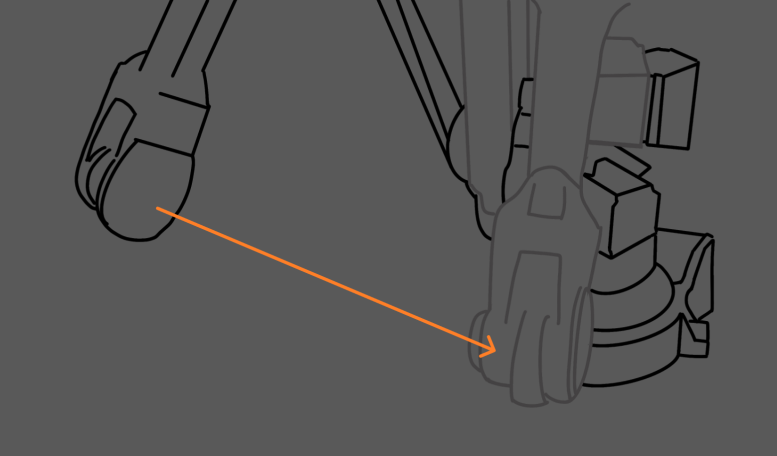
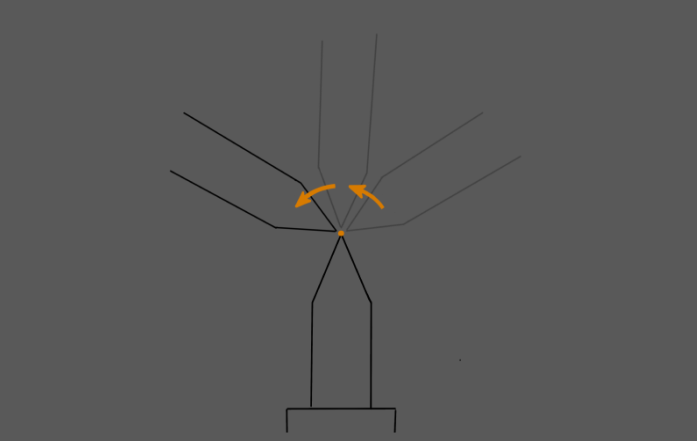
As shown in the figure above, the absolute accuracy of the robot can be checked by rotating the TCP around a pinpoint. The instructions are as follows.
-
Mount a pinpoint at the end flange of the robot.
-
Enter the coordinates of the current pinpoint on the teach pendant to set it as the TCP of the robot.
-
Mount and fasten another pinpoint in the robot workspace.
-
Move the robot using the teach pendant and make the robot TCP exactly touch the pinpoint in the workspace.
-
Rotate the robot end around the pinpoint, check if the two pinpoints are still in contact, and record the distance fluctuation range if the two pinpoints depart.
As shown in the figure below, in Figure 1, the pinpoint mounted at the robot flange coincides with another pinpoint, indicating good absolute accuracy. In Figure 2, the pinpoint mounted at the robot flange slightly departs from another pinpoint, indicating poor absolute accuracy. In Figure 3, the pinpoint mounted at the robot flange significantly departs from another pinpoint, indicating very poor absolute accuracy.

Other Checking Suggestions
Absolute accuracy is the primary factor influencing the accuracy of recognition and picking. If the robot’s absolute accuracy, as determined by the previously outlined steps, cannot meet the requirements, please contact the robot manufacturer for accuracy correction first.
If the robot manufacturer is unable to rectify the accuracy or the corrected accuracy still cannot meet the requirements, consider creating different point cloud models at different positions or jogging the robot to record different pick points to compensate for the robot’s absolute accuracy.