Camera Viewer
Introduction
The camera user can be used to connect and control the camera to capture images, display 2D images and depth maps, and specify a path to save the files.
In the menu bar, click to open the tool. The interface is shown as below.

Operation Procedure
Open the Camera Viewer
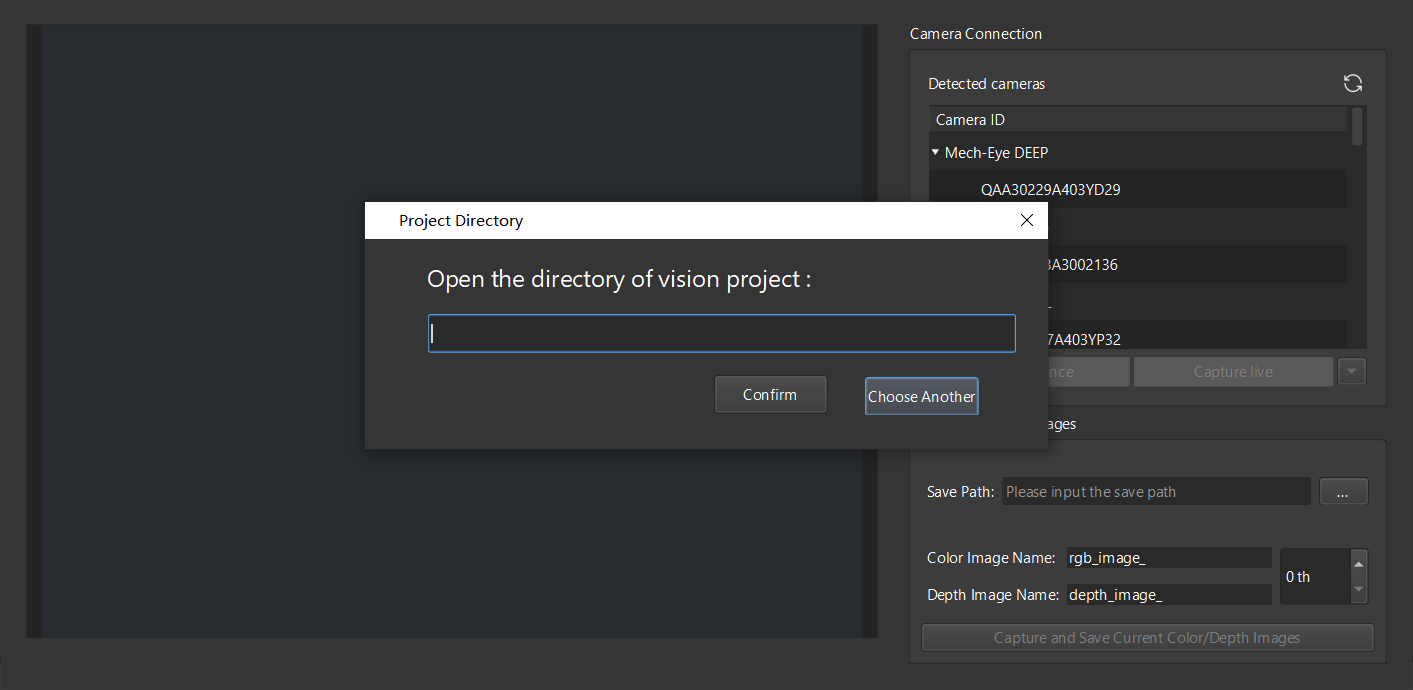
To capture images, the camera needs to load the corresponding intrinsic and extrinsic parameters that are saved in the corresponding project folder. Therefore, you need to select a project folder. However, you can also enter the interface without opening any folder.
Connect to a Camera
-
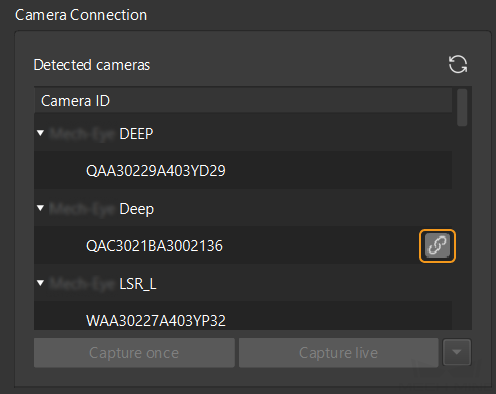
In the list of detected camera, click
 on the right of the desired camera’s serial No. to connect the camera. After the camera is connected, the icon will turn into
  .
.
-
Click Capture once or Capture live below the Detected cameras panel to capture one image at a time or capture images continuously, and you can see the 2D image and depth map in the left panel in real-time.
Capture and Save Images
If you want to save the captured images, specify a Save Path first in the Capture and Save Images panel, set the Color Image/Depth Image Name, and set the file name index (X th). Lastly, click Capture and Save Current Color/Depth Images to save the files to the specified folder.
