Move the Simulated Robot
You need to plan a motion path for a simulated robot so that it can move by the path. A path consists of multiple waypoints. By adding waypoints, you can plan a path. Use the Fixed-Point Move Step to set the waypoints.
-
Demonstration
-
Instructions
-
Open Mech-Viz, click the New Project button at the center, and select a robot.
-
Find the Fixed-Point Move Step under the Basic Move category in the Workflow panel and then drag it to the graphical programming workspace.
-
View the initial angles of robot joints under the JPs parameter on the right side. You can adjust the position of a joint by dragging the corresponding slider, and in the meanwhile, the pose of the robot changes with it, as can be seen in the 3D simulation area. The pose after adjustment can be taken as a waypoint.
-
Connect the start icon with the Fixed-Point Move Step and then click the Simulate button in the upper-left corner of the software interface. The robot will move to the waypoint you set before.
-
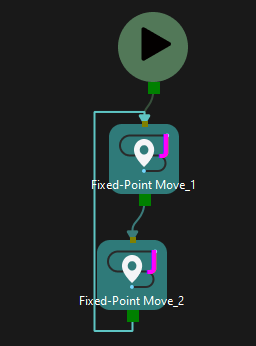
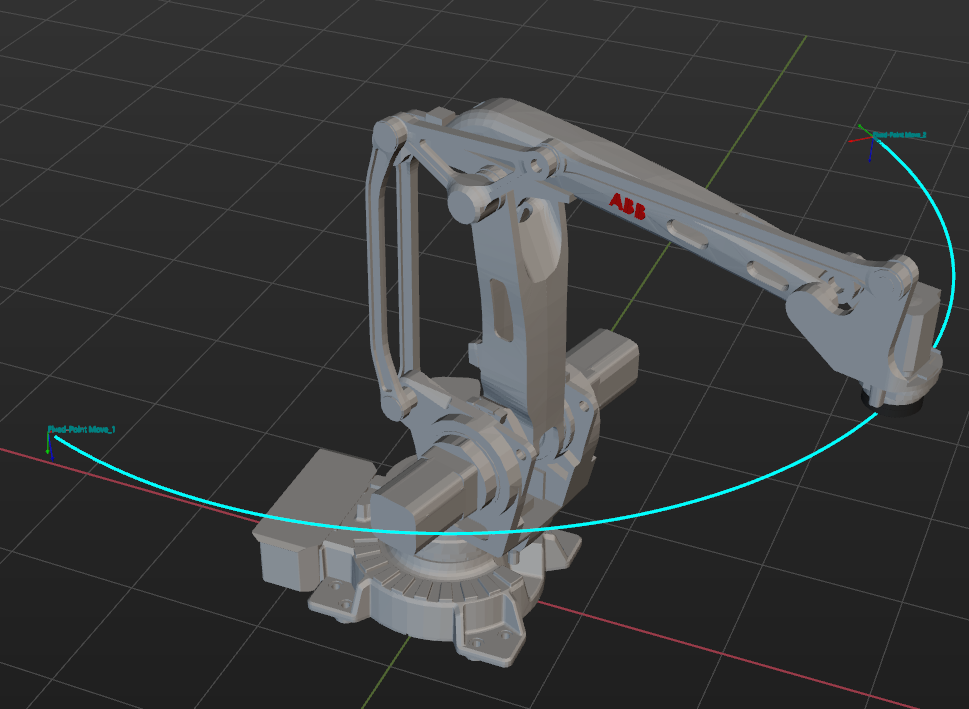
Add another waypoint. Similarly, drag the Fixed-Point Move Step in the Workflow panel to the graphical programming workspace. Then, adjust the angle of a joint. Connect the output port of Fixed-Point Move_1 with the input port of Fixed-Point Move_2 and then click the Simulate button. The robot will move from one waypoint to another.
-
Connect the output port of Fixed-Point Move_2 with the input port of Fixed-Point Move_1 and then click the Simulate button. The robot will move back and forth between the two waypoints. Click the Stop button to make it stop.
Workflow
Simulation


-
Now, you can plan a simple motion path for a simulated robot.