Create and Manage PDF Reports
This section introduces how to create and manage a PDF report, helping you customize the content and layout of measurement reports according to actual requirements, and export standardized PDF reports.
PDF Report Description
A PDF report is one of the commonly used formats in inline measurement. It is used to save and share measurement results in a standardized and tamper-proof format, making it convenient for data archiving, quality traceability, and external delivery. The PDF format is compatible and can be viewed on different devices and platforms, satisfying application requirements such as internal management and customer reviews.
A PDF report usually consists of multiple pages, each containing text, images, tables, snapshots, and graphics.
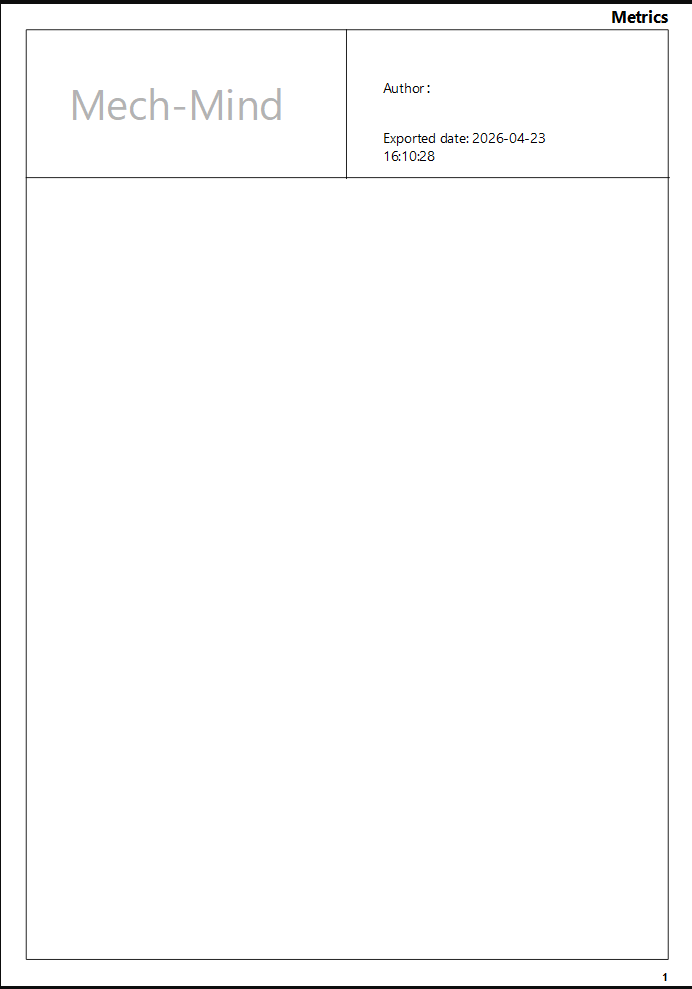
PDF reports contain the following five fixed elements:
| Elements | Description |
|---|---|
Author |
Displays the creator information of the report. |
Exported date |
Displays when the report was exported. |
Logo |
The brand name or company logo displayed in the report. |
Vertical Segmentation Line |
Used to vertically separate different content areas in a page. |
Bottom Segmentation Line |
Located at the bottom of the page, used to separate the body content from the footer. |
| The above elements can be hidden or locked in the Elements section at the bottom left of the PDF Report Editor. |
Create PDF Report
To create a PDF report, follow these steps:
Enter PDF Report Editor
-
In the functional area of the software configuration interface, click the Report tab in the upper left corner, and then click the PDF Report button.

-
The PDF Report Editor interface will appear.
PDF Report Editor will create a new PDF report based on the default PDF report template. You can personalize the report based on the template, such as page management, adding and editing text, images, tables, snapshots, and graphics.
Page Management
-
Perform page management on the left page bar:
-
Click the New page icon in the upper right corner to create a new page.
-
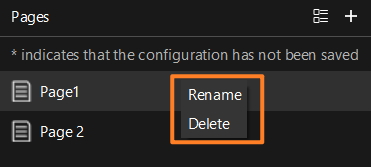
Right-click the page and you can perform the following operations:
-
Rename: Modify the page name.
-
Delete: Delete the current page.
-
-
-
You can also click the thumbnail view icon in the left page bar to view and switch between pages.
Add Text
-
Click the text icon on the toolbar.
-
Double-click in the blank space to create a text box.
-
Enter the required text in the text box.
-
You can drag and drop the text box to move it to the desired position.
-
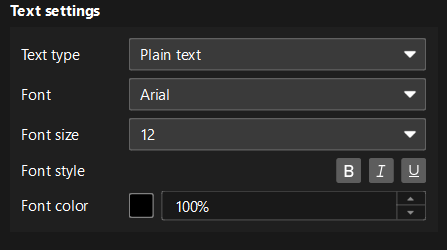
In the right property panel, you can set the text style, including Font, Font size, Font color, and alignment.
-
Right-click the text and open the shortcut menu to perform the following operations:
-
Copy: Copy the current text.
-
Edit: Modify the text.
-
Delete: Delete the current text.
-
Insert Image
-
Click the Image icon on the toolbar.
-
Select the image file to be inserted.
-
Image will be inserted into the current page.
-
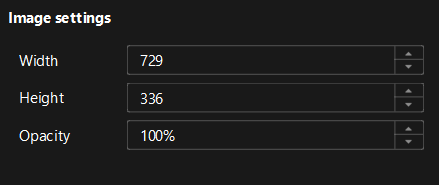
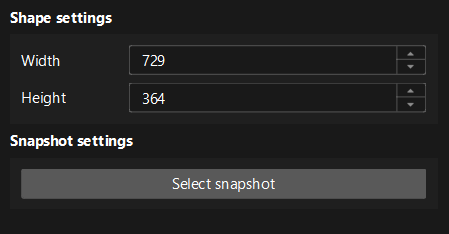
You can adjust the image in the right Property Panel:
-
Width: Set the horizontal size for the image display.
-
Height: Set the vertical size of the image.
-
Opacity: Adjust the transparency of the image to control the visual layering effect.
-
-
Right-click the image and open the shortcut menu to perform the following operations:
-
Copy: Copy the current image.
-
Delete: Delete the current image.
-
Insert Table
-
Click the table icon on the toolbar.
-
Click in the blank space on the page to insert the table.

-
You can edit the table in the right Property Panel.
-
If you need to modify the table content or structure, click the Edit table option in Table settings on the right. This will take you directly to the table report editor for configuration.
-
Right-click the table and open the shortcut menu to perform the following operations:
-
Copy: Copy the current table.
-
Delete: Delete the current table.
-
| The table elements in a PDF are derived from the table format configured in the Table Report Editor. To create or modify the structure and content of tables, refer to Create and Manage Table Reports. |
Insert Snapshot
-
Click the Snapshot icon on the toolbar and select the snapshot you want to insert.
-
Click on the page to insert the created snapshot.
-
After inserting the snapshot, you can drag it to adjust its position.
-
You can edit and select a snapshot in the right Property Panel.
-
Right-click the snapshot and open the shortcut menu to perform the following operations:
-
Copy: Copy the current snapshot.
-
Delete: Delete the current snapshot.
-
| The snapshot elements in a PDF are derived from the created snapshot data. To create or manage snapshots, refer to Create and Manage Snapshots. |
Insert Graphics
-
Click the graphic icon on the toolbar.
-
Select one of the line, rectangle, and ellipse for insertion:
-
Click on the page to finish inserting the graphic.

-
You can edit and adjust the graphics in the right Property Panel.
| The supported properties vary for different graphics types: Lines only support line style, color, and thickness settings; Rectangles and ellipses support text content settings in addition to basic styles, allowing you to add text inside the graphics. |
Manage PDF Reports
In the resource tree of the software configuration interface, all created PDF reports are displayed in the report area.
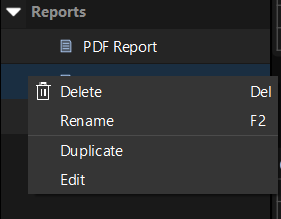
You can select a report and perform the following operations:
-
Delete: Delete the current report.
-
Rename: Change the name of the report.
-
Duplicate: Copy the current report to generate a new copy.
-
Edit: Enter the PDF Report Editor interface to modify the report settings.
You can also click the Open Editor button in the Basic Information area of the report’s Parameters panel to enter the PDF Report Editor interface and modify the report settings.
Through the above operations, PDF reports can be managed and maintained in a unified manner.