Project Switching Management
This section introduces how to use the Project Switching Management tool to configure project switching rules to automatically switch projects based on the project ID.
Project switching rules are used to automatically switch projects according to the received project ID. The switching rules define the mapping between the project ID and the project path.
Follow these steps to configure the project switching rules:
-
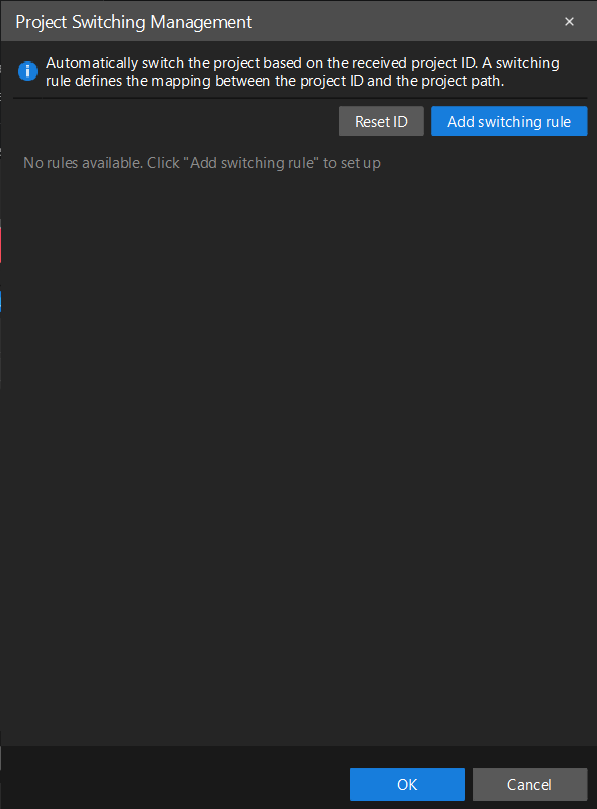
In the upper-left corner of the software configuration interface, click Tools, and then select Project Switching Management. The Project Switching Management dialog box will appear.
-
Click the Add switching rule button to add a new switching rule.
-
Set the following parameters for the newly added rules:
-
Project path: Click the folder icon, and browse for and select the project path that corresponds to the project ID.
-
-
To add more switching rules, repeat steps 2 to 3.
To delete a switching rule, click the delete icon to the right of the rule.
-
After configuration, click OK to save the configuration. To cancel the change, click Cancel.