Adjust Pose Orientation (Predefined Mode)
This section introduces how to adjust the pose orientation in the Predefined mode.
There are three options to adjust the pose orientation in the Predefined mode, namely, Auto alignment, Point to reference pose, Point to/away from pallet center (depalletizing).
Auto alignment
Function
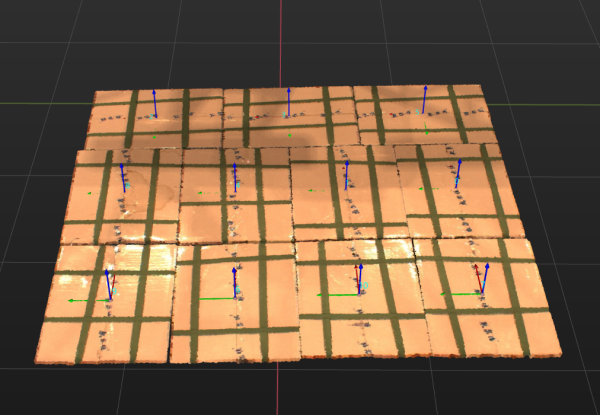
This feature can automatically align the orientations of the object poses. As shown in the figure below, Auto alignment makes the orientations of the carton poses uniform.
Usage Instructions
Auto alignment supports Align Z-axes (Machine tending) and Box palletizing and depalletizing two application scenarios. Please select according to the actual situation.
Once Box palletizing and depalletizing is selected, a new input and output port will be added to the “Adjust Poses V2” Step, and you should set the Square size judgment threshold. The detailed operation procedure is as follows.
-
Input the carton dimensions.
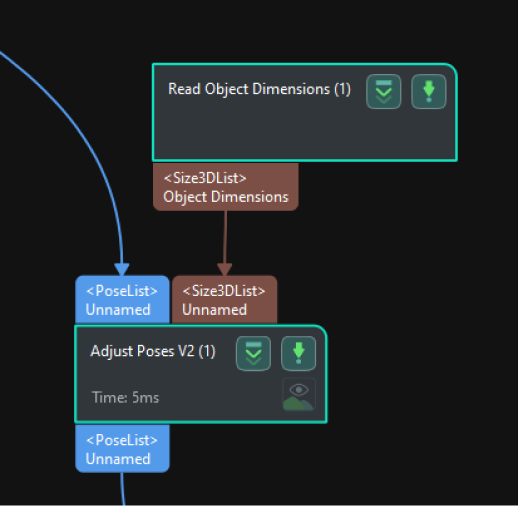
As shown in the figure below, if the “Read Object Dimensions” Step is used to input the carton dimensions, connect the output port of the Step with the new input port of the “Adjust Poses V2” Step.
-
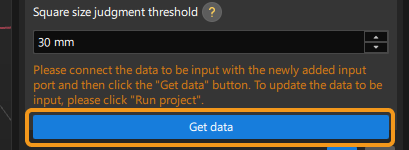
Set Square size judgment threshold.
During depalletizing, pose orientations of boxes with square or nearly square upper surfaces should be aligned. This parameter is used to determine whether the upper surface of the box is square. When the difference between the input length and width of the box is less than the threshold, the box’ upper surface is considered square.
-
Receive the input data.
Click Get data to receive the input pose and dimensions.
Point to reference pose
Usage Instructions
Set reference pose
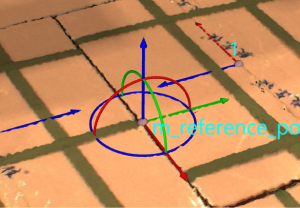
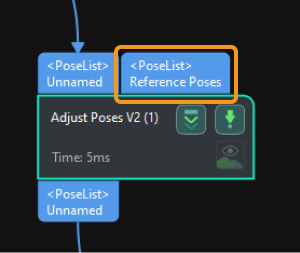
There are two methods to set the reference pose, namely, Drag with pose manipulator and Input from external Step, as explained in the table below.
No. |
Method |
Description |
Instruction |
Illustration |
1 |
Drag with pose manipulator |
Adjust the position and orientation of the manipulator to set the reference pose. |
|
|
2 |
Input from external Step |
Input a reference pose from other Steps. |
|
|
Pointing axis
This parameter is used to specify the axis that needs to point to the reference pose. You can choose between X-axis, Y-axis, and Z-axis according to the actual requirements.
Point to/away from pallet center (depalletizing)
Function
This feature is typically used for depalletizing scenarios which requires the orientation of one side of the carton. For example, the carton surface with labels applied should face up. This adjustment option attempts to rotate the carton poses around their Z-axes by 180° and make one of the axes of the carton poses point to or away from the pallet center.
Usage Instructions
Set Pallet Center
There are two methods to set the pallet center, namely, Drag with pose manipulator and Input from external Step, as explained in the table below.
No. |
Method |
Description |
Instruction |
Illustration |
1 |
Drag with pose manipulator |
Adjust the position and orientation of the manipulator to set the pallet center. |
|
|
2 |
Input from external Step |
Input the pallet center from other Steps. |
|
|
