Display Workpiece Information
The workpiece models can be displayed in the workpiece info area.
After entering the production interface, if the production recipe contains workpiece models, the workpiece info will be displayed. If the production recipe does not contain workpiece models, but you want to display the workpiece information, you need to modify the production recipe.
-
Open the Production recipes.
Click the
 button in the operation area.
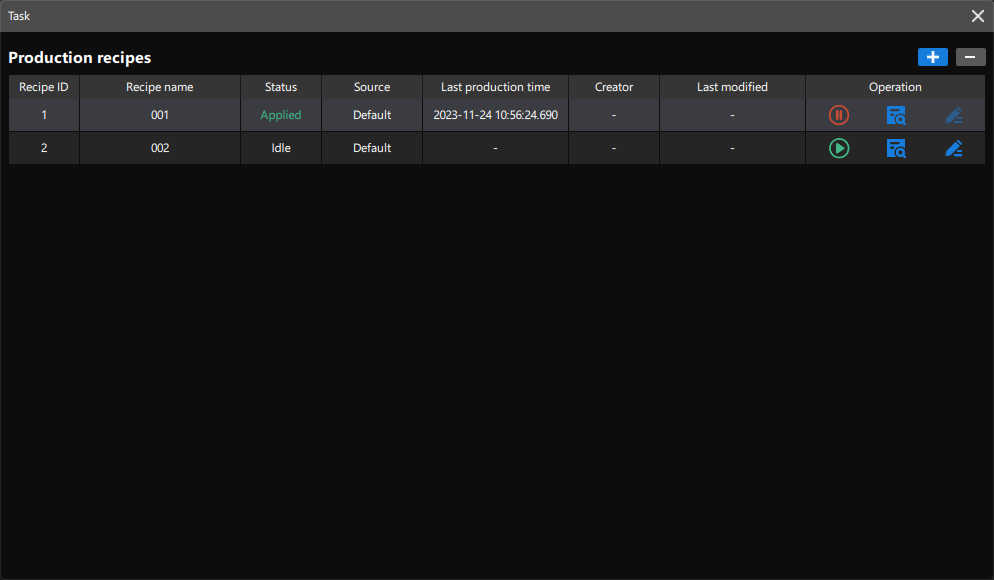
The Production recipes window is shown below.
-
Modify the production recipe.
Click
 button on the right side of production recipes to modify the production recipes.
The production recipe can be modified when it is in “Idle” status.
-
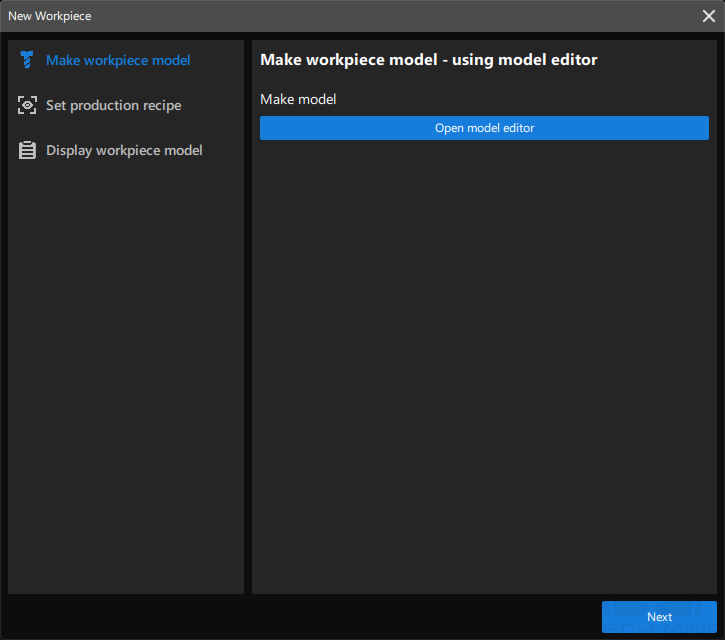
Make workpiece model.
If there is point cloud model in the project, you can directly click Next.
If there is not point cloud model in the project, you need to make models for the workpieces. You can refer to Make Workpiece Model.
-
Set production recipe.
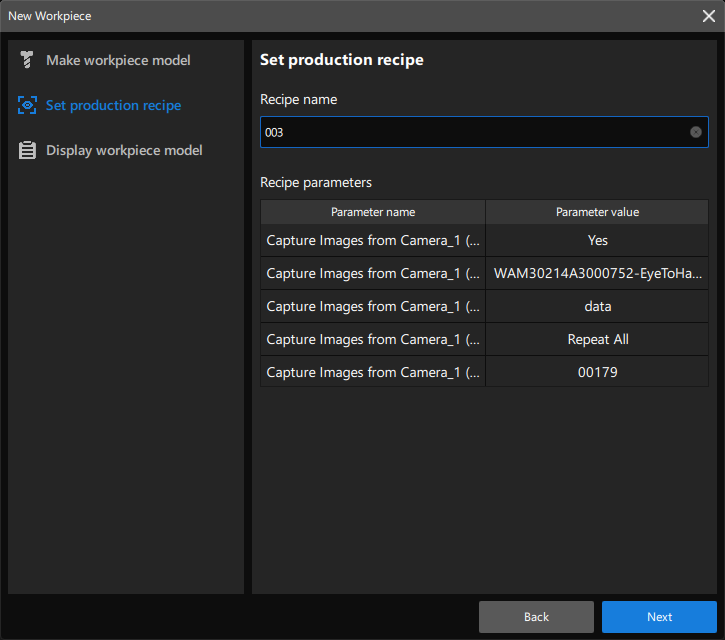
After making the point cloud model for the new workpiece, click Next to set the production recipe.
As shown in the figure below, enter the Recipe name, and then click Next.
-
Display workpiece model.
After setting up the production recipe, click + button on the upper-right corner of the “Display workpiece model” tab.
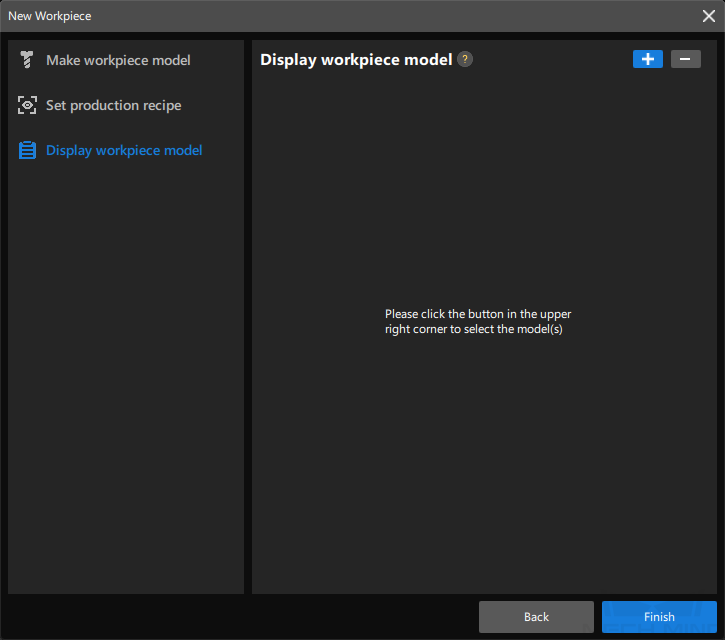
Up to two workpiece models can be added for display.
Select the workpiece model in the pop-up window, and click OK.
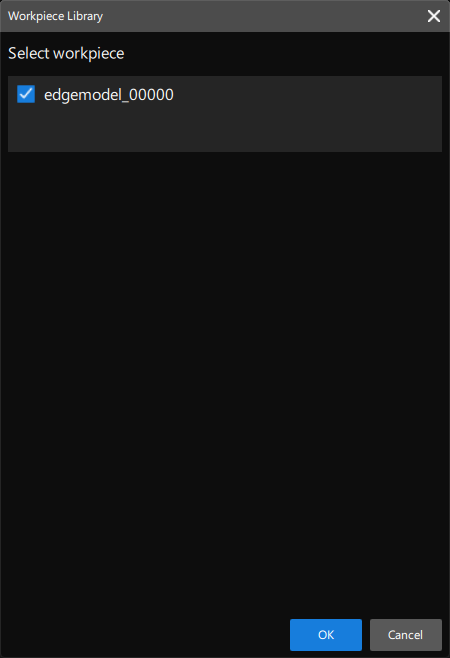
After adding the workpiece model for display, click Finish.
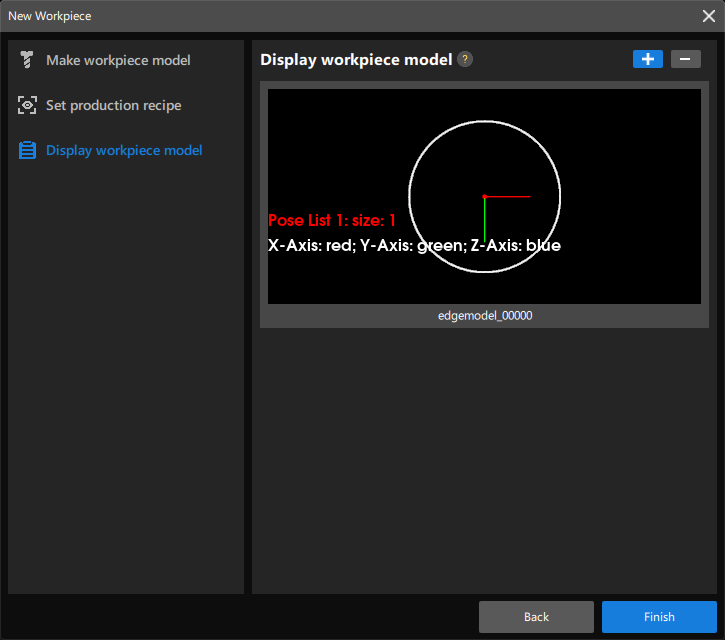
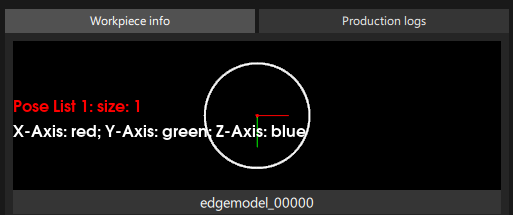
Now, the workpiece point cloud model you made will be displayed in the workpiece info area on the production interface.
-
If there is no operation for 30 minutes, the “Workpiece info” panel will automatically switch to “Production logs.”
-
If the point cloud model you made is not stored in the 3d_matching folder under
project folder\resource, the point cloud model cannot be displayed in the workpiece info area.
-