Pose Adjustment Tool
Function
The pose adjustment tool is used to improve the usability of pose adjustment, enable the visualization of poses while adjusting, and reduce the learning cost of pose adjustment. The Pose adjustment, Processing rules, and General settings three steps provide settings related to pose adjustment, pose sorting, pose filtering, etc.

-
Pose adjustment: for translating poses and adjusting the orientations of the poses.
-
Processing rules: sort poses according to the actual requirement and filter out ineligible poses.
-
General settings: provides settings other than pose processing settings. Currently, this step only supports sorting other data together with the corresponding poses.
Operation Workflow
The procedure for using this tool is as follows.
Pose Adjustment
This Step is used for translating poses and adjusting the orientations of the poses. See the following for details.
Select Pose Processing Strategy
Before adjusting the orientation and position of the pose, please select a Pose processing strategy first. Click the + button on the right to add a pose processing strategy.
Once you finish all configurations or want to exit the tool, click Save in the “General Settings” window to save all the configurations to the selected pose processing strategy.
Reference Frame Settings
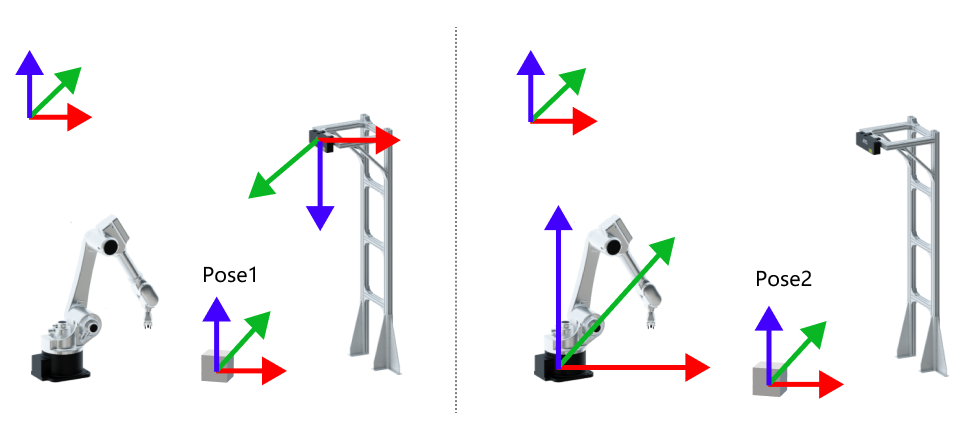
This setting is used to transform the poses from the camera reference frame to the robot reference frame. Once Transform pose to robot reference frame is enabled, poses in the robot reference frame can be output.
As shown below, the figure on the left shows the pose in the camera reference frame, and the figure on the right shows the pose in the robot reference frame.

Pose Adjustment
You can adjust the orientations and positions of the poses in this section. Two modes, Custom mode and predefined mode, are available. If the Custom mode is not enabled, the tool remains in the predefined mode.
-
If you want to adjust the orientations or positions of the poses with the predefined options, you can stay in the default predefined mode.
-
If you want to make more complex adjustments to the orientations or positions of the poses, you can enable Custom mode.
Predefined Mode
In the predefined mode, the predefined options can be used to make simple adjustments to the position and orientation of the poses.
-
Orientation
Select the option for orientation adjustment according to the actual requirement, including Auto alignment, Point to reference pose, Point to/away from pallet center (depalletizing). Refer to Adjust Pose Orientation (Predefined Mode) for detailed instructions.
-
Pose translation
Click the + button on the right to add an option for translation. Only one translation option, “Translate pose along specified direction”, is available in the predefined mode. Refer to Translate Poses (Predefined Mode) for detailed instructions.
Custom Mode
Once the Custom mode is enabled, you can click the + button on the right to add the following pose adjustment options. Please click the links below to view detailed instructions.
Processing Rules
Sort poses according to the actual requirement and filter out ineligible poses.
Filter Pose
Two options for pose filtering, Filter by angle and Filter out poses out of ROI, are provided. Please refer to Filter Poses by Predefined Options for detailed instructions.
General Settings
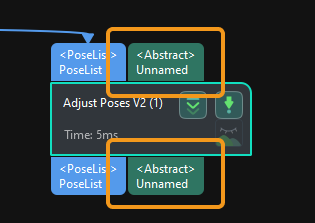
Once the number of new ports is specified, input ports compatible with all data types will be added to the “Adjust Poses V2” Step. Then you can connect the port outputting the data that needs to be sorted with the newly added input port.
|
Up to 5 new ports can be added. |
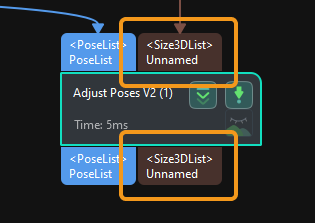
For example, when the Set number of new ports is 1, one new port compatible with all data types is added, as shown below.

If you want to sort the object dimensions, connect the output port of the Step outputting the object dimensions with this new input port.

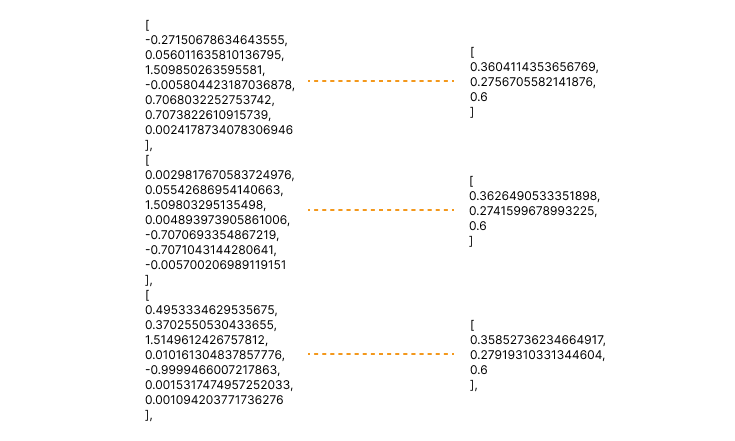
Then click Get data to sort the object dimensions according to the sorting result of the poses. As shown below, the dimensions and their corresponding poses match each other after sorting.
