Calibration Sphere User Guide (EIH)
This section provides usage instructions for the calibration spheres used in the EIH vision system to correct the accuracy drift.
Package Contents
The packing list for the calibration spheres is as follows.
|
| No. | Accessories | Illustration |
|---|---|---|
1 |
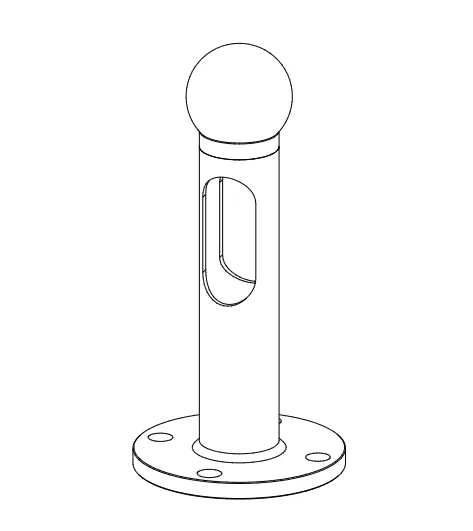
(Calibration sphere with a diameter of 60 mm + calibration sphere mount) × 3 |
|
2 |
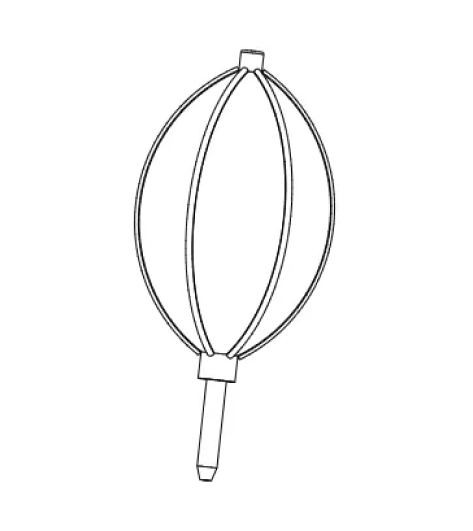
Soft nozzle air blower × 1 |
|
3 |
|
|
The table below lists the detailed specifications of the calibration sphere.
| Specifications | Illustration |
|---|---|
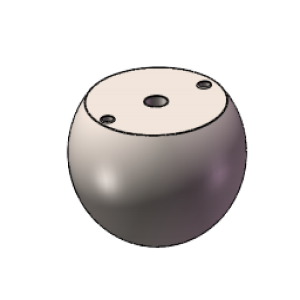
Calibration sphere ×3
|
|
Mounting Diagram
As shown in the diagram below, use expansion bolts to secure the calibration sphere mount to the ground.
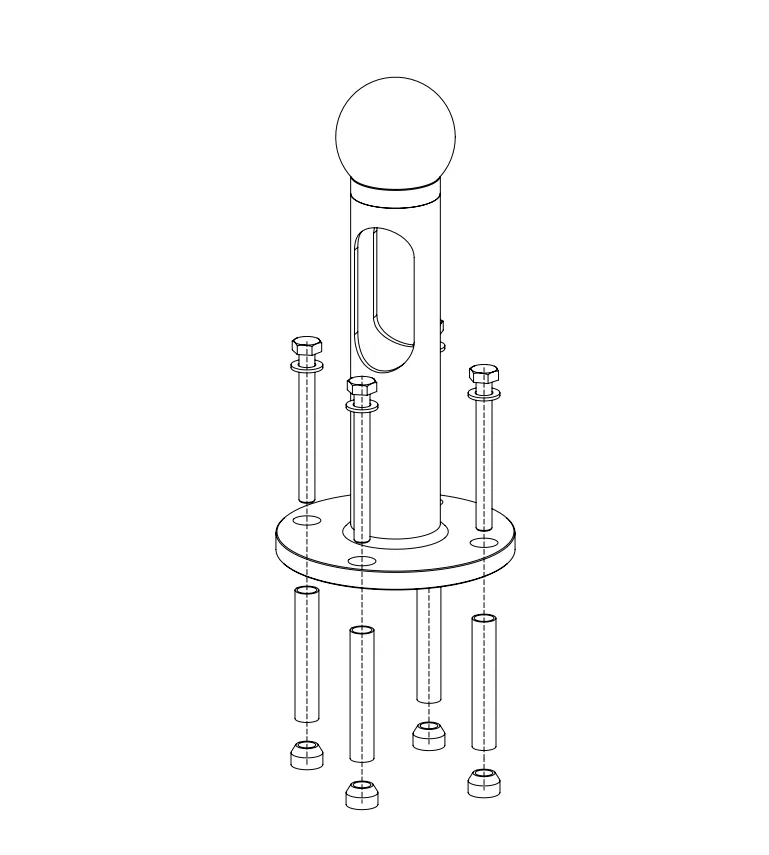
Installation Notes for Calibration Sphere
Please consider the following requirements before and after mounting the calibration spheres.
-
Before mounting
-
Check if there is any airborne debris (such as dust or welding spatter) in the production environment. If so, a protective cover should be added to the calibration sphere.
-
When handling the calibration sphere, always wear dustproof gloves.
-
-
During mounting
-
Ensure that the calibration spheres remain unobstructed during image acquisition.
-
Avoid placing highly reflective objects near the mounting positions of the calibration spheres to prevent interference with the quality of its point cloud.
-
When the robot carries the camera to capture images, ensure that the calibration spheres are visible and that the positions of the calibration spheres in the camera’s field of view match or are close to the positions of the target objects during actual production.
-
-
After mounting
-
After mounting the calibration sphere, use a marker to mark the bolts and contact surfaces for future checks to ensure the calibration sphere has not loosened.
-
Maintenance
Dust Check and Handling
Check the surface of the calibration sphere for dust. If dust is found, clean the calibration sphere as follows.
-
Preparation: Wear dust-resistant gloves to avoid direct skin contact with the calibration sphere’s surface to prevent leaving fingerprints, oil, or other contaminants.
-
Initial cleaning of the calibration sphere: Use a soft nozzle air blower to gently blow off dust, particles, or other suspended impurities from the surface of the calibration sphere.
-
Wipe with a lint-free cloth: Ensure the cloth is free of debris to avoid scratches from friction. Gently wipe the calibration sphere surface with the lint-free cloth.
-
Blow off dust again: Use the soft nozzle air blower again to clean the calibration sphere’s surface, making sure no dust or cloth fibers are left.
-
Inspect the calibration sphere surface: Carefully inspect the surface of the calibration sphere to ensure it is clean, free of obvious dirt, dust, or scratches.
Oil Stain Check and Handling
Check the surface of the calibration sphere for oil stains. If an oil stain is found, clean the calibration sphere as follows.
-
Preparation: Wear dust-resistant gloves to avoid direct skin contact with the calibration sphere’s surface to prevent leaving fingerprints, oil, or other contaminants.
-
Preliminary cleaning of the calibration sphere: Use a non-woven cloth dipped in anhydrous ethanol to gently wipe the surface of the calibration sphere.
-
Wipe the calibration sphere with a non-woven cloth: After wiping, use a clean non-woven cloth to remove any grease stains.
-
Clean the calibration sphere surface with dishwashing liquid: If obvious grease remains on the surface of the calibration sphere after completing the above steps, use dishwashing liquid to clean the surface, then blow dry the surface or let it air dry naturally.
-
Inspect the calibration sphere surface: Carefully inspect the surface of the calibration sphere to ensure it is clean, free of obvious dirt, dust, or scratches.
