Set ROI
By setting a 2D or 3D ROI, the unwanted pixels in the image or points in the point cloud can be filtered in succeeding Step, and thus the processing speed of the entire Mech-Vision project can be increased.
Instructions for Setting 2D ROI
-
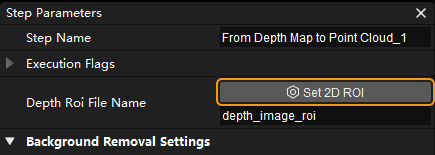
Select the Step in which you want to set a 2D ROI, click Set 2D ROI button in the Step Parameters panel, and then a Set ROI window will pop up.

-
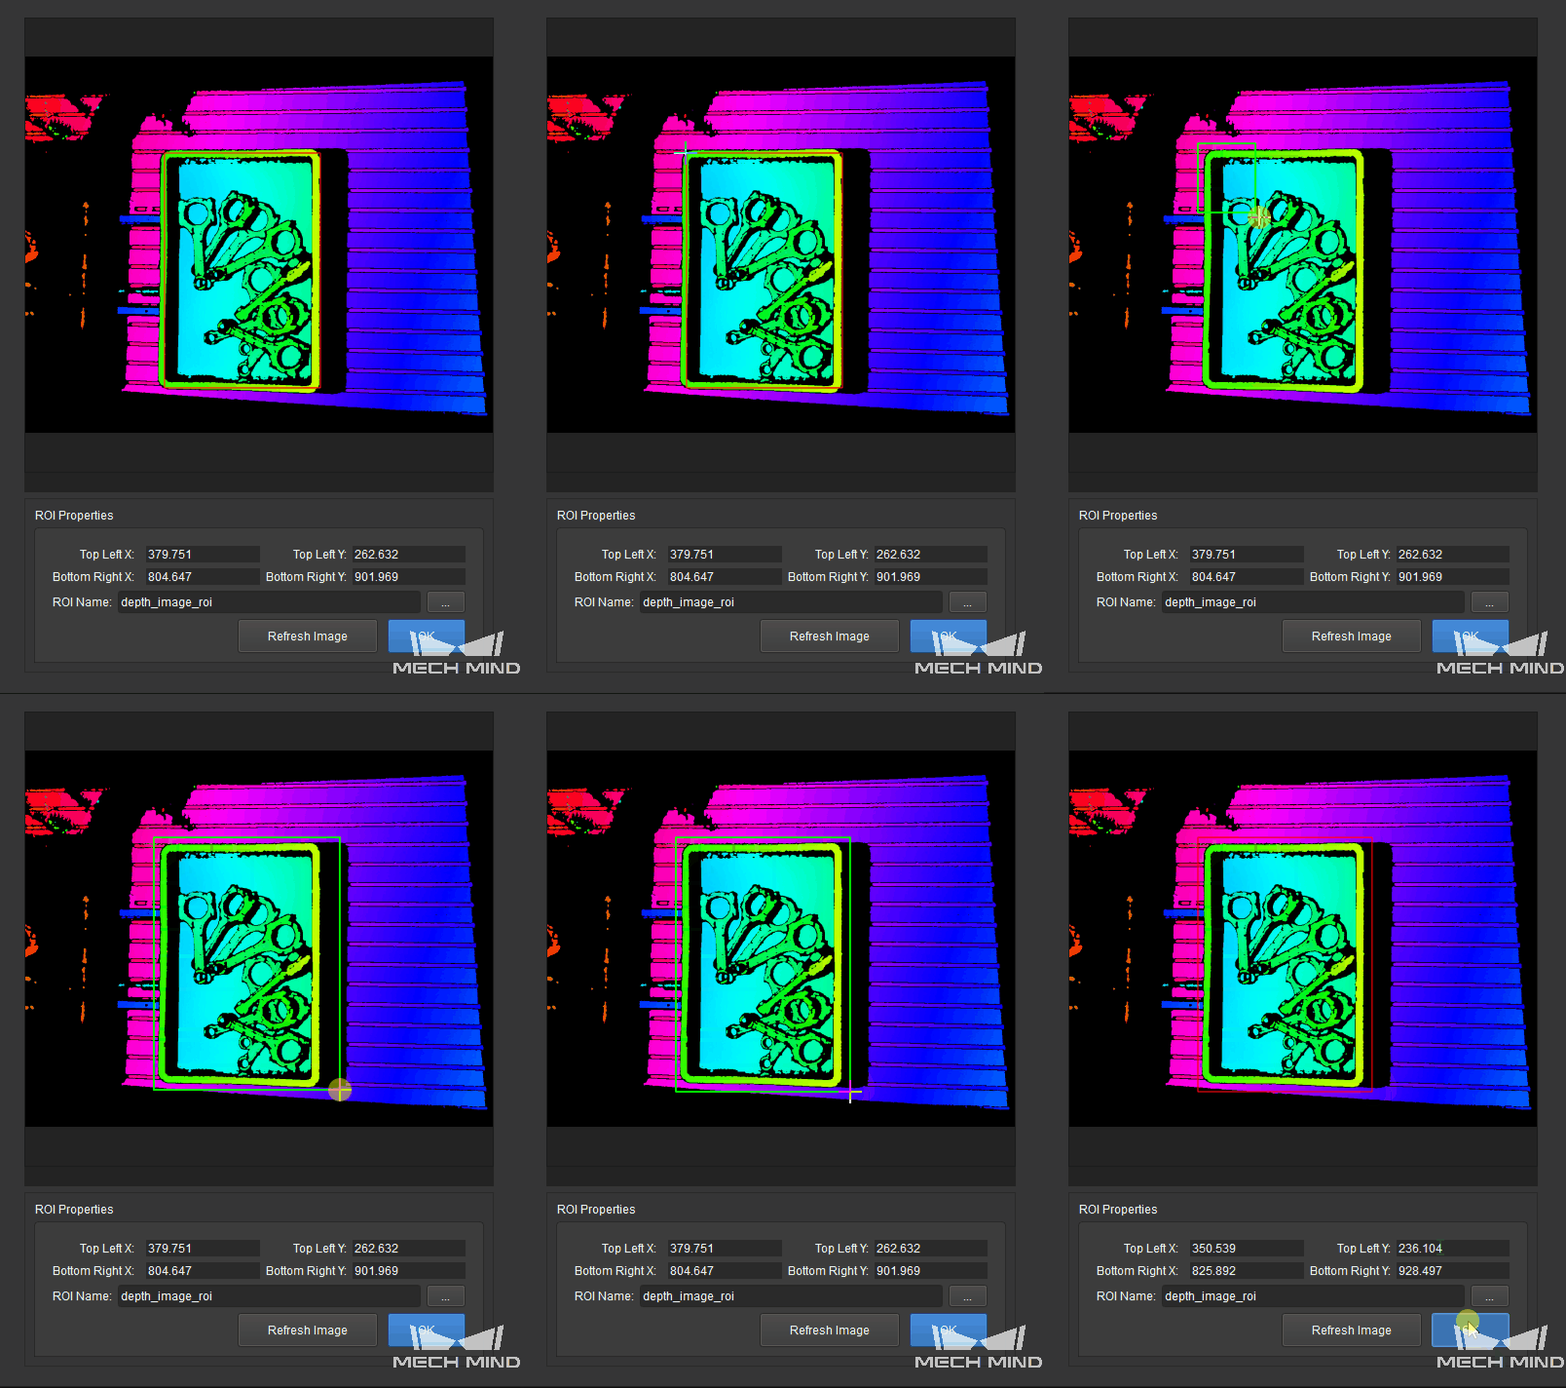
Hold down the left mouse button and drag to select an ROI on the displayed 2D image or depth map, and then click the left mouse button again to confirm. The select frame will be displayed in red if the ROI is set successfully. If you need to re-select the ROI, please click the left mouse button and drag again.

-
The coordinates of the selected ROI will be displayed in the ROI Properties section. Click OK to save and exit.
|
Steps related to 2D ROI include: Scale Image in 2D ROI, Segment Depth Map, From Depth Map to Point Cloud. |
Instructions for Setting 3D ROI
|
Before setting a 3D ROI, please go to Project Assistant and select a scene point cloud for reference, or else an alert window will pop up and the setting cannot continue. |
-
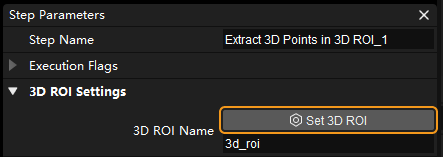
Select the Step in which you want to set a 3D ROI, click Set 3D ROI button in the Step Parameters panel, and then a Set ROI window will pop up.

-
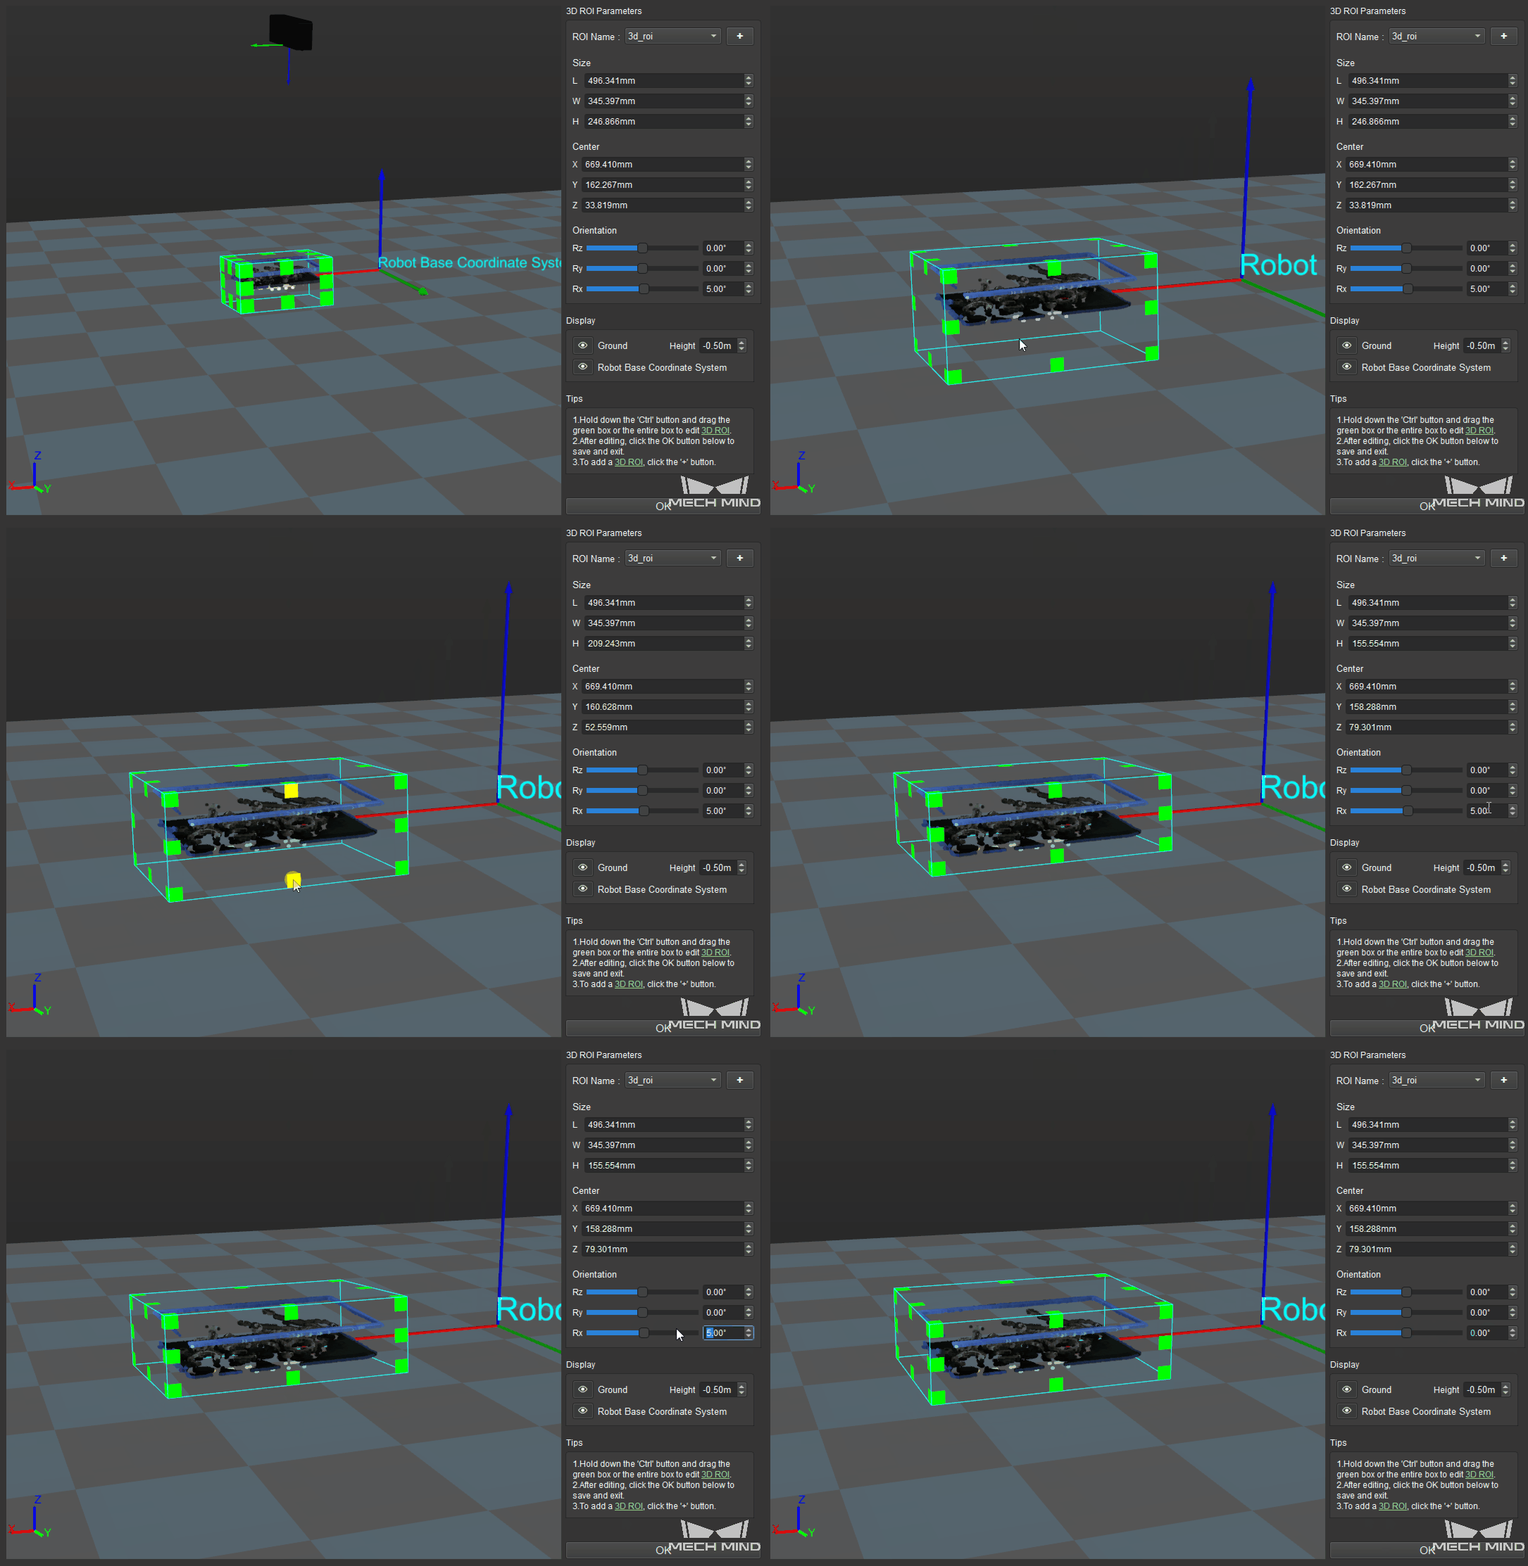
The Set 3D ROI window consists of 4 parts: Point Cloud Display, 3D ROI Parameters, Display, and Tips.
-
Point Cloud Display area includes robot base coordinate system, camera reference frame, 3D ROI, and target cloud.
-
3D ROI Parameters includes the name, size, center, and orientation of the 3D ROI.
-
Display Settings area is used for adjusting the display status of ground and robot base coordinate system.
-
Tips provides tips for 3D ROI setting.

-
-
Hold down the Ctrl key and drag the faces of the selection tool to adjust the position of the 3D ROI. Hold down the Ctrl key and drag the handles of the selection tool to adjust the dimensions of the 3D ROI. You can also configure the size, center, and orientation to adjust the 3D ROI in the 3D ROI Parameters section.
-
In addition to editing the default 3D ROI directly, you can create a new 3D ROI. Click
 next to the ROI Name, and an Add ROI pop-up window will appear, as shown below. Enter the name of the new 3D ROI, and click OK to finish. Then you can adjust the 3D ROI in the Point Cloud Display area. To switch between different 3D ROIs, please click on the down arrow icon next to the ROI Name and select the 3D ROI you want to edit in the drop-down list.
|
Steps related to 3D ROI include: Extract 3D Points in 3D ROI, Collect Poses in 3D ROI, Invalidate Depth Pixels outside 3D ROI, Validate Existence of Poses in 3D ROI, Read 3D ROI Center, Save Regions around Poses as 3D ROIs, Extract Empty Regions in Depth Map within 3D ROI. |
|
Please pay attention to the following issues when setting the 2D ROI or 3D ROI:
|