MELFA Automatic Calibration
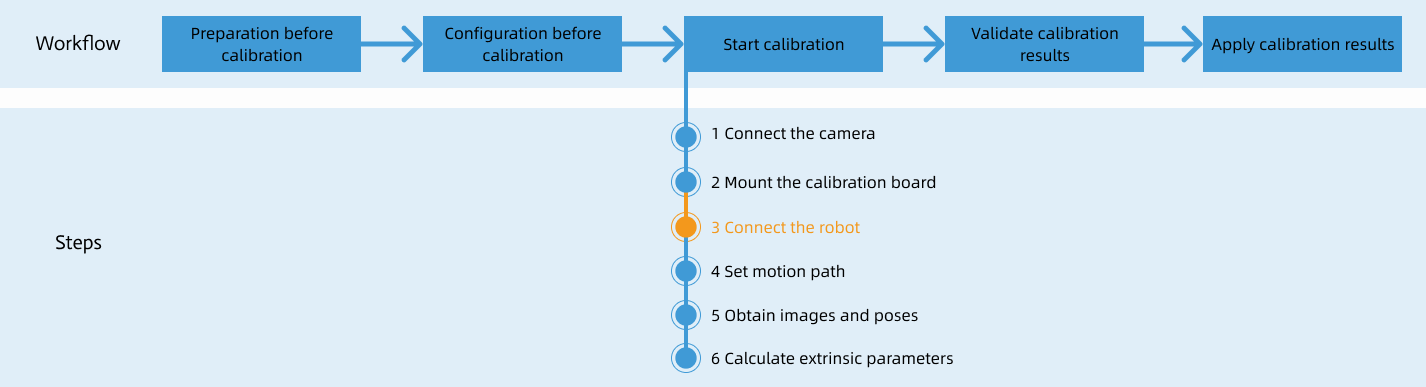
After you set up Standard Interface communication, you can connect the robot to perform automatic calibration. The overall workflow of automatic calibration is shown in the figure below.
Special note
During the calibration procedure, when you reach the Connect the robot step and the Waiting for robot to connect... button appears in Mech-Vision, perform the steps below on the robot side. After you perform the steps, proceed with the remaining steps in Mech-Vision.
|
1. Select and Modify Calibration Program
-
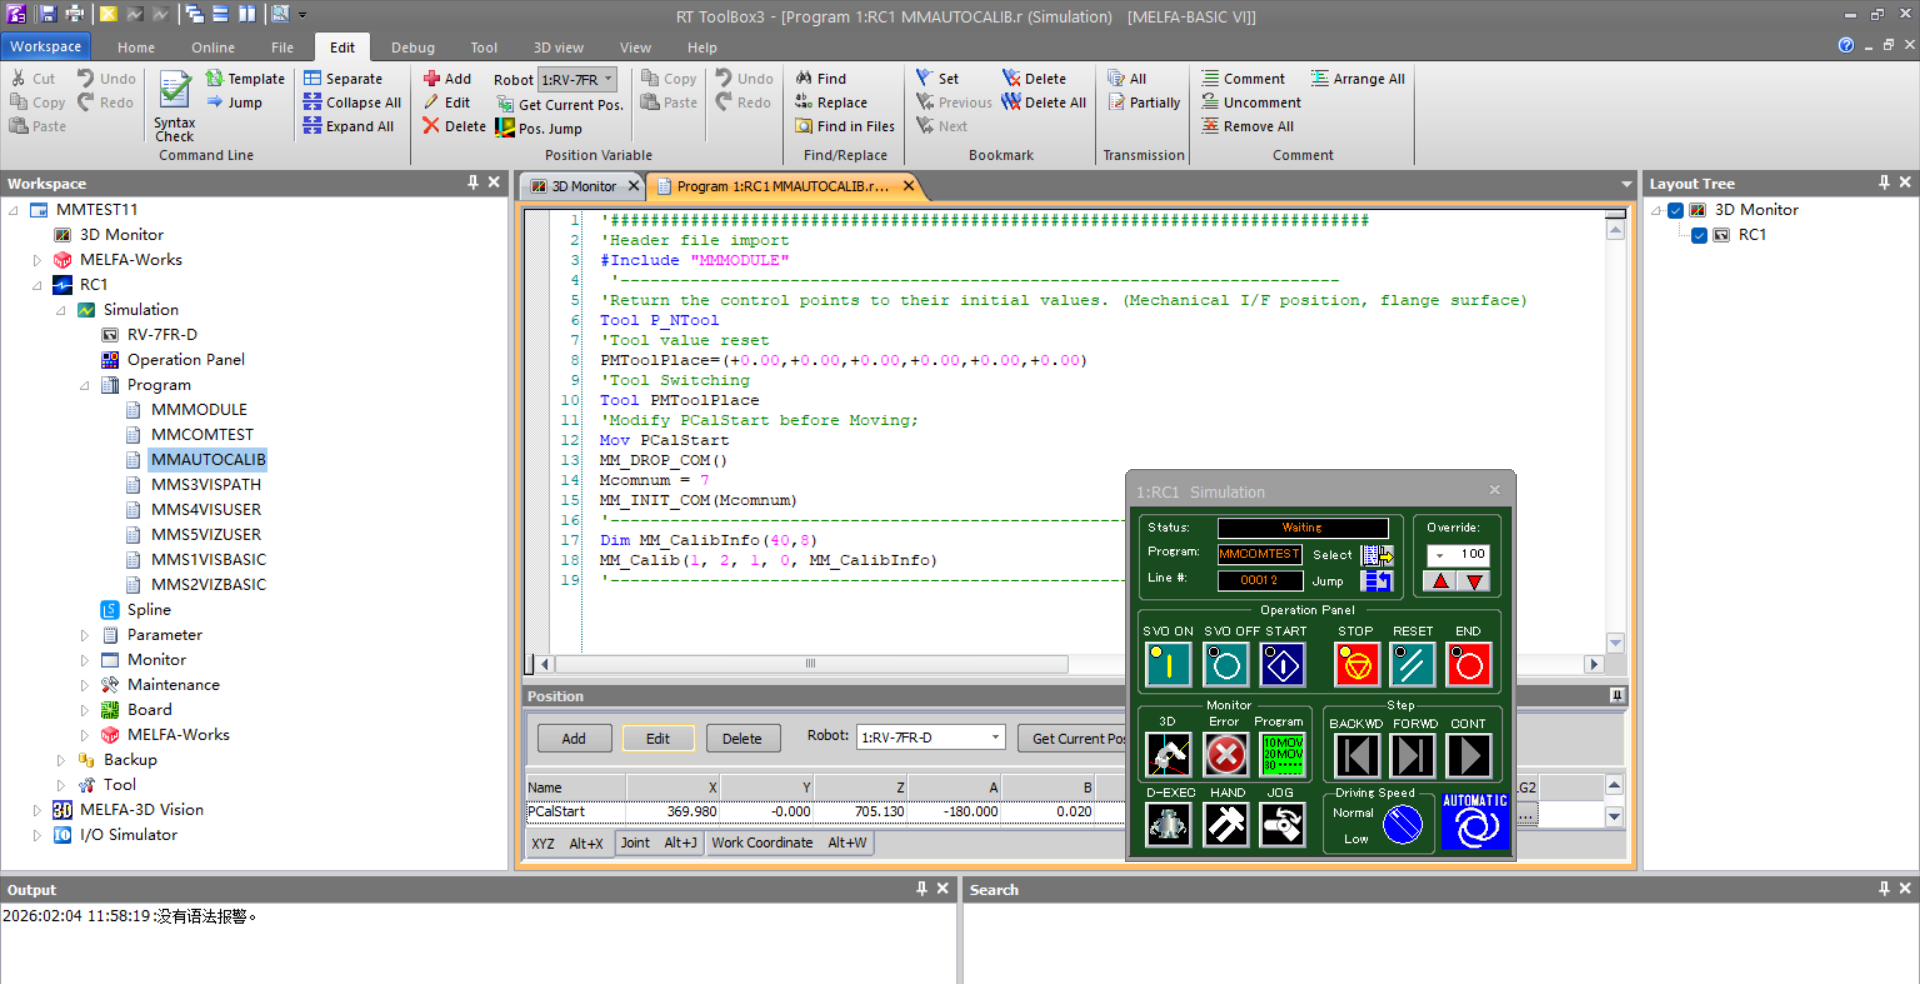
Launch ToolBox3. In the Workspace, click Program, expand the list, and select MMAUTOCALIB to open the program interface.
-
After opening the MMAUTOCALIB program interface, click Edit in the lower options bar and modify the program parameters according to the actual robot configuration.
2. Teach Calibration Start Point
-
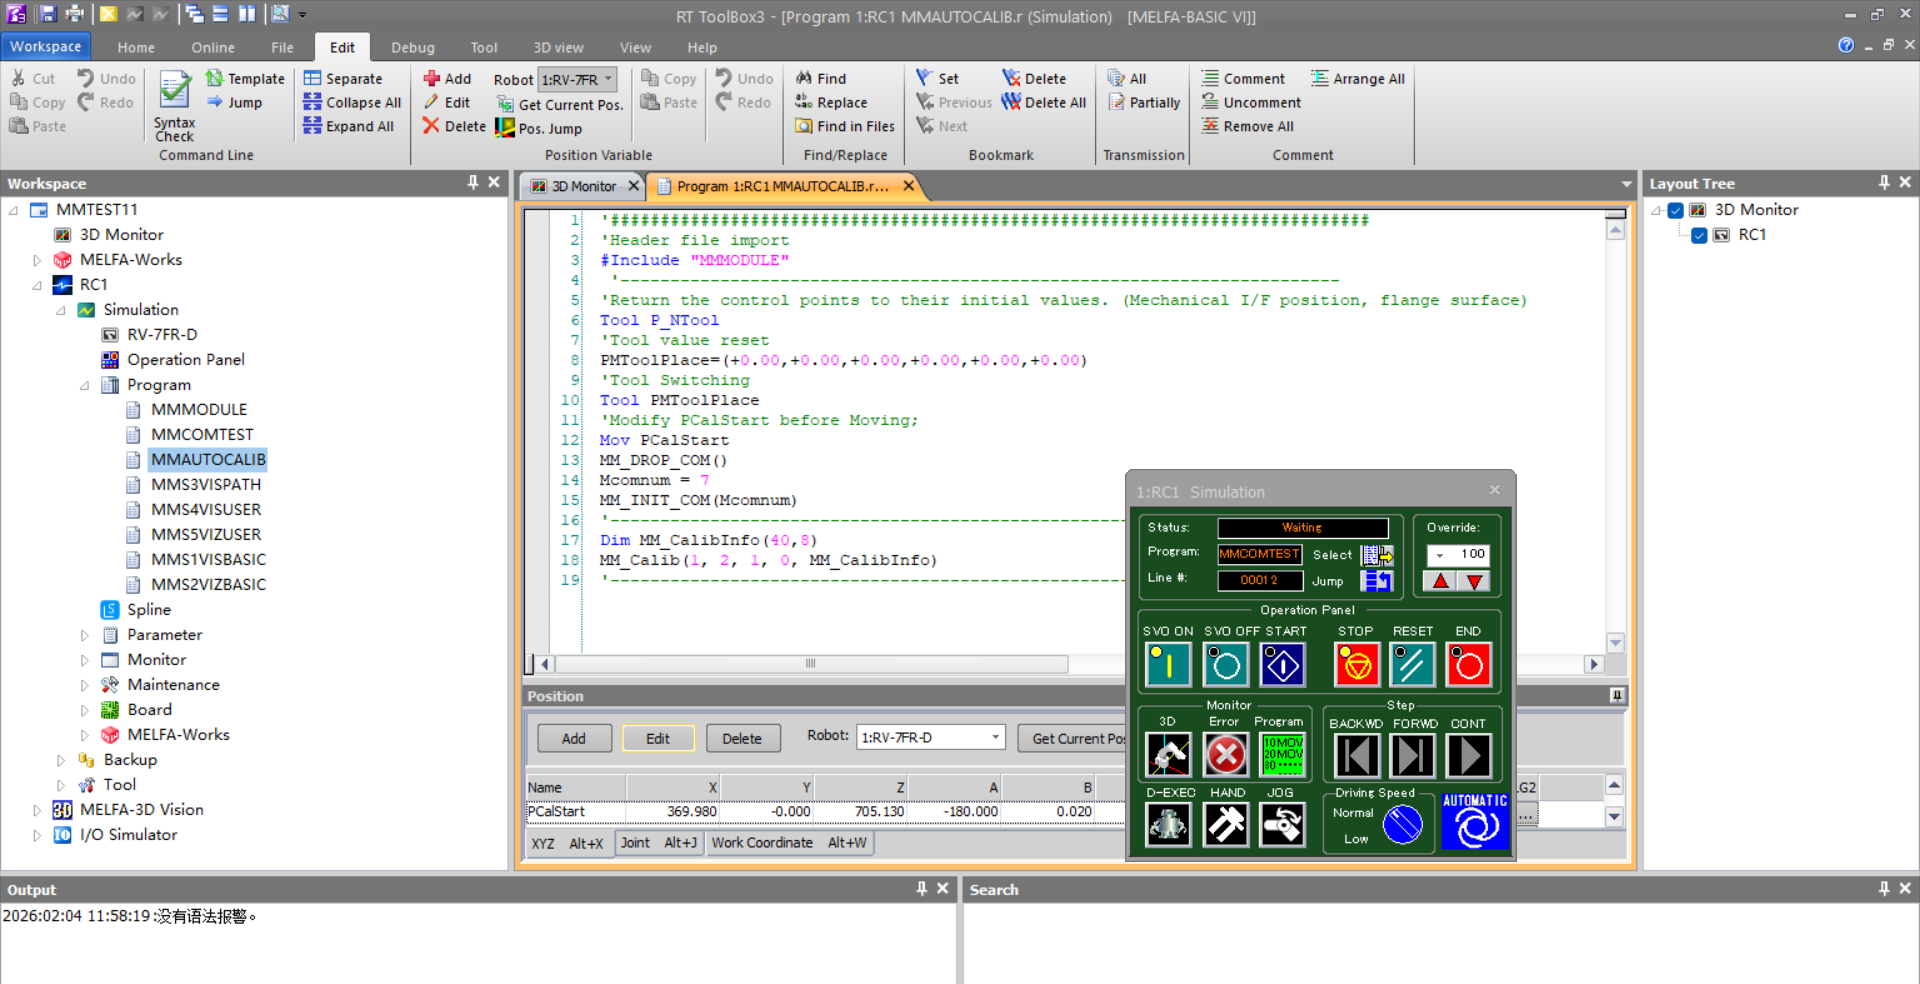
After opening the MMAUTOCALIB program interface, click the Cartesian table in the lower half of the interface, select the variable PCalStart, and click Read Current Position.
-
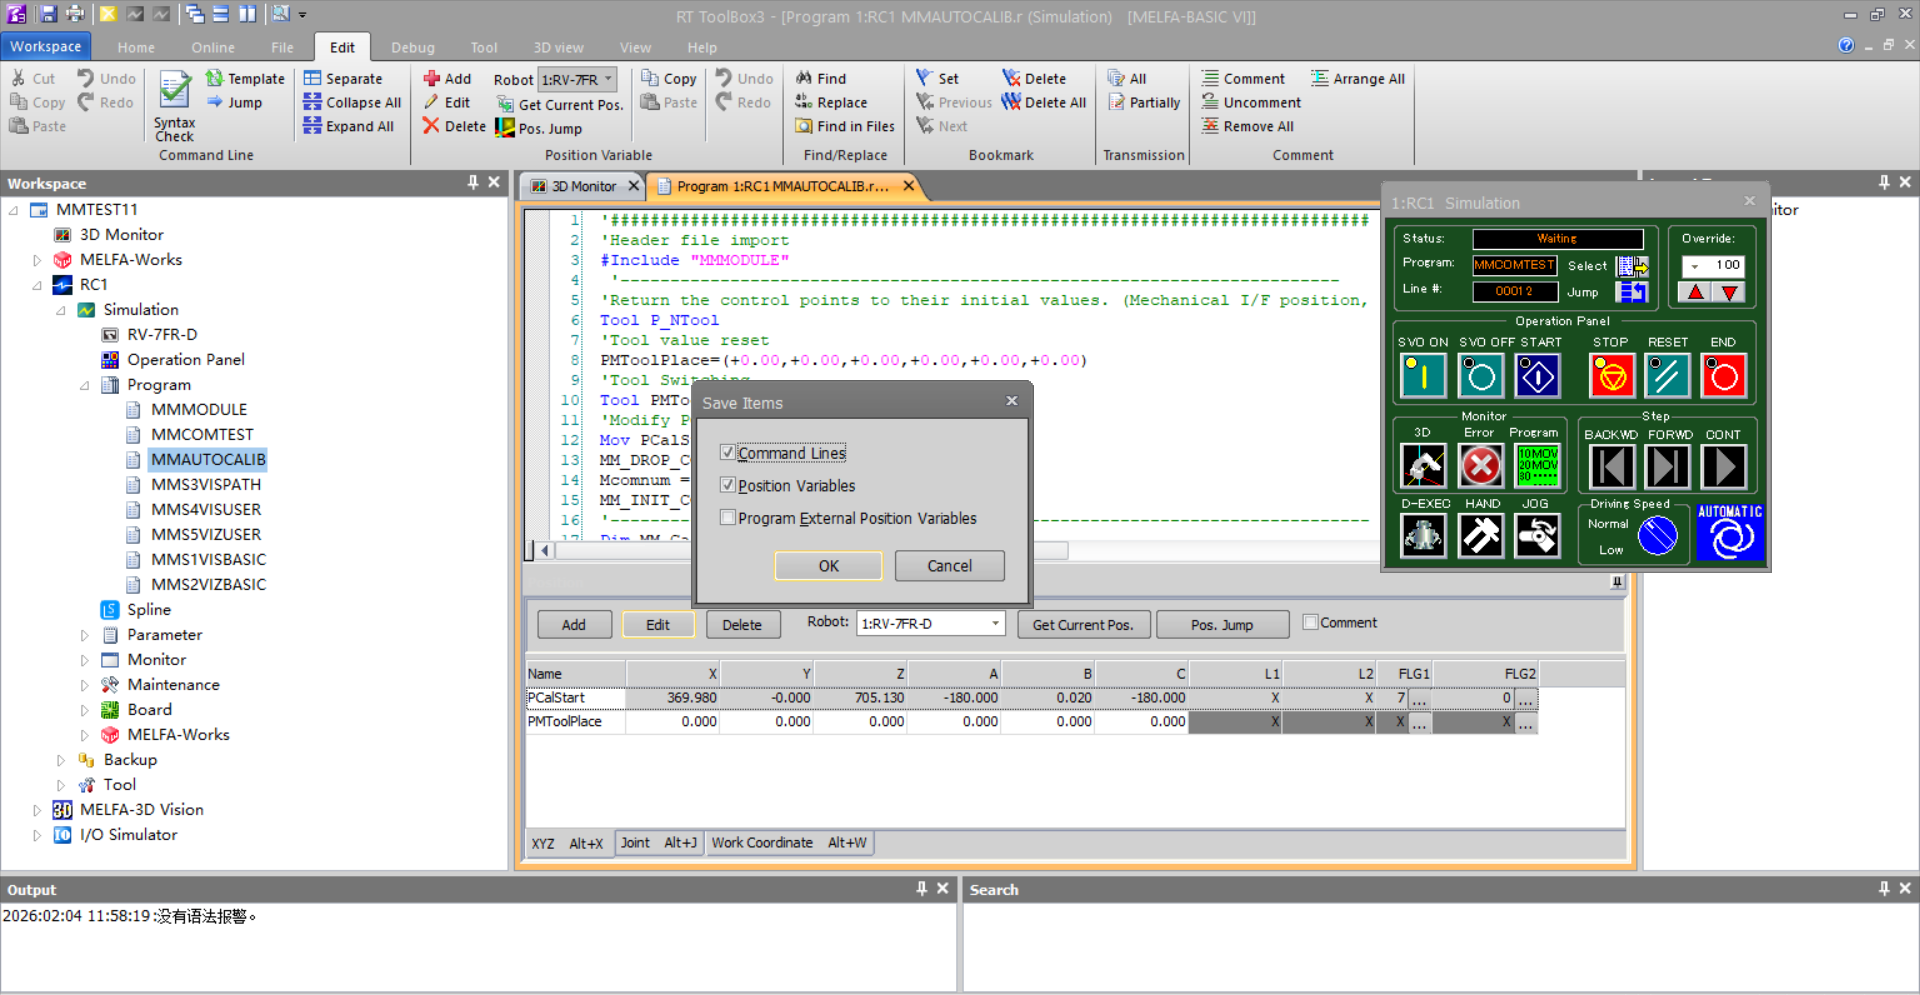
Click Save or press ctrl+s to open the Write Project dialog. Verify that the modified items are checked, then click OK to write the updated program configuration.
3. Run Calibration Program
-
On the robot control panel, click Select to open the ToolBox3 Select Program dialog.
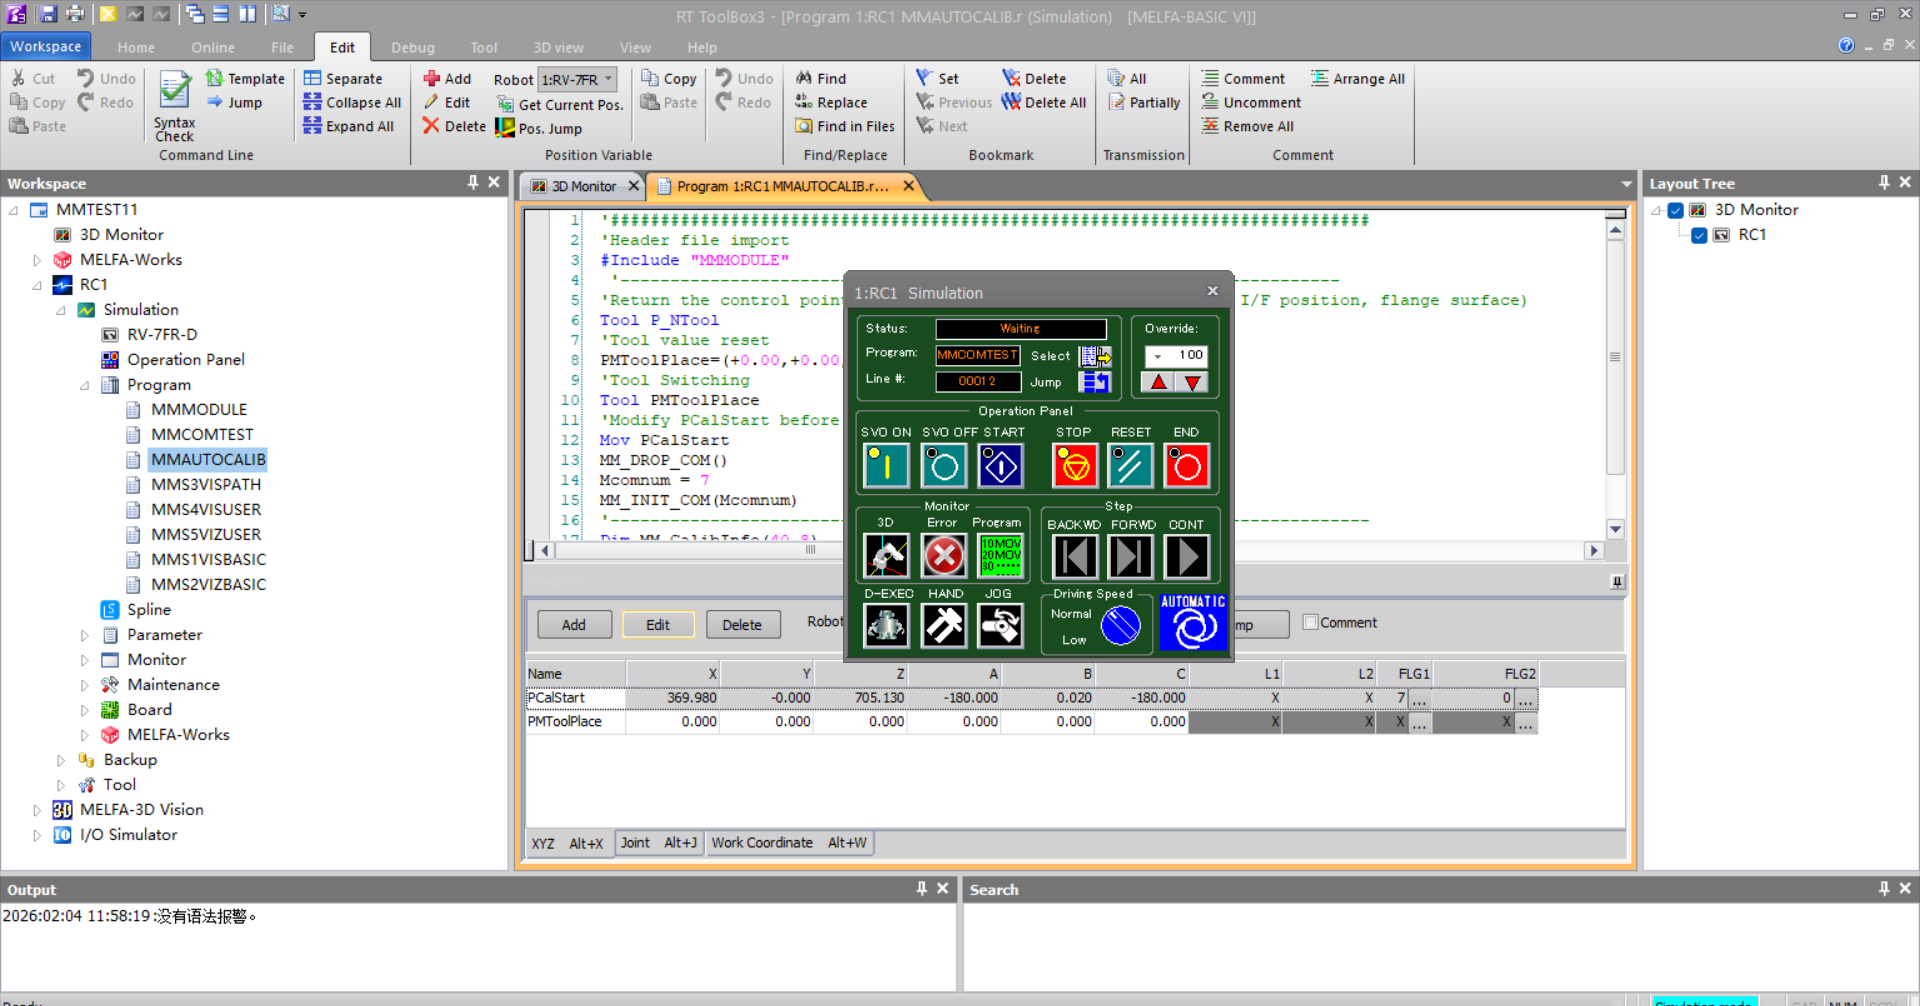
-
Select MMAUTOCALIB, click OK, verify that Auto mode is shown at the lower right of the robot control panel, then click Start to run the program.
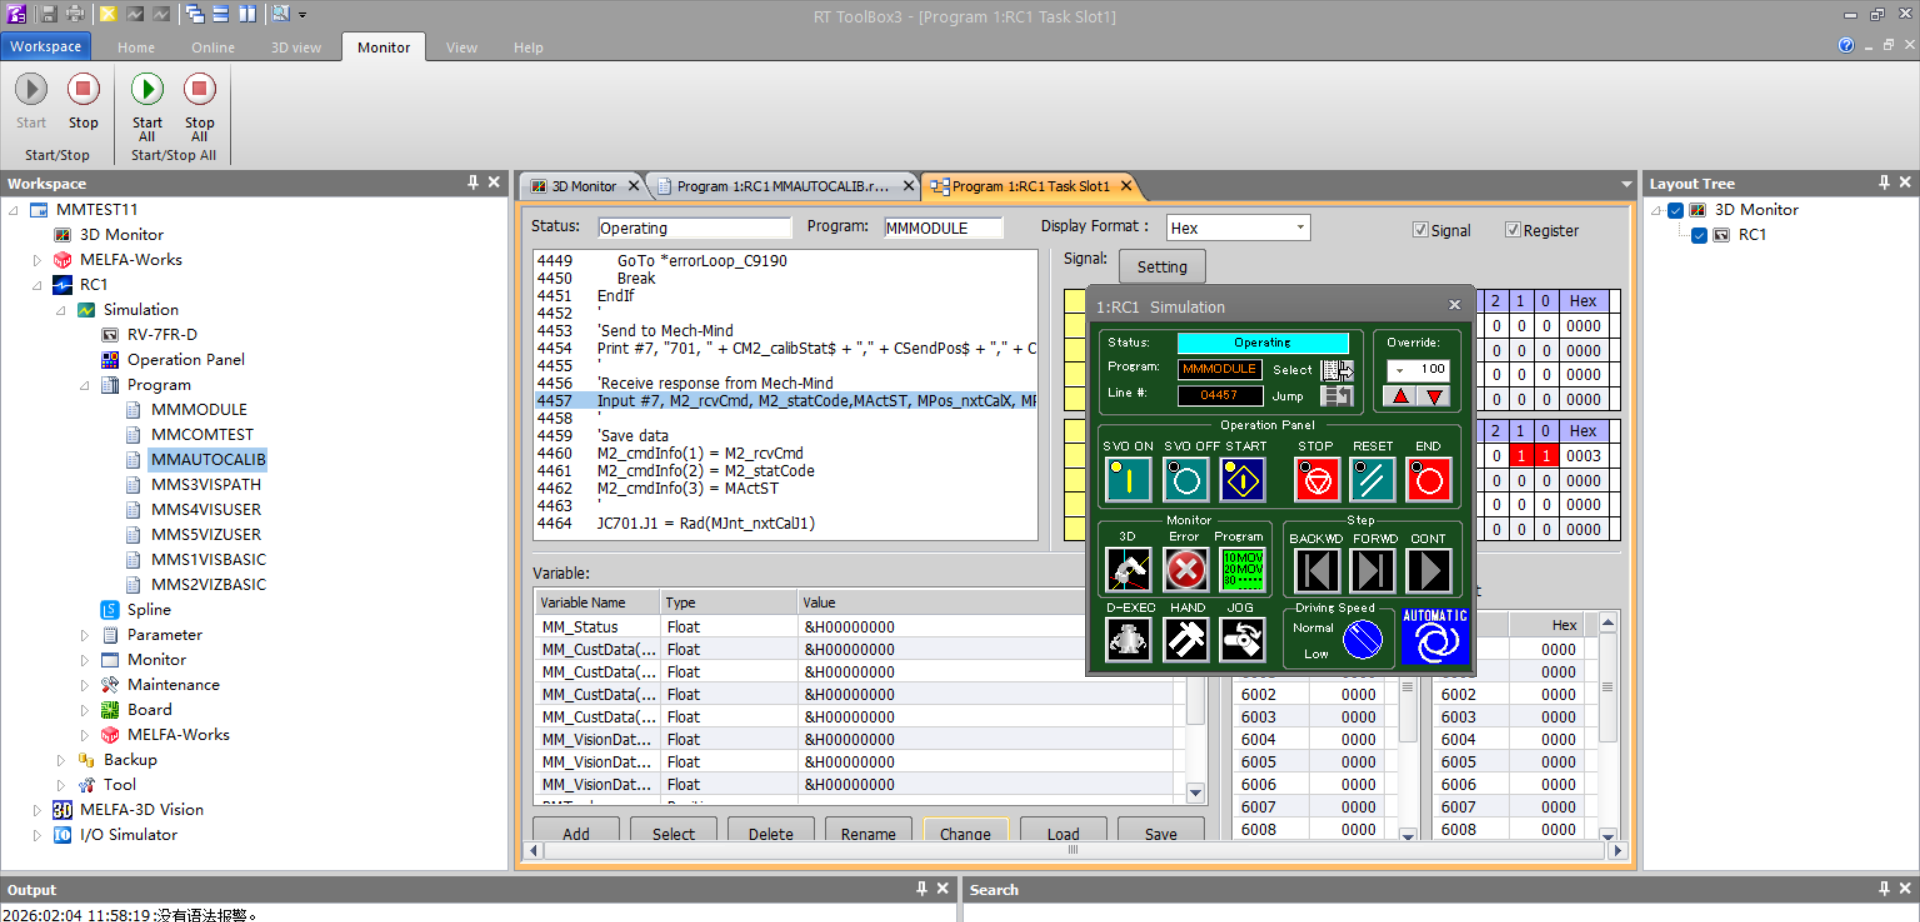
-
When, in the Calibration window in Mech-Vision, the current status changes to connected and the button Waiting for the robot to connect... changes to Disconnect robot, click Next at the bottom.
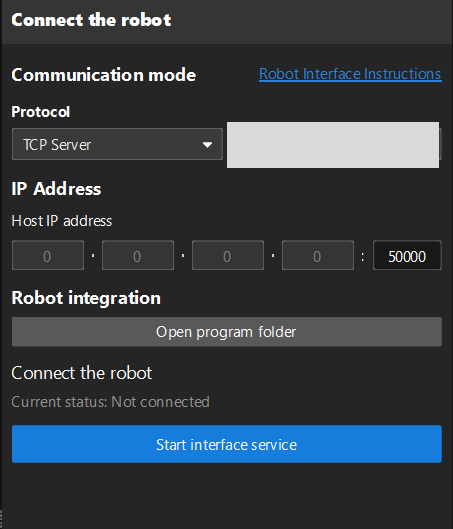
-
Perform Step 4 of Start calibration (which is Set motion path) and the subsequent operations based the following links.
-
If the camera mounting mode is eye to hand, see this document and proceed with the relevant operations.
-
If the camera mounting mode is eye in hand, see this document and proceed with the relevant operations.
-