Master-Control Communication Setup
This section describes how to complete the master-control communication configuration between the Mech-Mind vision system and the TOPSTAR robot.
Preparation
Check Controller and Software Versions
|
The models and versions listed below are tested and can be used. For other models and versions, you may refer to this guide for operation. If any issues occur, please contact Mech-Mind Technical Support. |
-
On the teach pendant, enter the system with User Level 4 (password: 0920), tap the square icon in the lower-right corner, then tap .
-
Check Controller and Software Versions.
Set up the Network Connection
Connect the Hardware
Use the Ethernet cable to connect the network ports of the IPC and the robot controller.
Set the IP Address
-
Tap the square icon in the lower-right corner of the teach pendant, then tap .
-
Modify the IP address of the controller’s NET0 network interface so that it is on the same subnet as the IPC.
The IP addresses of the IPC and the robot should differ from each other but reside in the same subnet. -
If parameters cannot be modified due to Remote mode, click the Manual icon to exit Remote mode, then configure the settings.
Test Master-Control Communication
Create a Mech-Viz Project
-
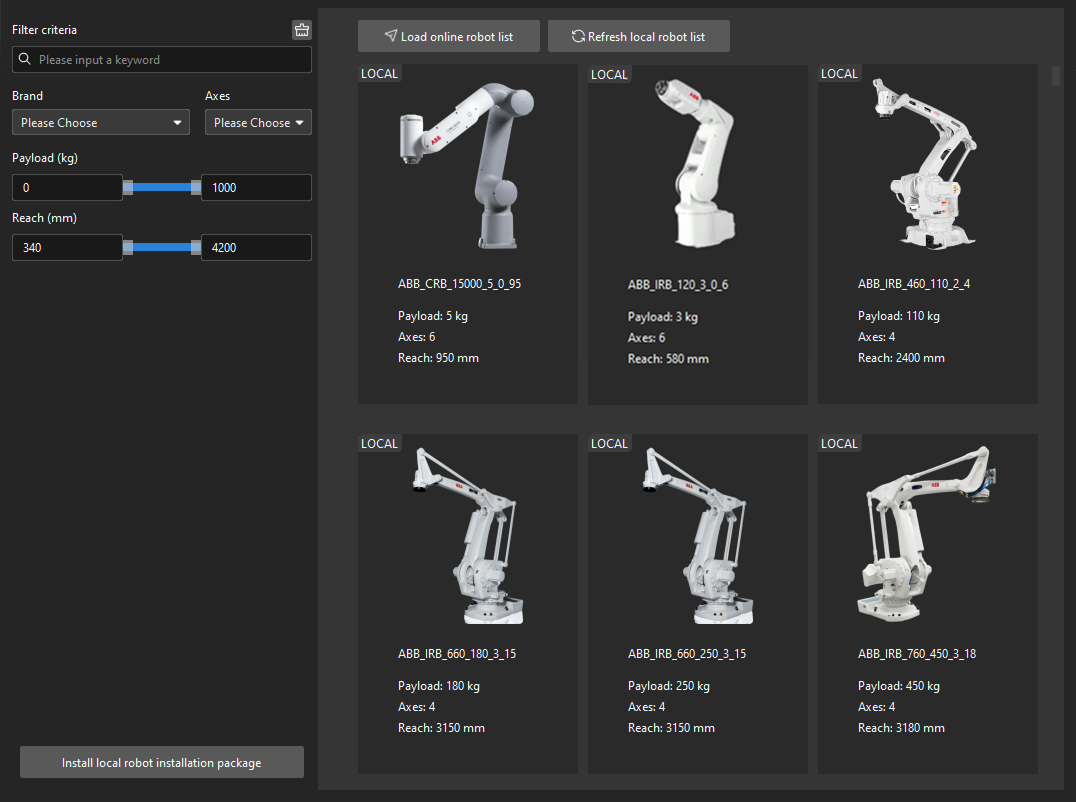
Open Mech-Viz, press Ctrl + N on the keyboard to create a new project. Select the robot model corresponding to your real robot brand and model on the interface as shown below.
-
Press Ctrl + S and create or select a folder to save the project.
-
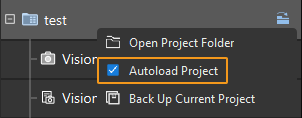
Right-click the project name in the left panel in Mech-Viz and select Autoload Project.
Connect to the Robot
-
Click Master-Control Robot on the toolbar of Mech-Viz.
-
Input the IP address of the real robot in Robot IP address (the IP address in the picture is only an example). Click Connect the robot.
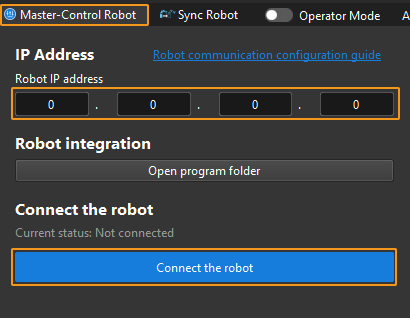
If Mech-Viz successfully connects the real robot, the current status will change to Connected. Meanwhile, the icon in the toolbar will turn from blue to green.
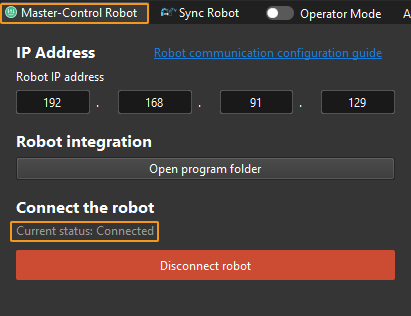
If the connection fails, please double-check the robot IP address.
Move the Robot
-
In the toolbar of Mech-Viz, change the “Vel.” (velocity) and “Acc.” (acceleration) parameters to 5%.

-
Click Sync Robot in the toolbar, and you can synchronize the poses of the simulated robot in the 3D simulation space with the poses of the real robot. Then click Sync Robot again to unselect it.

-
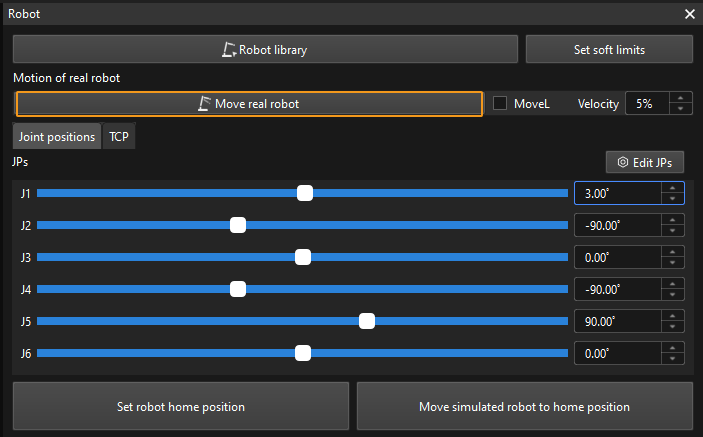
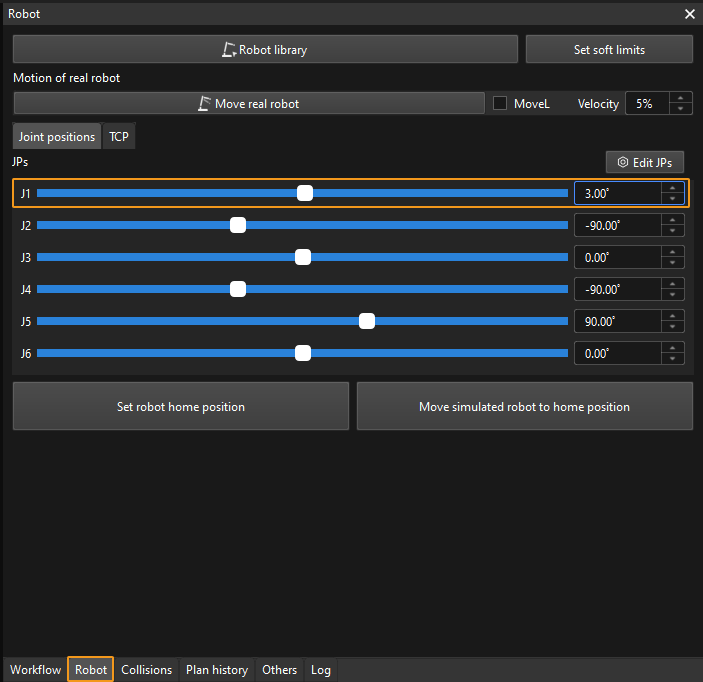
In the Robot tab, slightly adjust the value of “J1”, for example, from 0˚ to 3˚. This operation will move the simulated robot.
-
Click Move real robot and check if the real robot has moved. If the real robot has reached the JPs set for the simulated robot, the master-control communication is working.
When moving the robot, please ensure the safety of personnel. In the case of an emergency, press the emergency stop button on the teach pendant!