Manage Solution Access Control
This section describes how administrators manage solution access control. The main workflow is shown below.

-
Enable solution access control: Add an administrator to enable solution access control so that the administrator can manage solution permissions.
-
Configure the required roles: Configure the roles required for the solution, including the default roles and optional custom roles.
-
Configure permissions for roles: Configure the required permissions for custom roles.
-
Add accounts to roles: Add accounts to each role.
Enable Solution Access Control
By default, solution access control is disabled, and any user can open the solution and perform any operation. To enable solution access control, follow these steps:
-
Select from the menu bar or right-click the solution name in the project list and select Solution Access Control from the shortcut menu.
-
In the pop-up window, enter a username and password to add an administrator. Then click OK to enter the Solution Access Control interface.
After an administrator is added to the solution, solution access control is enabled. When users subsequently open the solution, they must enter the correct username and password on the login interface, which is the default login method, to obtain the corresponding role and permissions.
|
If a solution and unassigned projects are open at the same time, the permissions of the unassigned projects become the same as those of the solution after solution access control is enabled. |
Configure the Required Roles
Solution access control provides four default roles: Administrator, Engineer, Operator, and Observer. Each role has different operation permissions, as briefly described below. For details, see Appendix.
-
Administrator: All solution-related permissions, including view permissions, operation permissions, solution access control, role management, account management, and other advanced settings.
-
Engineer: View permissions and operation permissions.
-
Operator: View permissions and operation permissions except “Debugging tools”, “Modify project and parameters”, “Configure running views”, “Manage production parameter entries”, and “Configure statistical report”.
-
Observer: Only view permissions.
If the four default roles do not meet on-site requirements, you can configure custom roles for customized permission control.
Use Default Roles
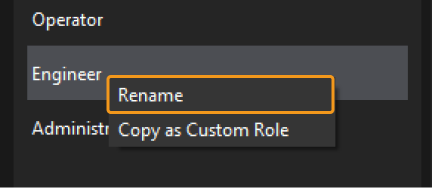
The solution access control feature provides four built-in default roles, which can only be renamed, and cannot be added or deleted.
If you want to rename the default role, right-click the role, select Rename, and then enter the new name in the pop-up window.
Use Custom Roles
To add a custom role, click Add in the custom role list, then enter the new role name in the pop-up window to add a custom role.
For additional configuration operations related to custom roles, please refer to the Role Management.
Configure Permissions for Roles (Custom Roles)
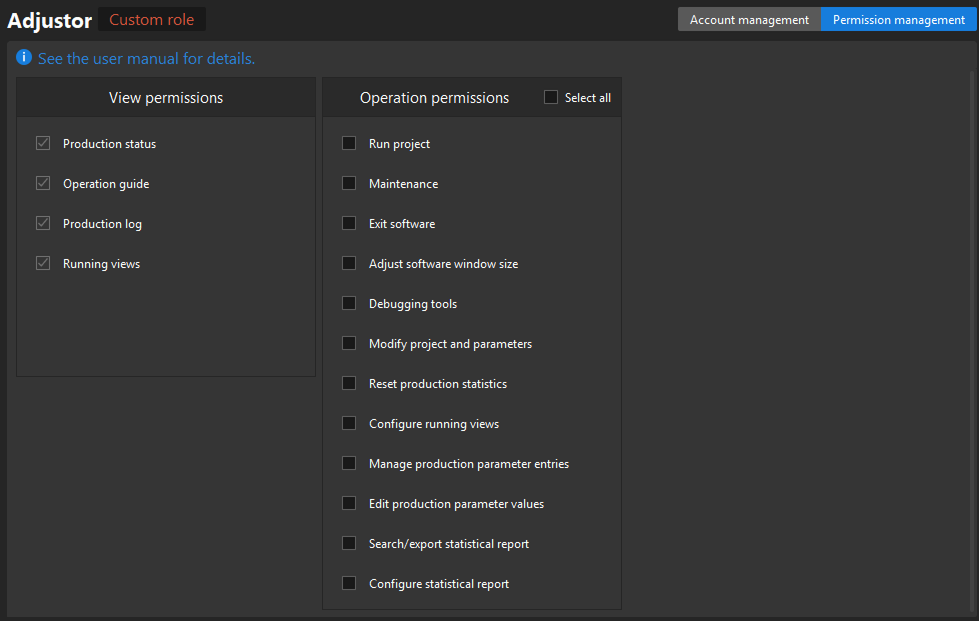
The permissions of default roles are fixed and cannot be modified. Permissions can be configured only for custom roles.
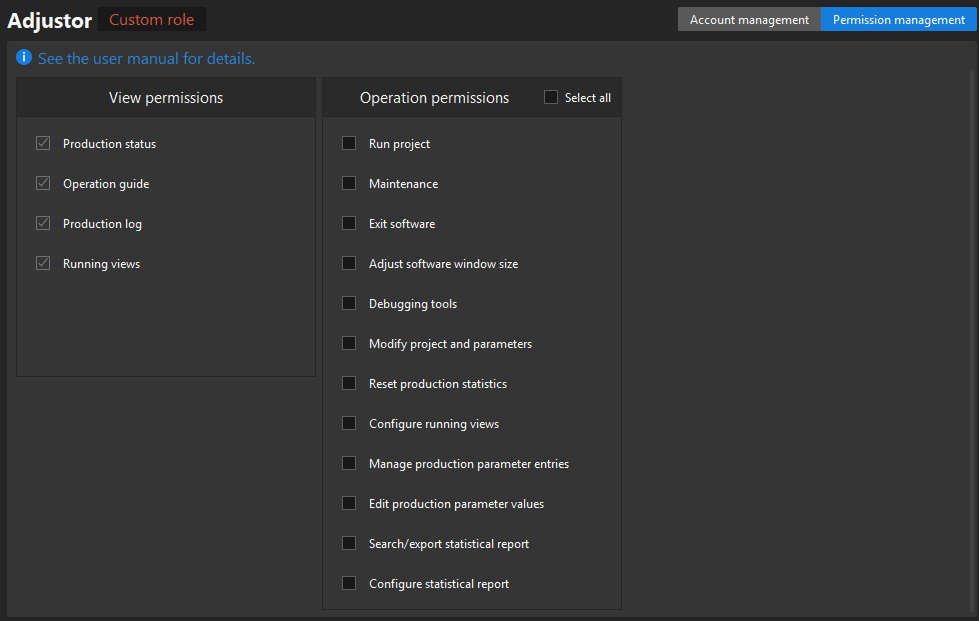
To configure permissions for a custom role, you can select this role, and then configure permissions in the Permission management interface. When the permission management is completed, click Save.
Add Accounts to Roles
After configuring roles, it is necessary to add accounts to the roles. Select a role and add accounts on the account management interface. Accounts can be added in either of the following ways.
Add a Single Account
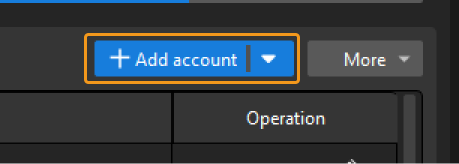
Click the Add account button on the top of the account list, and then enter the username and password in the pop-up window to add an account under the role.
|
When adding the account, both the usernames and their passwords should be unique. |
Import Accounts in Batches
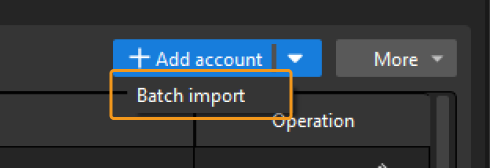
Click the  button on the right side of the Add account button, and then select Batch import. Follow the tips in the new window to perform operations.
|
When importing accounts in batches, note the following:
|
Now you have completed operations related to managing solution permissions. For other operations, see the following sections.
Other Operations
Role Management Operations
Custom roles can be added, deleted, and renamed, as described below.
| Operation | Description | Illustration |
|---|---|---|
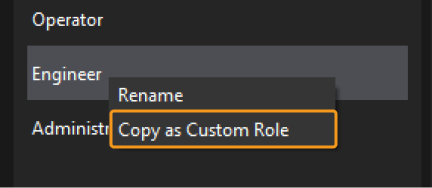
Copy a default role as a custom role |
Right-click a default role, select Copy as Custom Role, and then enter the new name in the pop-up window. |
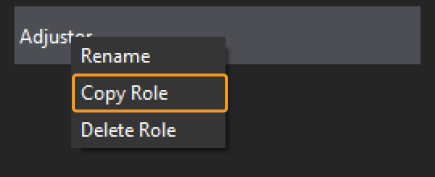
|
Right-click the added custom role, select Copy Role, and then enter the new name in the pop-up window. |
|
|
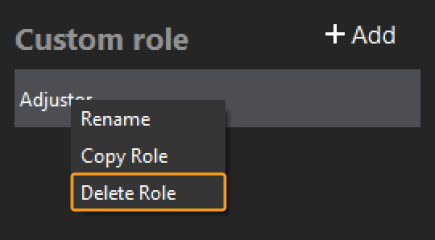
Delete a custom role |
Right-click this role, and select Delete Role. |
|
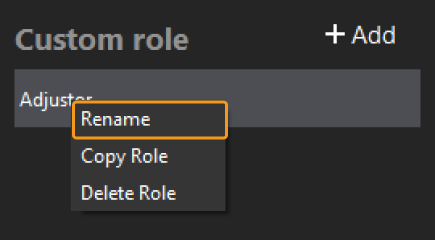
Rename a custom role |
Right-click the role, select Rename, and then enter the new name in the pop-up window. |
|
Account Management Operations
Edit Headings of Account List
When the default headings of the account list cannot meet the requirements, you can customize the headings.
Click the More button at the top right of the account list and select Set heading. Then you can add new headings in the Set Heading window.
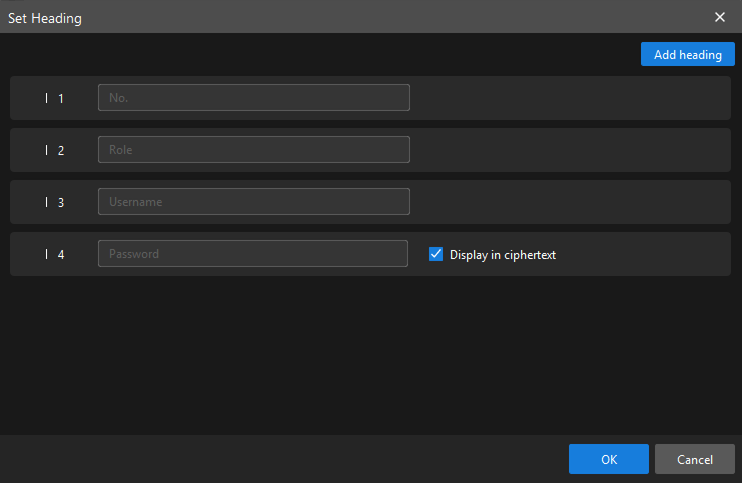
The figure below shows the account information after adding a “Name” column. Then click the  button under the Operation column to set the name.

Reset an Account Password
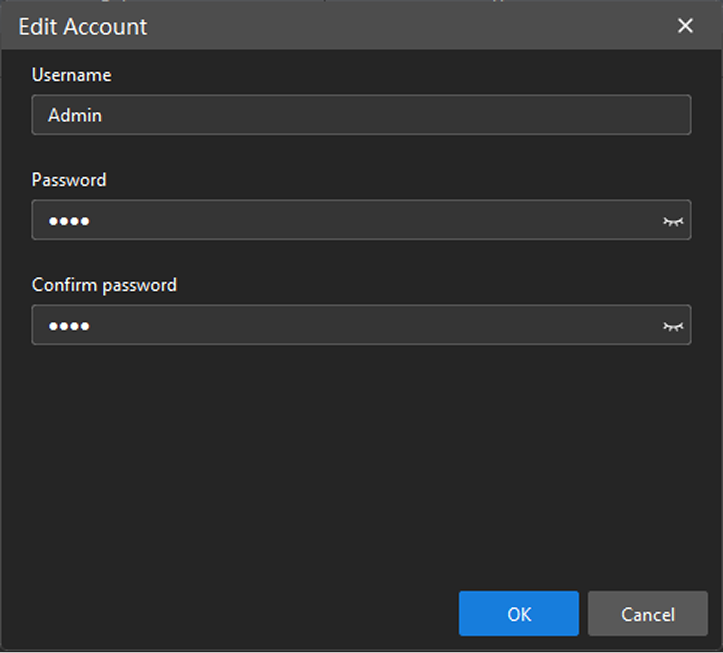
When users forget the account password, the administrator can reset the password. As an administrator, follow the steps below to reset the password.
Click icon in the Operation column, enter a new password in the pop-up window, and click OK.
Delete a Single Account
If you want to delete an account, click  in the Operation column, and then click Delete in the pop-up window to delete the account.
After deleting an account, it will no longer have permission to view the solution.
Delete Accounts in Batches
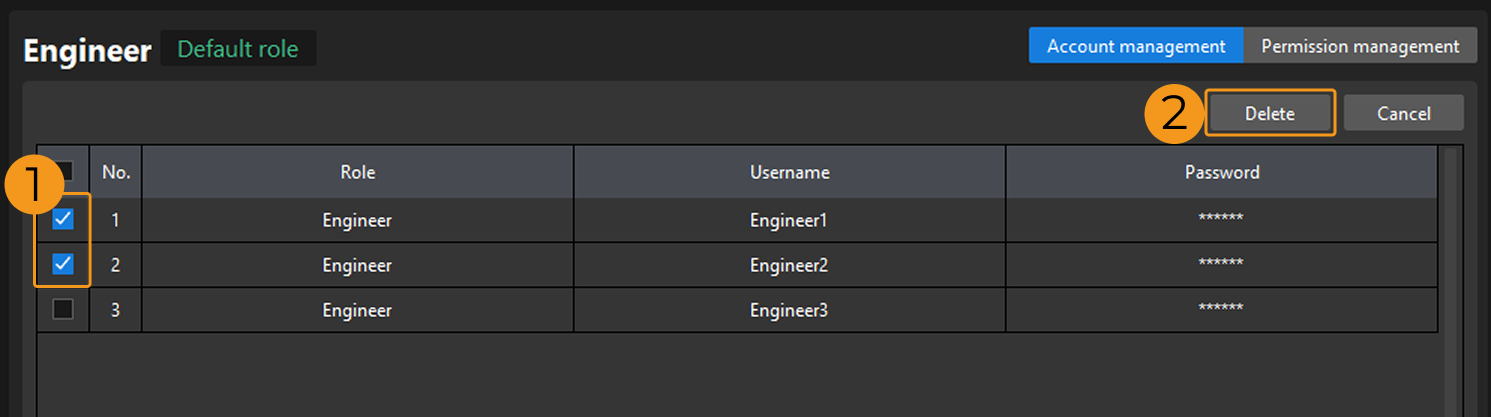
To delete accounts in batches, click the More button at the top right of the account list, and then select Batch delete.
Then select the checkboxes on the left of the accounts you want to delete, and click Delete in the upper right corner to delete the accounts in batches.
Permission Management (Custom Roles)
The permissions of the default roles are fixed and cannot be modified. Only the permissions for custom roles can be modified.
Modify Permissions
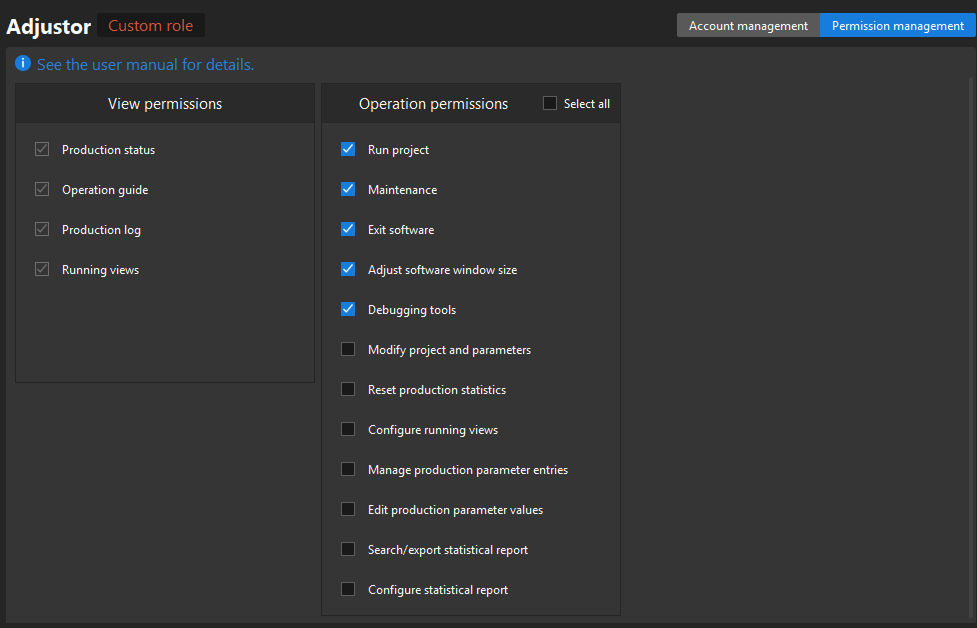
After completing the permission configuration, if you need to modify permissions, click Permission management in the upper right corner to enter the permission management interface. Then, select or unselect the permission checkboxes, and then click Save.
Reset Permissions
If you need to reset permissions after completing the permission configuration, click Permission management in the upper right corner to enter the permission management interface. Then, click Reset in the lower right corner, and then click Save to reset the permissions.
After resetting, the role will only have default permissions.
Advanced Settings
In the advanced settings, the functions including “Delete all account,” “Auto logout after inactivity,” and “Login settings” are provided. Please use these functions according to actual requirements.
| No. | Function | Instructions |
|---|---|---|
1 |
Delete all account |
This operation will clear the accounts of all default and custom roles, delete all custom roles, and disable the access control for this solution. |
2 |
Auto logout after inactivity |
Enable auto logout after inactivity for roles. After the set period of inactivity, the role will be automatically logged out. The period can range from 1 to 120 min. |
3 |
Login settings |
Set login method and background. |