Edit Image Classes, Tags, and Comments
This topic describes how to create, modify, and delete the classes, tags, and comments of images in the Labeling tab.
Image Class
The image classes are used to classify the recognition targets in the images, such as objects and defects, into different classes.
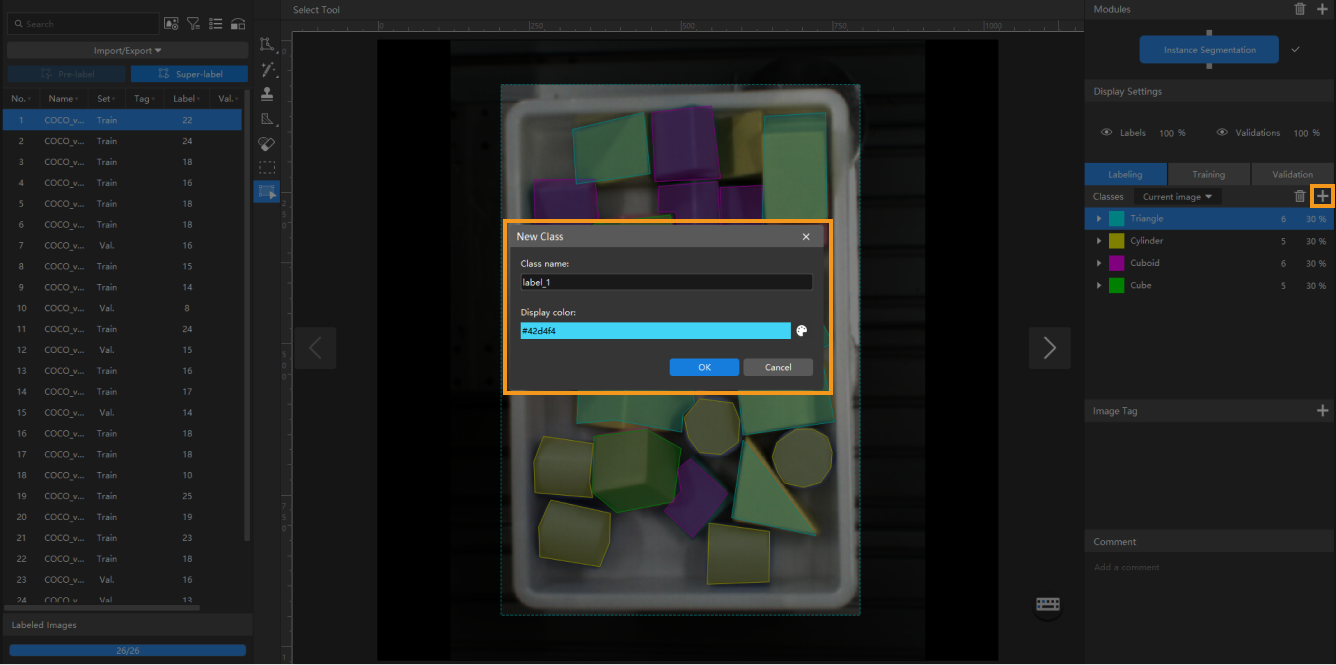
Create a Class
You can use the following method to create an image class:
-
In the Labeling tab, click
 on the right side of the Classes section.
 -
In the New Class dialog box that appears, create a class based on the type or feature of different objects.
| You can create new classes in the Instance Segmentation, Classification, and Object Detection modules. Mech-DLK generates default classes for other modules. |
Modify a Class
You can use the following methods to modify a class:
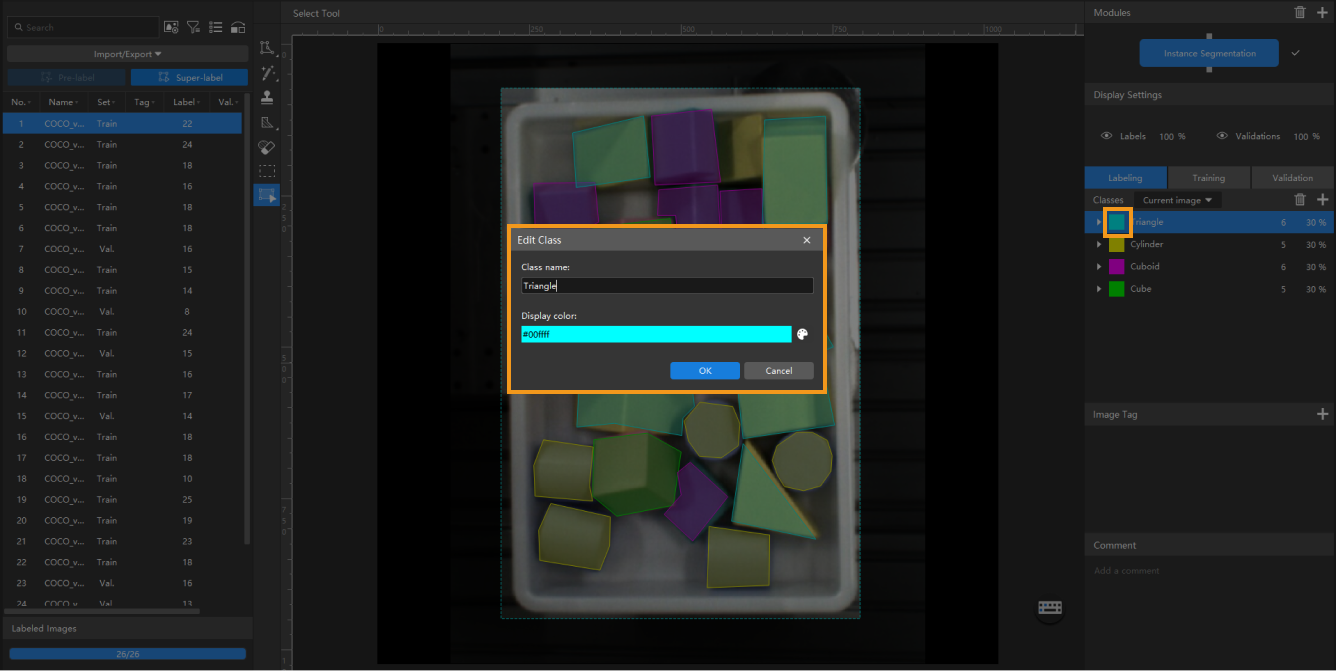
Method 1:
-
In the Classes section, select the class that you need to modify, right-click the class, and select Edit.
-
In the Edit Class dialog box that appears, modify the class name and color.

Method 2:
-
In the Classes section, click the color block of a class.
-
In the Edit Class dialog box that appears, modify the class name and color.
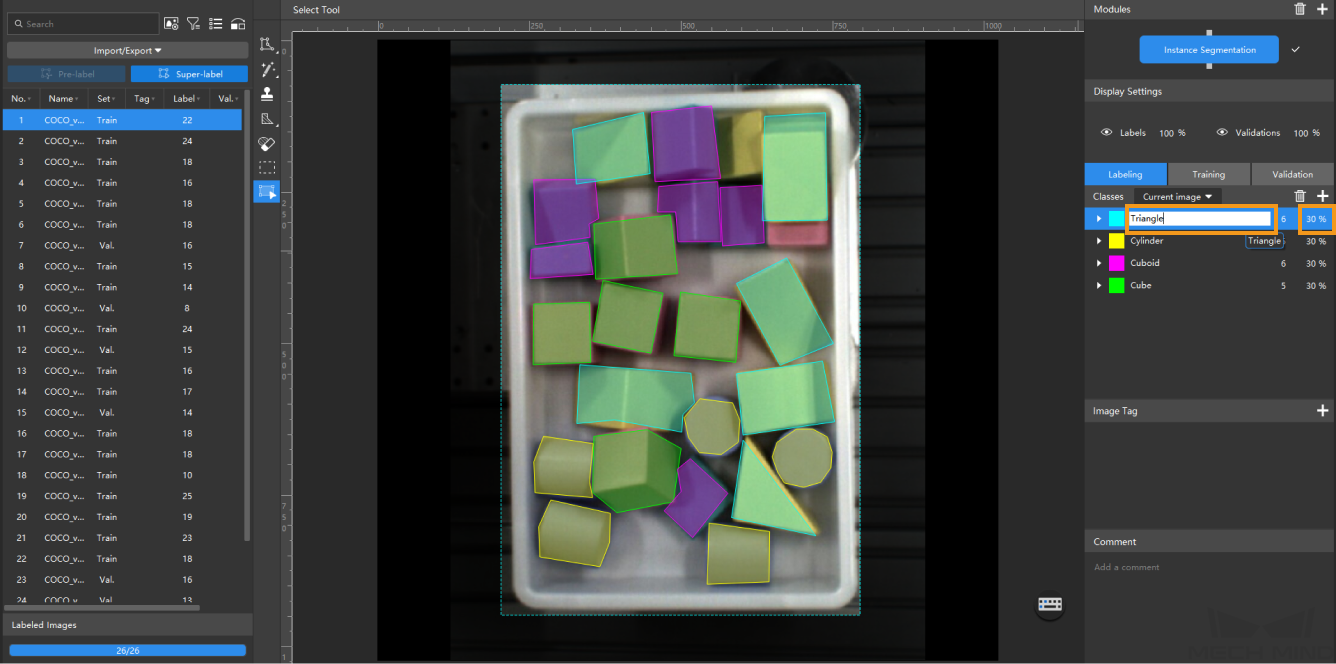
Method 3:
In the Classes section, double-click the name or opacity value of a class to quickly modify them.
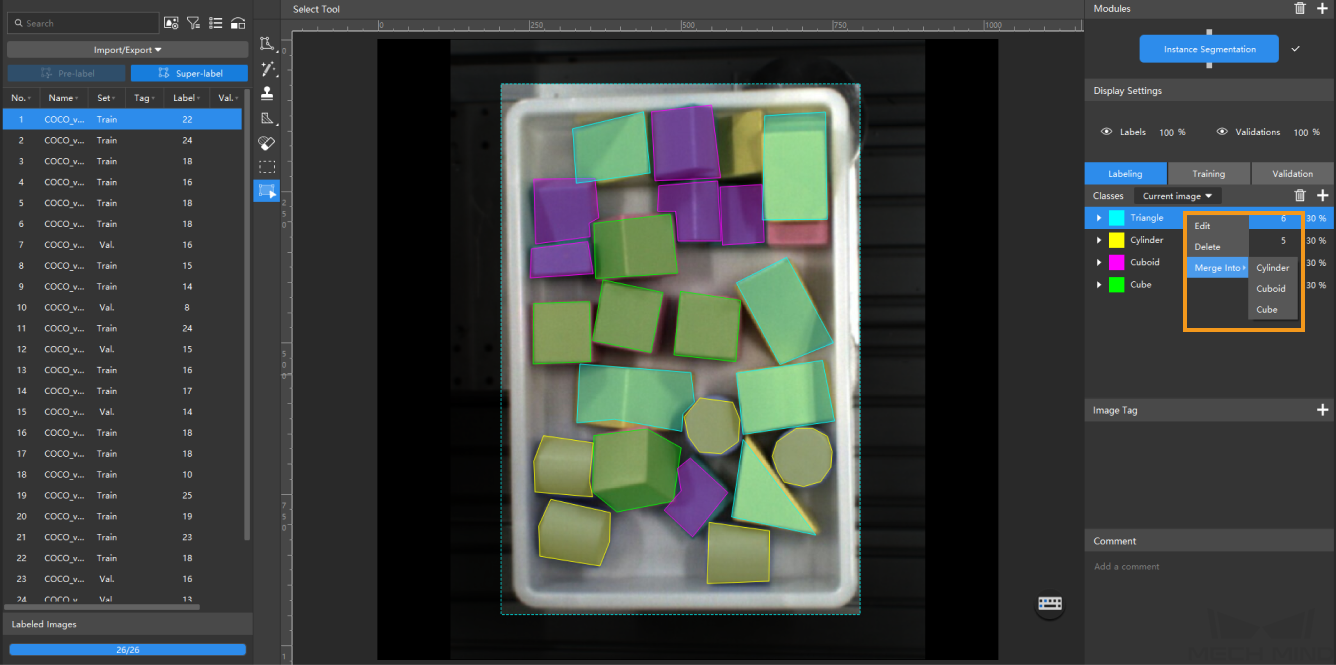
Method 4:
-
In the Classes section, select the class that you need to modify, right-click the class, and select Merge Into.
-
Select the new class that you need to merge into to change the class of the current data to the new class.
If you perform the Merge Into operation after you trained the model, it is recommended that you train the model again.
Delete a Class
You can use the following methods to delete a class:
Method 1:
-
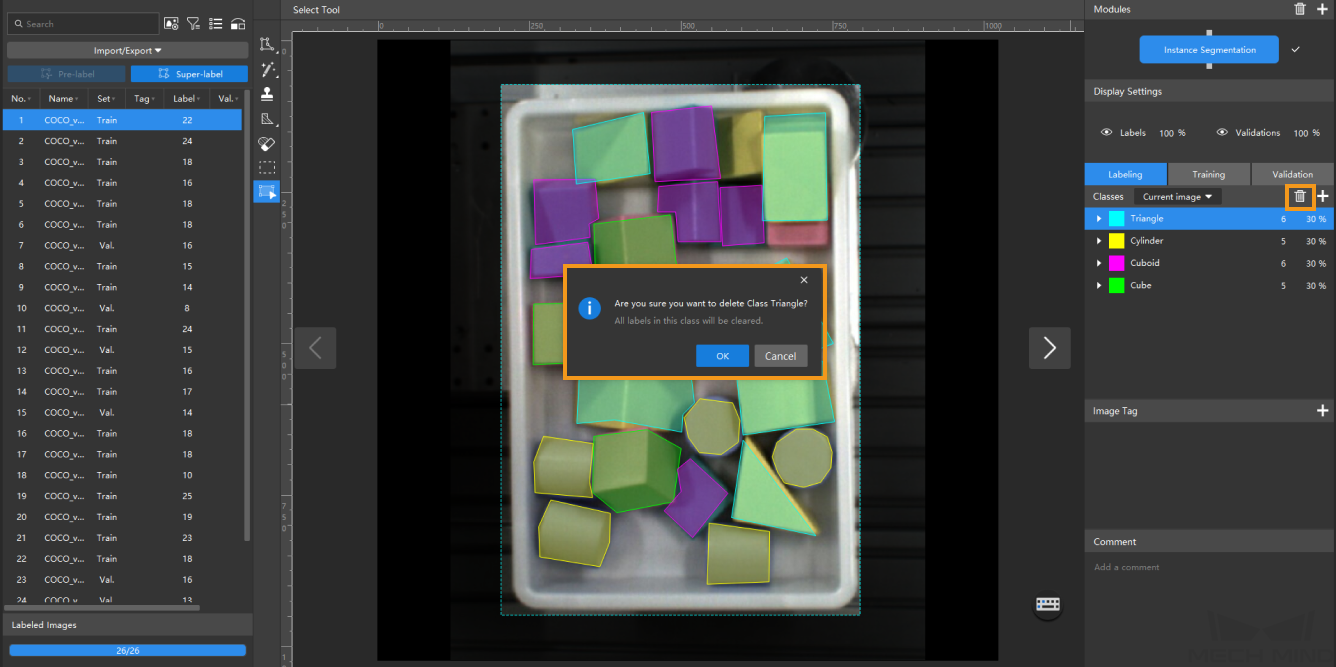
In the Classes section, select the class that you need to delete, and click
 on the right side of the Classes section.
 -
Click OK in the pop-up dialog box.
Method 2:
-
In the Classes section, select the class that you need to delete, right-click the class, and select Delete.
-
Click OK in the pop-up dialog box.
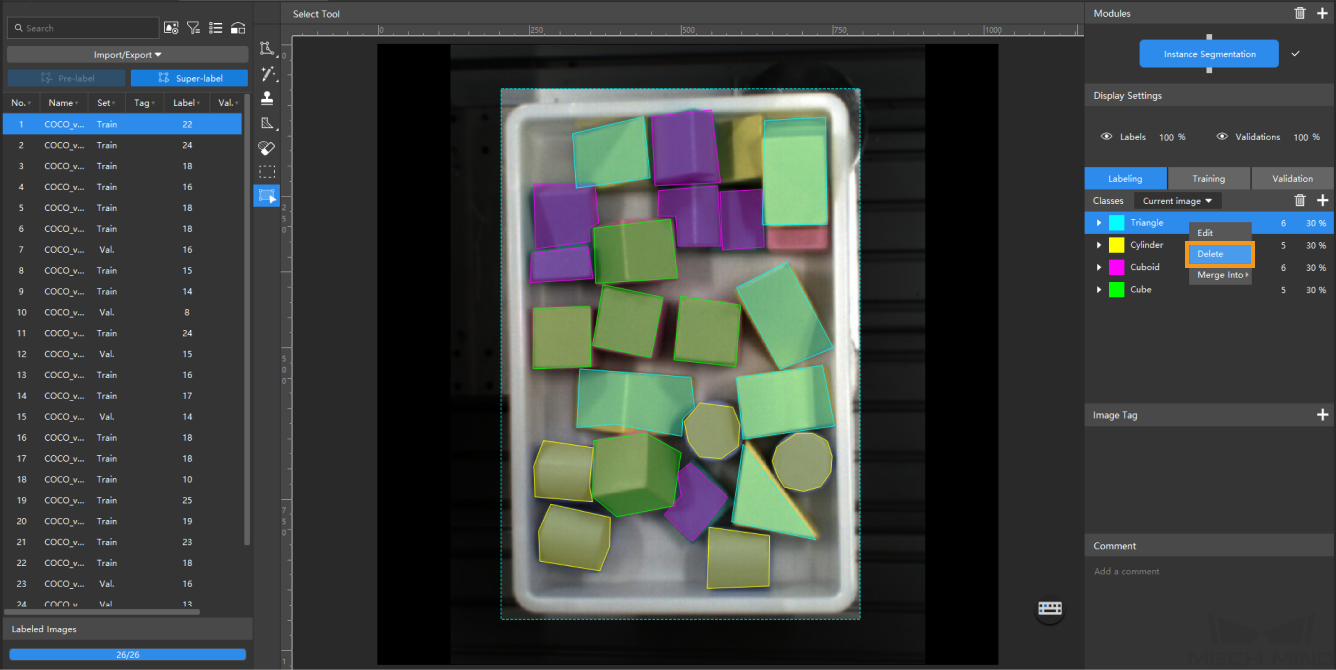
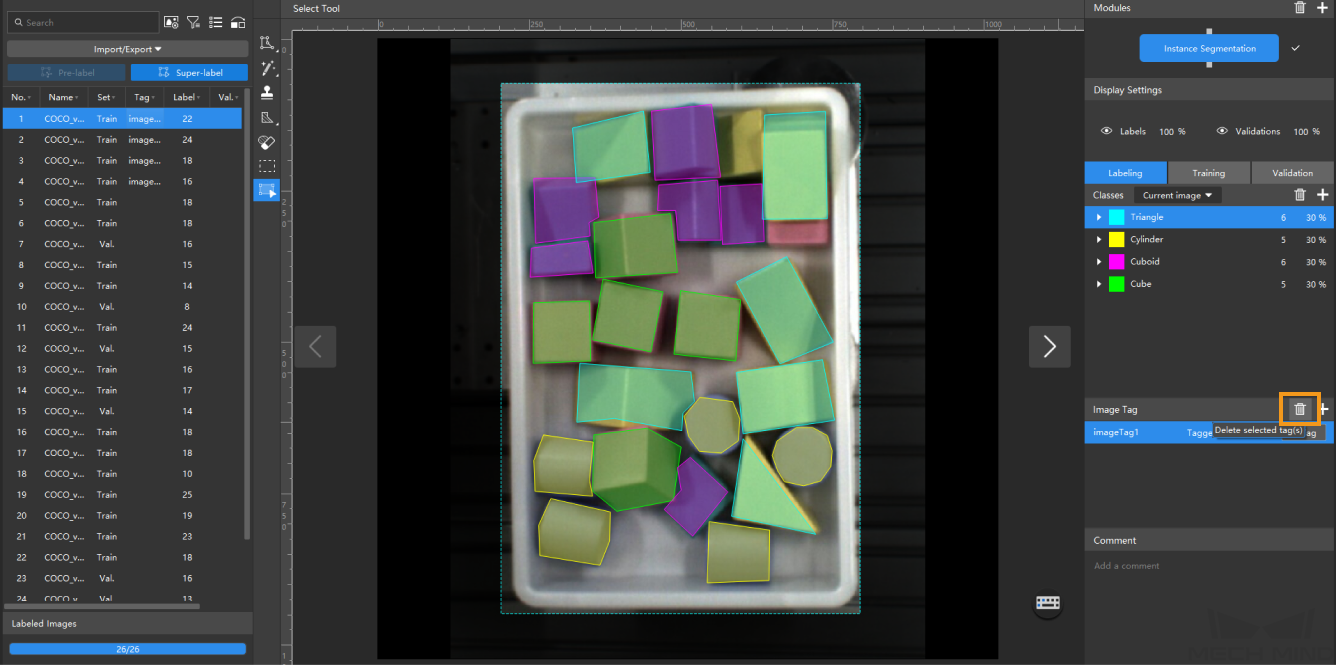
Image Tag
With the image tagging function, you can add tags to images and thereby manage massive image data in a centralized manner according to the usage scenarios of images.
Create a Tag
You can use the following method to create an image tag:
-
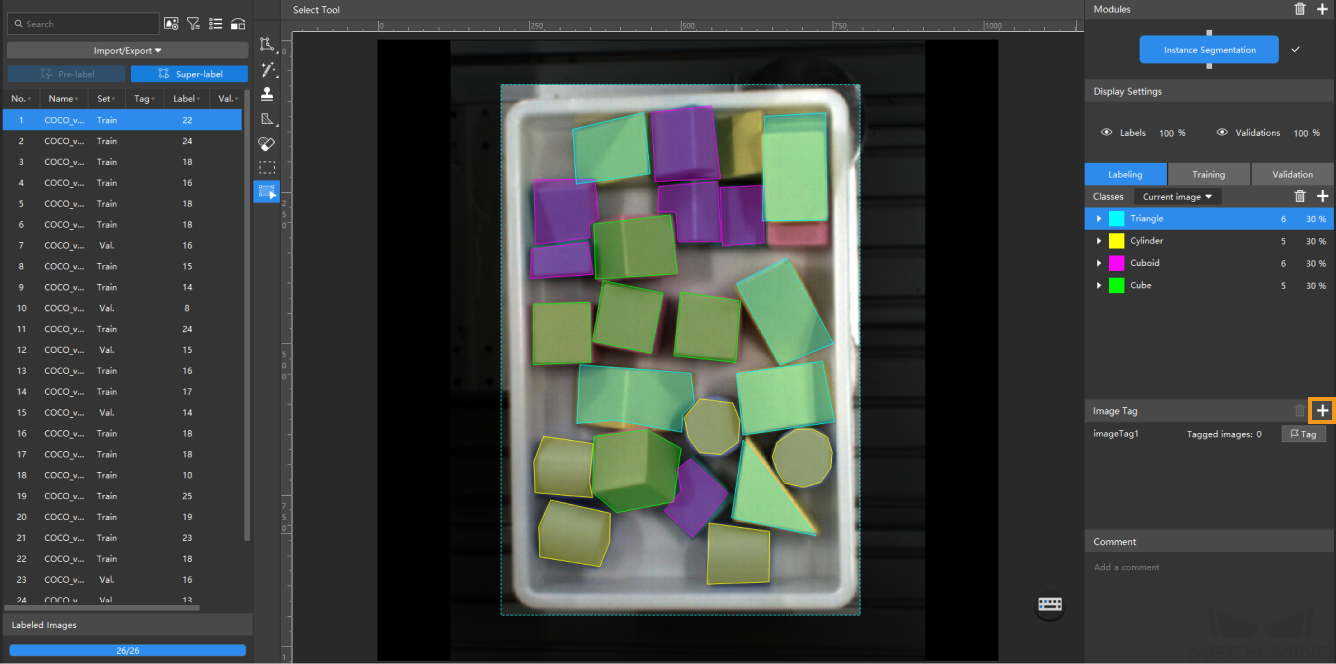
In the Image Tag section, click +.
-
By default, the tag name is imageTag1. Double-click the name to rename it.
-
Repeat the above steps to create more tags.
Add Tags to an Image
You can use the following method to add tag to an image:
-
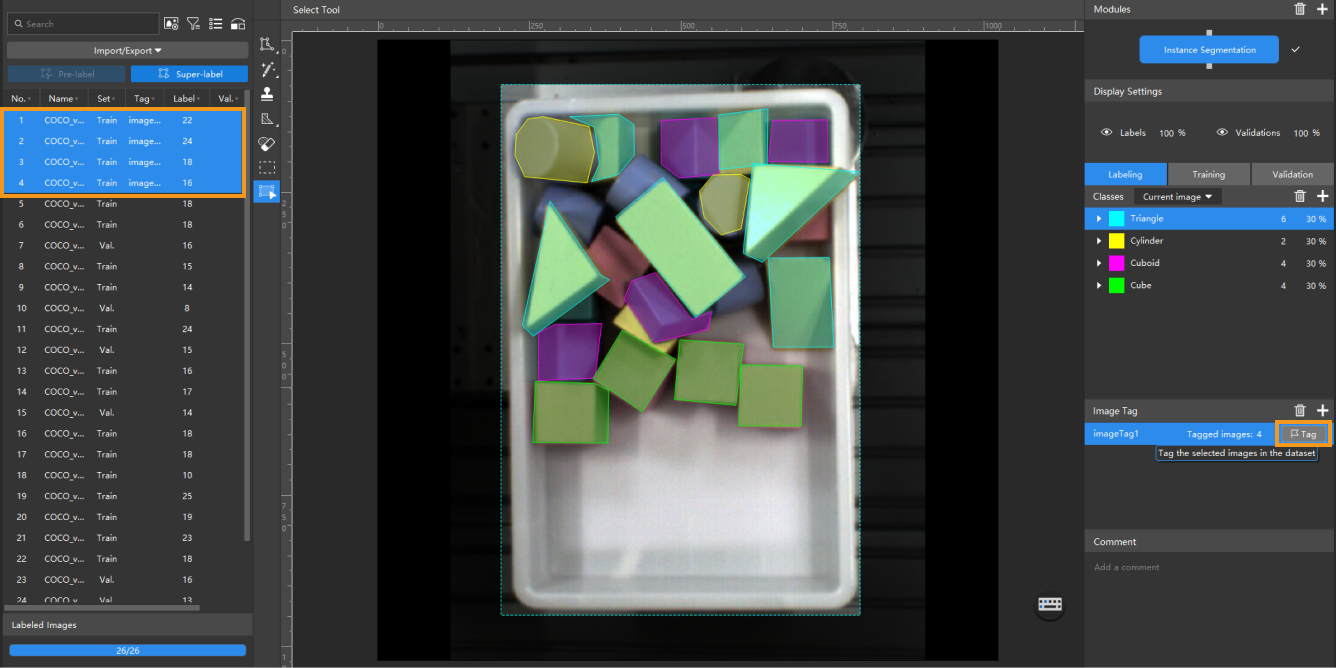
In the image list, click an image or select multiple images.
-
In the Image Tag section, click the Tag button to the right side of a tag, and the image will be tagged accordingly.
-
Press Ctrl or Shift on the keyboard to select multiple images.
-
The Tagged images attribute indicates the number of images with the tag.
-
In the image list, right-click the tagged image(s) and click Clear tags to clear the tags of the selected image(s).
-
Comment
In the image list, after you click an image, you can then add a comment in the Comment section. The images with comments have a yellow bookmark icon in front of the image names.