Generate Point Cloud Model by Importing CAD File + Add Pick Point by Adding a Pose
Generate Point Cloud Model by Importing CAD File
If you already have the CAD model file of the target object, you can import this file into Matching Model and Pick Point Editor, and generate a point cloud model from the CAD file. Currently, only CAD model file in STL format is supported.
Preparation
-
Prepare the CAD model file of the target object in STL format.
-
Open Matching Model and Pick Point Editor.
-
Start Mech-Vision.
-
Open an existing project or create a new blank project, ensuring it includes the “Capture Images from Camera” Step. If this step is not present, please add it.
-
Click Matching Model and Pick Point Editor on the toolbar.
-
Workflow
-
Click Import CAD file in the initial interface of the tool.
-
Find the desired CAD file, select and open it.
-
Select the measurement unit of the CAD model in the pop-up window.
-
The imported CAD file will show up in the CAD files list on the left.
-
After selecting the file in the CAD files list, click
 or
or  in the toolbar to generate the point cloud model.
-
: generate a point cloud of the entire surface of the CAD model. After clicking, you will need to adjust the sampling interval for the point cloud in the pop-up window, and then click OK to generate the point cloud model.
-
: generate a point cloud of only the part visible in the current view.
-
Add Pick Point by Adding a Pose
A model point cloud should be generated before adding pick points.
Workflow
-
Click the
 button on the toolbar to add a pose as a pick point to the point cloud model of the target object.
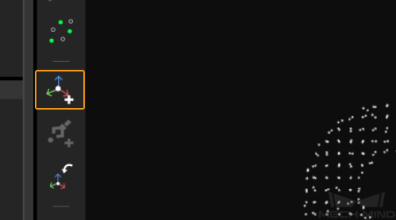
-
Select the pick point in the Model Files List, and adjust its position. There are two ways you can adjust a pick point:
-
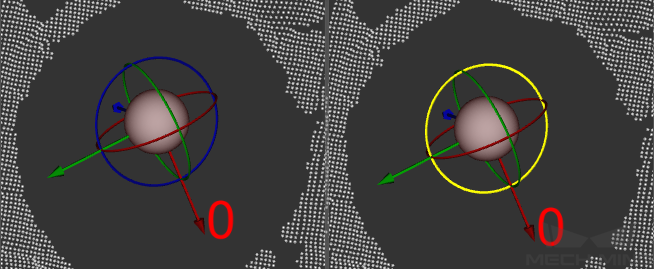
By dragging the manipulator on the pick point: While holding the Ctrl key, click and drag a manipulator to move the pick point along the axis of this manipulator. A manipulator is successfully selected if it turns yellow after being clicked. In the figure below, the left image is before selection and the right after.
-
By editing the pose data: Pose editing can be done below CAD Files List.
-