Typical Case Practices of 3D Measurement and Inspection
Mech-Mind typical case practices are practical application guides derived from numerous successful use cases in various application scenarios. This manual will guide you step by step to easily deploy typical 3D measurement and inspection applications.
Overview of a Typical Application Deployment Process
The solution library of Mech-Mind provides a wealth of typical solutions. You can select suitable typical applications according to application scenarios, and then quickly complete the deployment of 3D measurement and inspection applications.
The following figure shows the general process of typical application deployment.

During the solution design stage, you need to assess the risks a 3D measurement and inspection application might encounter in actual project deployment, then design a solution that meets the project’s requirements.
The deployment of the 3D measurement and inspection solution refers to applying the typical application cases to your actual project according to the solution design, including the entire process from the hardware setup to the final measurement and inspection.
For more information about each stage of application deployment, see Learning Guidance for 3D Measurement and Inspection.
Guidance on Typical Case Practices
Cap-Terminal Height Measurement for Battery Cells
|
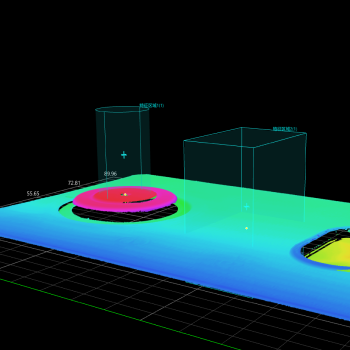
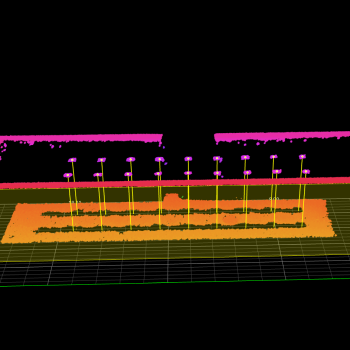
This solution measures the height of terminals relative to the cap of battery cells.
|
Defect Inspection for Brake Pads (Blob Analysis)
|
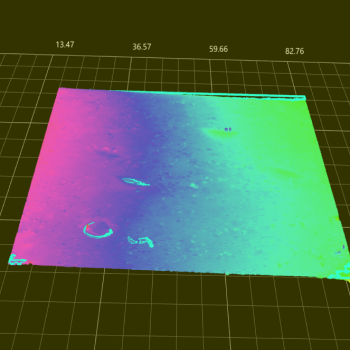
This solution uses the blob analysis method to detect defects such as depressions and protrusions on the surface of brake pads.
|
Hole Measurement for Metal Parts
|
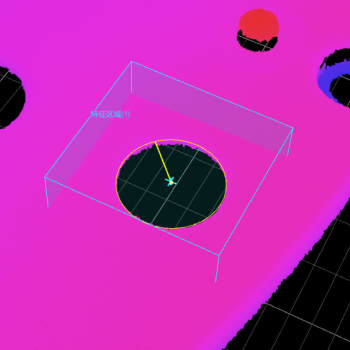
This solution measures the dimensions of the target hole, such as the location of the hole center and radius.
|
Pin Counting
|
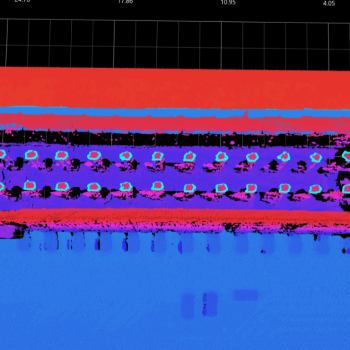
This solution counts connector pins.
|
Pin Height Measurement
|
This solution measures the height of connector pins relative to the base plane.
|
Smartphone Midplate Flatness Measurement
|
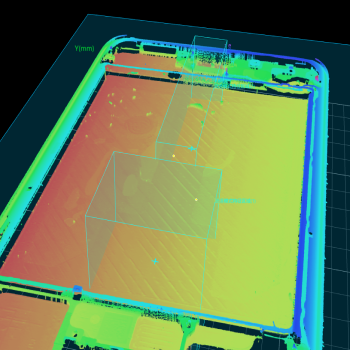
This solution measures the flatness of smartphone midplates.
|
