Adjust 2D Exposure and 3D Exposure for Calibration Board
This chapter introduces how to adjust exposure parameters for hand-eye calibration and intrinsic parameter check to acquire a clear 2D image, and a complete depth map and point cloud for the calibration board.
To adjust the parameters, follow these steps:
-
Adjust parameters in the 2D Parameters category according to the camera model in use:
Model Related parameters DEEP-GL, LSR S-GL, LSR L-GL, and LSR XL-GL
Set 2D Image (Depth Source) Exposure Mode to Timed.
Other models
If the ambient light is stable, set Exposure Mode to Timed.
If the ambient light is unstable, set Exposure Mode to Auto.
-
Click
 in the data acquisition area to trigger one round of data acquisition.
 -
Check 2D image/2D images (depth source). The image should neither be too dark nor too bright. The feature of the calibration board surface should be clear.
Too dark Good Too bright 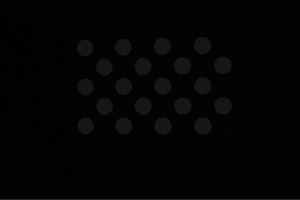
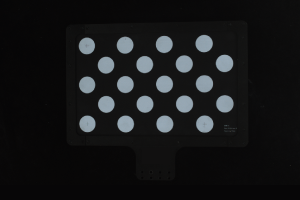
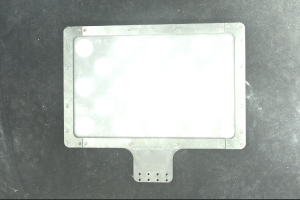
The grayscales of pixels can be used as a reference for the quality of the 2D image/2D images (depth source) of the calibration board. When the grayscales of the circles of the calibration board are between 180 and 220, the image quality is good. If a color camera is in use, you can convert RGB values to grayscales using a third-party tool.
To check the grayscale/RGB of the pixel where the cursor is located, select Image Information Box in the View menu in the menu bar.
-
If the image is too dark or too bright, proceed to step 4.
-
If the image is good, proceed to step 5.
-
-
Adjust parameters in the 2D Parameters category, and then repeat step 2 to 3.
Image brightness Exposure mode Instructions Too bright
Timed
-
DEEP-GL, LSR S-GL, LSR L-GL and LSR XL-GL: Decrease the value of 2D Image (Depth Source) Exposure Time
-
Other models: Decrease the value of Exposure Time
Auto
Decrease the value of Gray Value
Too dark
Timed
-
DEEP-GL, LSR S-GL, LSR L-GL, and LSR XL-GL: Increase the value of 2D Image (Depth Source) Exposure Time
-
Other models: Increase the value of Exposure Time
Auto
Increase the value of Gray Value
-
-
Check the depth map and point cloud. The depth map and point cloud of the calibration board should be complete. The images below are point clouds of a calibration board.
Point cloud complete Point cloud incomplete Point cloud incomplete 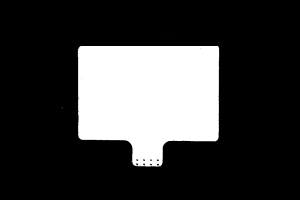
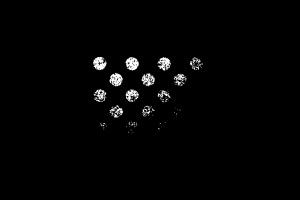
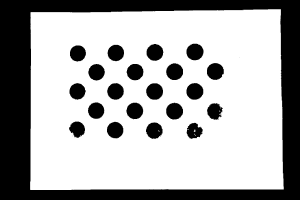
The black regions lack depth information to generate corresponding point cloud of the calibration board.
-
If the depth map and point cloud are complete, the parameter adjustment is finished.
-
If the depth map or point cloud is incomplete, adjust the 3D exposure settings.
When acquiring data for a calibration board, setting Exposure Multiplier to 1 can generally produce complete depth data.
-