C#
This topic introduces how to run the C# samples on Windows.
Sample List
Samples are divided into 5 categories, Basic, Advanced, Util, Laser and UHP.
-
Basic: camera connection and basic capturing functions.
-
Advanced: advanced capturing functions.
-
Util: obtain information from a camera and set camera parameters.
-
Laser: for the Laser, DEEP and LSR series cameras only.
-
UHP: for the UHP series cameras only.
The samples in each category and their descriptions are provided below.
Basic
-
ConnectToCamera: Connects to a camera.
-
ConnectAndCaptureImage: Connects to a camera and obtains the 2D image, depth map and point cloud data.
-
CaptureColorMap: Obtains and saves the 2D image from a camera.
-
CaptureDepthMap: Obtains and saves the depth map from a camera.
-
CapturePointCloud: Obtains and save untextured and textured point clouds generated from images captured with a single exposure time.
-
CaptureHDRPointCloud: Obtains and save untextured and textured point clouds generated from images captured with multiple exposure times.
-
CapturePointCloudROI: Obtains and save untextured and textured point clouds of the objects in the ROI from a camera.
-
CapturePointCloudFromTextureMask: Constructs and saves untextured and textured point clouds generated from a depth map and masked 2D image.
Advanced
-
CaptureCloudFromDepth: Constructs and saves point clouds from the depth map and 2D image obtained from a camera.
-
CaptureSequentiallyMultiCamera: Obtains and saves 2D images, depth maps and point clouds sequentially from multiple cameras.
-
CaptureSimultaneouslyMultiCamera: Obtains and saves 2D images, depth maps and point clouds simultaneously from multiple cameras.
-
CaptureTimedAndPeriodically: Obtains and saves 2D images, depth maps and point clouds periodically for the specified duration from a camera.
Util
-
GetCameraIntri: Gets and prints a camera’s intrinsic parameters.
-
PrintDeviceInfo: Gets and prints a camera’s information such as model, serial number, firmware version and temperatures.
-
SetDepthRange: Sets the range of depth values to be retained by a camera.
-
SetParameters: Sets specified parameters to a camera.
-
SetUserSets: Performs functions related to parameter groups, such as obtaining the names of all available parameter groups, selecting a parameter group, and saving the parameter values to the current parameter group. The parameter group feature allows user to save and quickly apply a set of parameter values.
Laser
-
SetLaserFramePartitionCount: Divides the projector FOV into partitions and project structured light in one partition at a time. The output of the entire FOV is composed from images of all partitions.
-
SetLaserFrameRange: Sets the projection range of the structured light. The entire projector FOV is from 0 to 100.
-
SetLaserFringeCodingMode: Sets the coding mode of the structured light pattern.
-
SetLaserPowerLevel: Sets the output power of the laser projector in percentage of max power. This affects the intensity of the laser light.
UHP
-
SetUHPCaptureMode: Sets the capture mode (capture images with 2D camera 1, with 2D camera 2, or with both 2D cameras and compose the outputs).
-
SetUHPFringeCodingMode: Sets the coding mode of the structured light pattern.
Requirements
-
It is recommended to use Visual Studio 2019 or Visual Studio 2015.
-
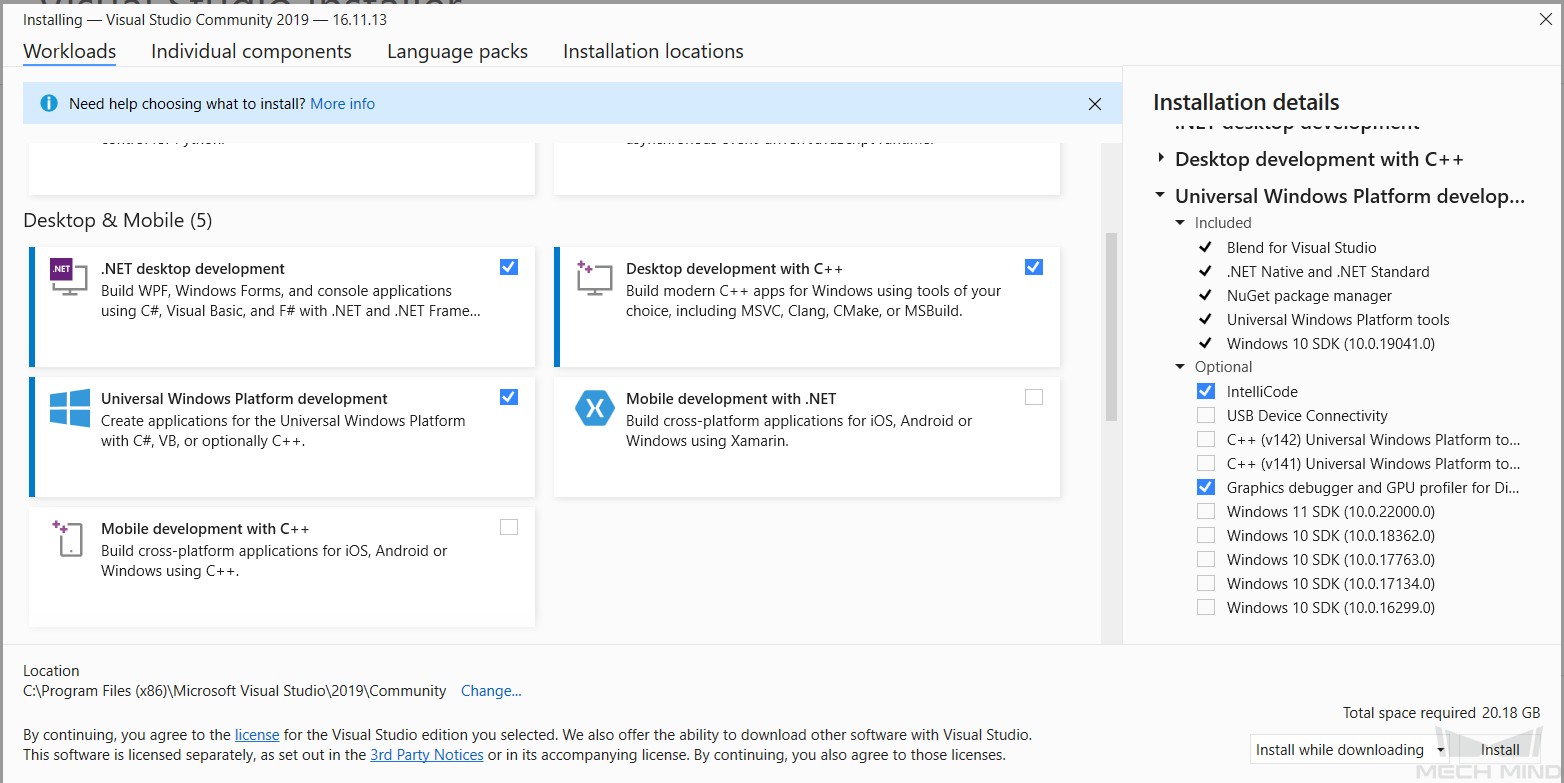
Choose and install workloads and individual components in Visual Studio:
Workloads: .NET desktop development, Desktop development with C++, Universal Windows Platform development
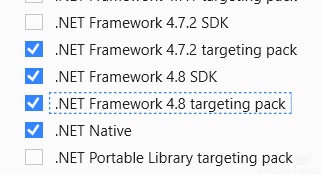
Individual components: .NET Framework 4.8 targeting pack
-
To use the following samples, Emgu.CV.runtime.windows must be installed in Visual Studio using the NuGet Package Manager. Please refer to Install and manage packages in Visual Studio using the NuGet Package Manager for detailed instructions.
-
CaptureColorMap
-
CaptureDepthMap
-
CapturePointCloud
-
CaptureHDRPointCloud
-
CapturePointCloudROI
-
CapturePointCloudFromTextureMask
-
CaptureCloudFromDepth
-
CaptureSequentiallyMultiCamera
-
CaptureSimultaneouslyMultiCamera
-
CaptureTimedAndPeriodically
-
Instructions
Build Solution in Visual Studio
-
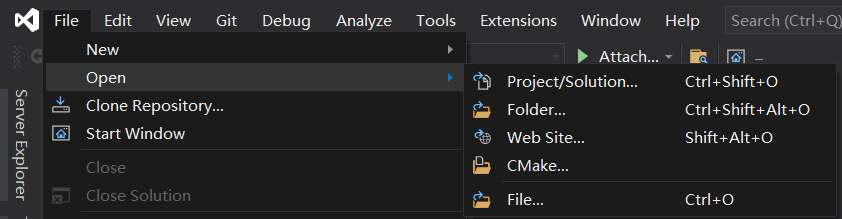
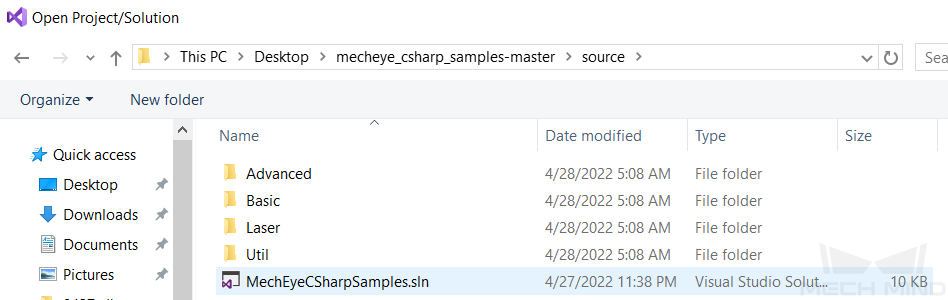
Open MechEyeCSharpSamples.sln in Visual Studio. This file is located in xxx/Mech-Eye SDK-x.x.x/API/samples/csharp/source.
-
Change the Solution Configuration from Debug to Release.

-
Build solution.
Right-click Solution ‘MechEyeCSharpSamples’ in the Solution Explorer panel, and click Build Solution in the context menu.

Run Samples
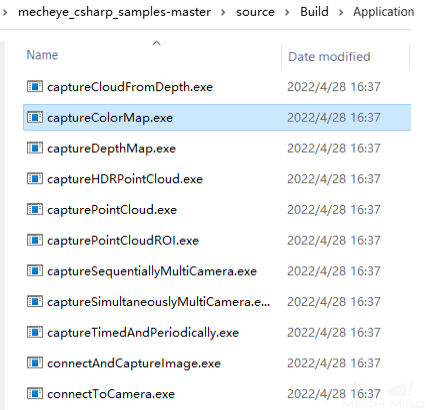
The example below shows how to run CaptureColorMap.exe:
-
Go to .
-
Double-click CaptureColorMap.exe.
While the program is running, please follow the instructions to input the camera index, and then wait for the program to finish.
-
After running the program, you will get the 2D image (named ColorMap) in Build directory.