Use the Fast Positioning Module
This document provides connector data (click to download) and guides you through training a model using the Fast Positioning module to align the connectors to a uniform orientation.
| You can also use your own data. The overall workflow is the same, but the labeling stage is different. |
-
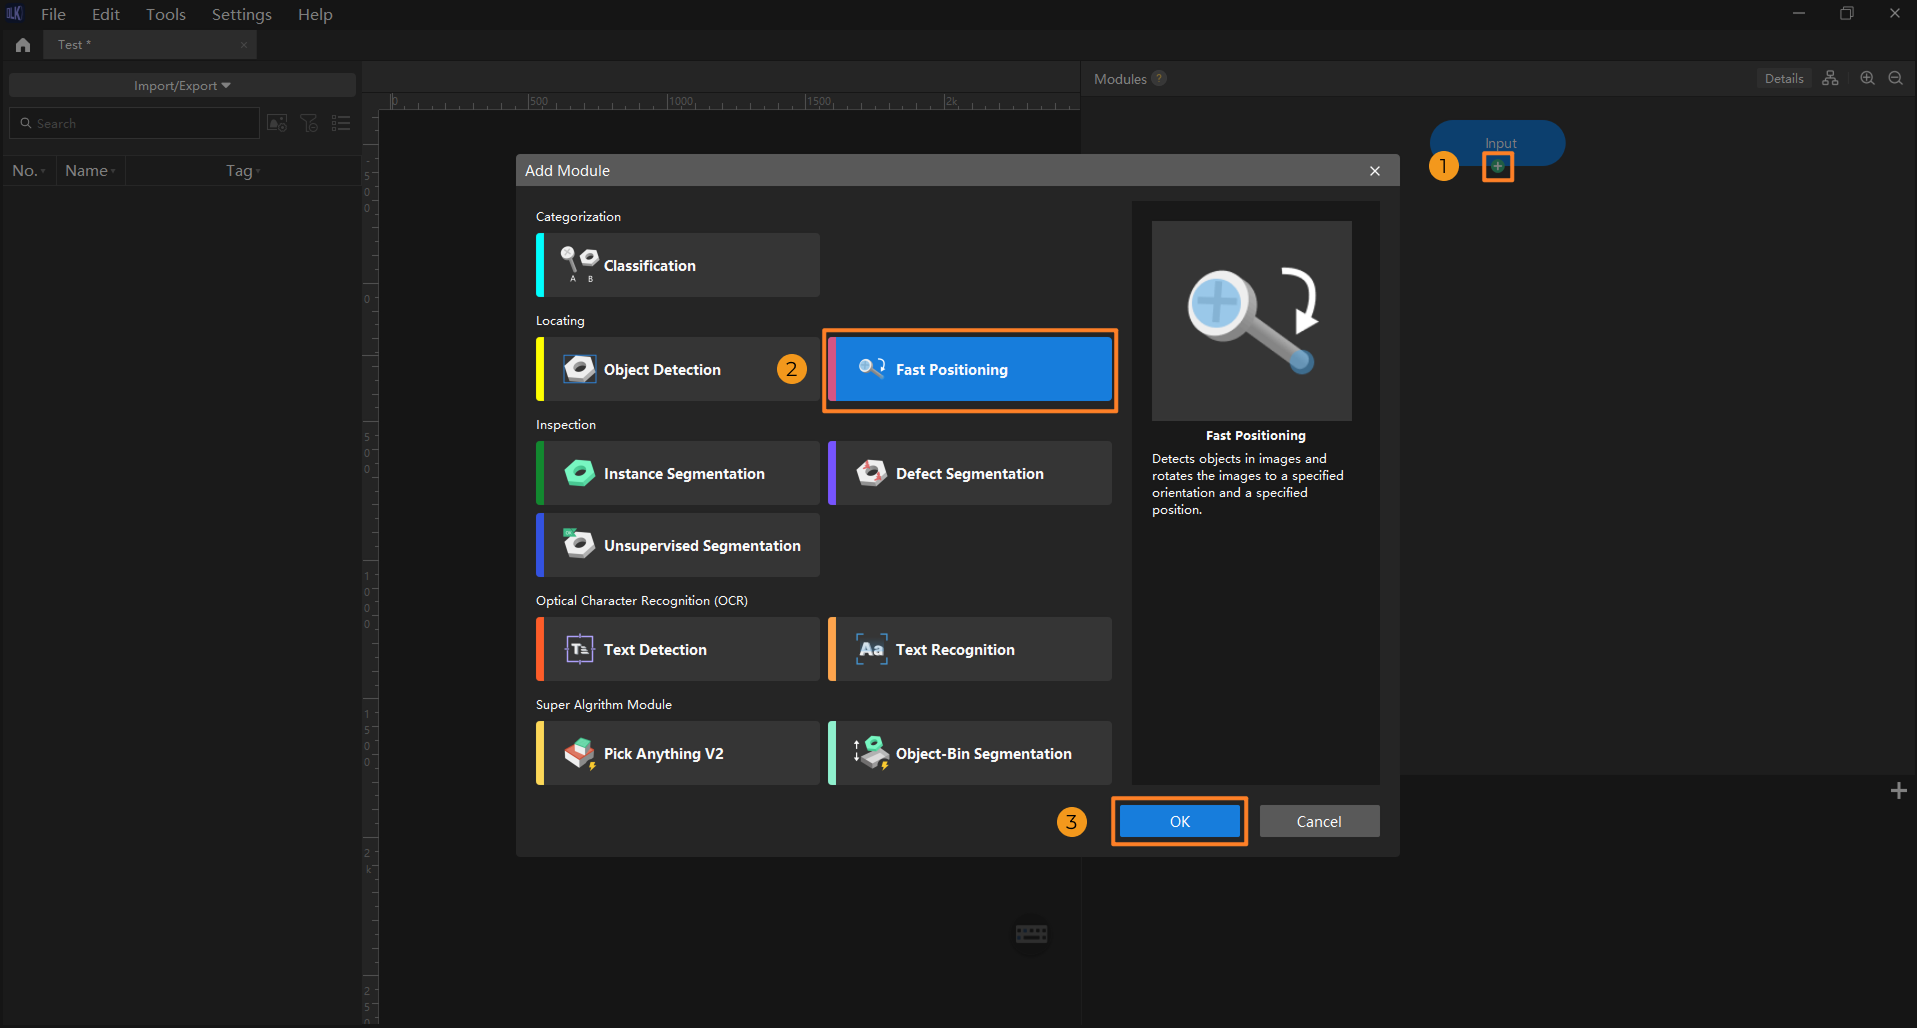
Create a new project and add the Fast Positioning module: Open Mech-DLK, click New Project in the interface, name the project, and select a directory to save the project. In the main interface, click the + button under the Input module, and select the Fast Positioning module in the Add Module window.
-
Import image data: Import the acquired image data or decompress the data file provided in this article. You can use one of the following methods to import image data:
-
Method one
Drag and drop images or files into the image list area to import them. Importing datasets by dragging is not supported.
-
Method two
On the top of the image list, click the Import/Export button. Select the import method based on the data type:
-
Import from Previous Module: Import images from the previous module.
-
Import Images: Import one or more images.
-
Import Folder: Import all images in the folder (images in the subfolders are not included).
-
Import Dataset: Import datasets in the DLKDB format (.dlkdb), which are datasets exported from Mech-DLK.
-
-
-
Label images: The Fast Positioning module provides two default label classes feature1 and feature2. In the labeling toolbar, click
 , and label the first feature on the image. After the first label is finished, the system automatically switches to the feature2 class. Then, label the second feature on the image. Each class can contain only one label. If you need to modify an existing label, select the corresponding class in the Classes column and draw a new label. The new label will automatically replace the original one. Repeat the operations to label all images. Click here to view how to use labeling tools.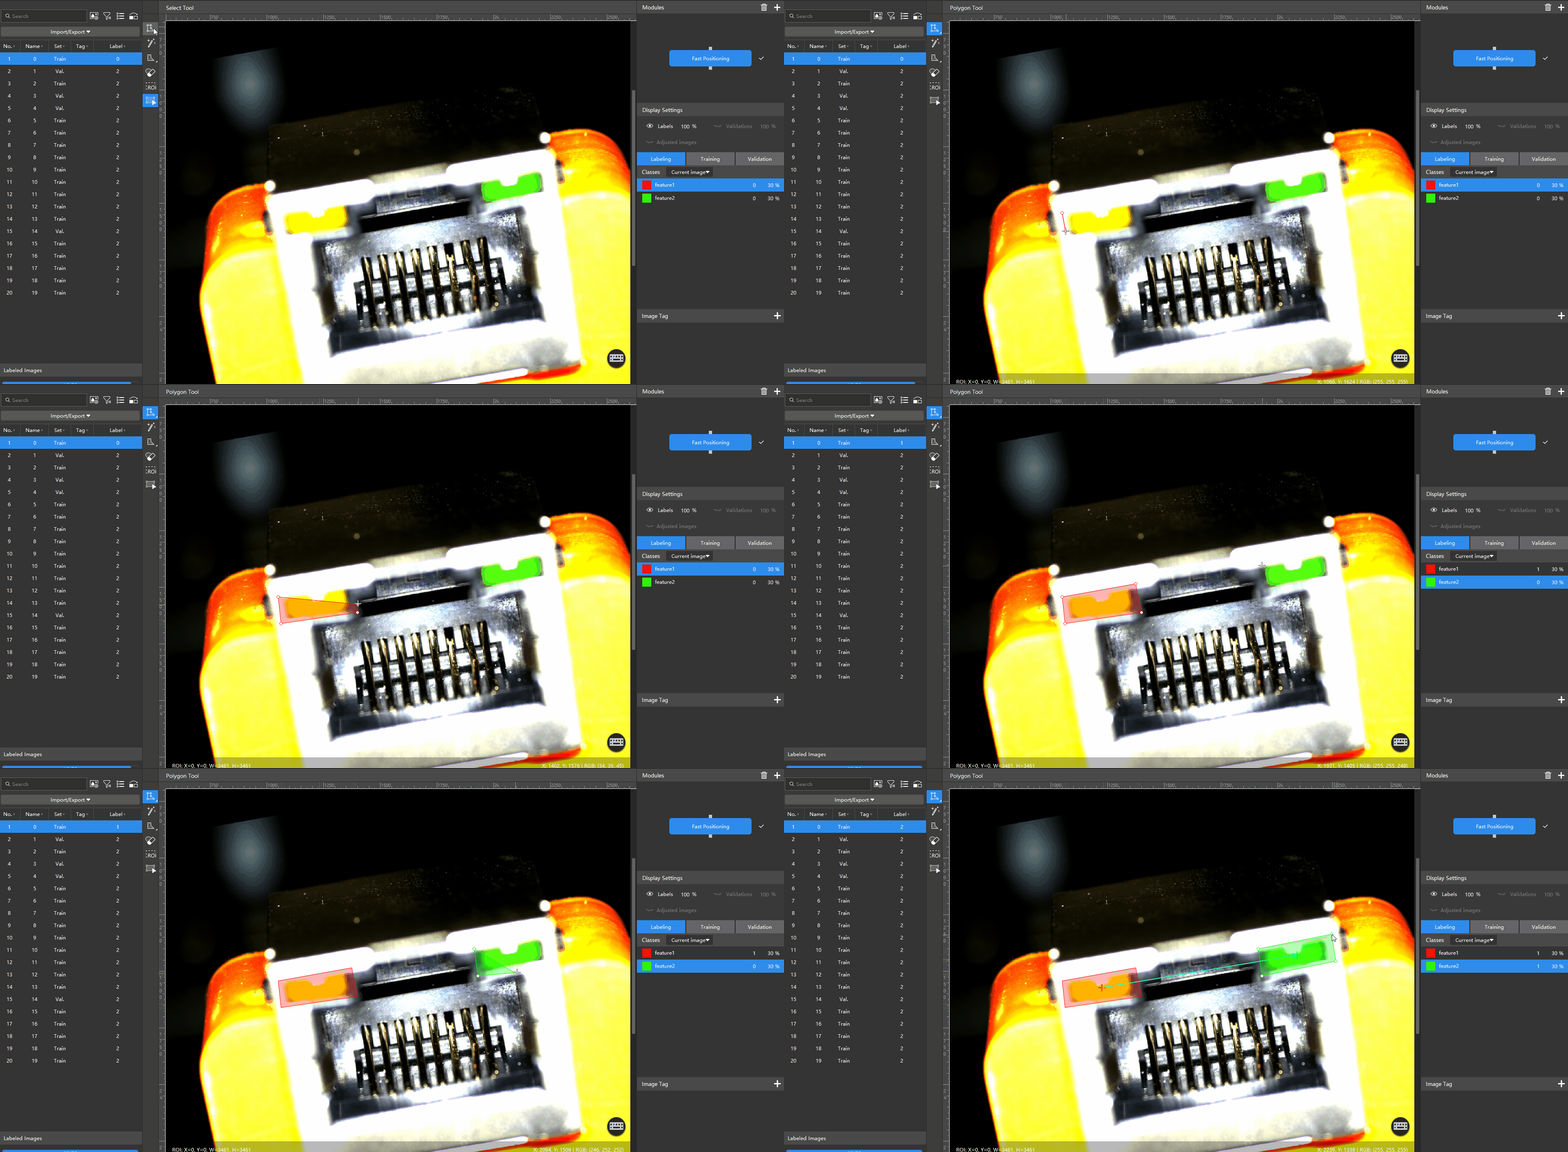
-
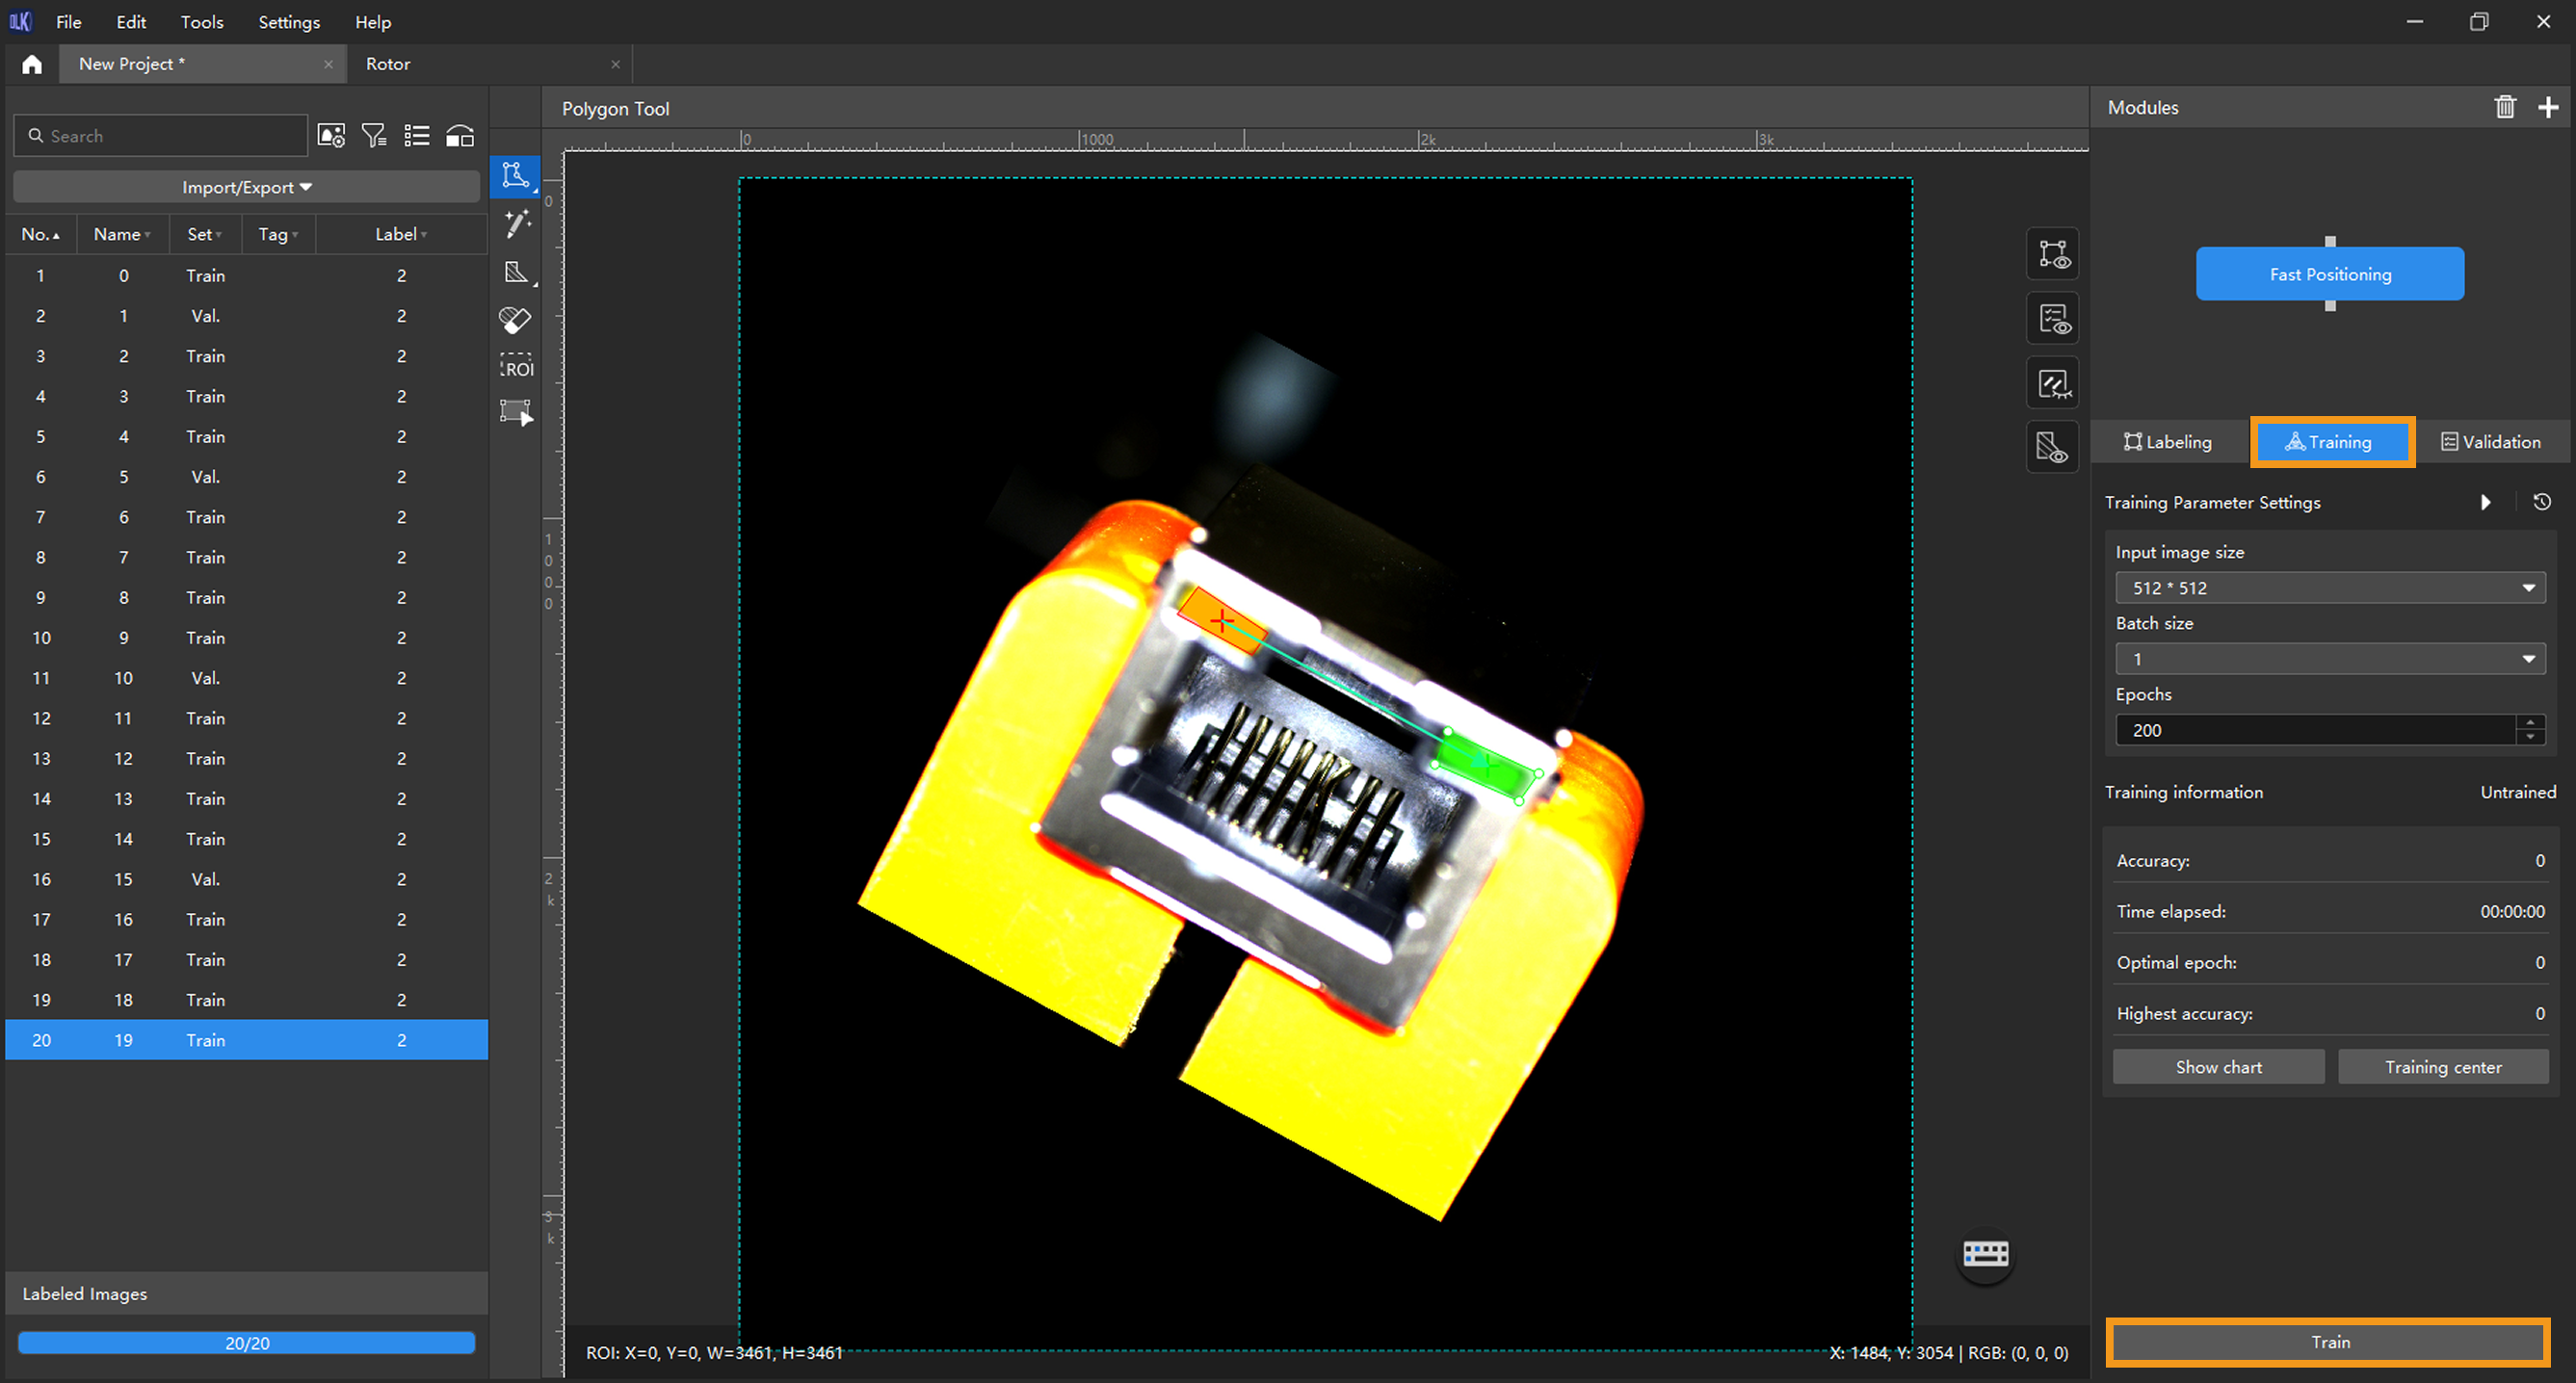
Train the model: Switch to the parameter bar of Training and click Train.
-
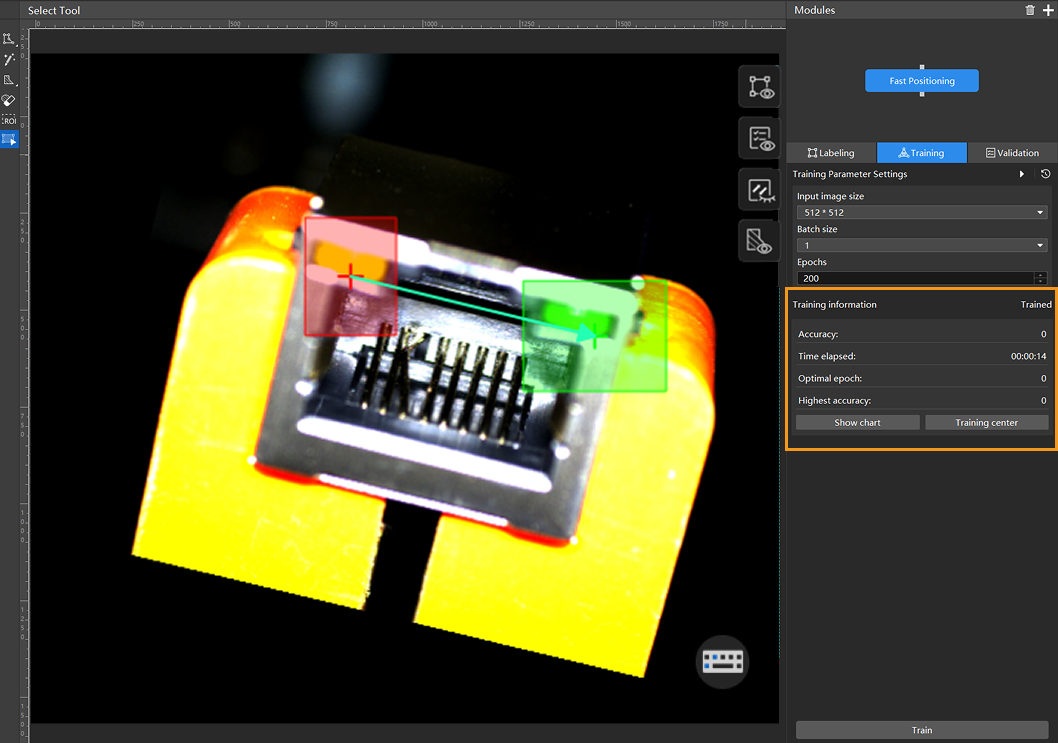
Monitor training progress through training information: On the Training tab, the training information panel allows you to view real-time model training details.
-
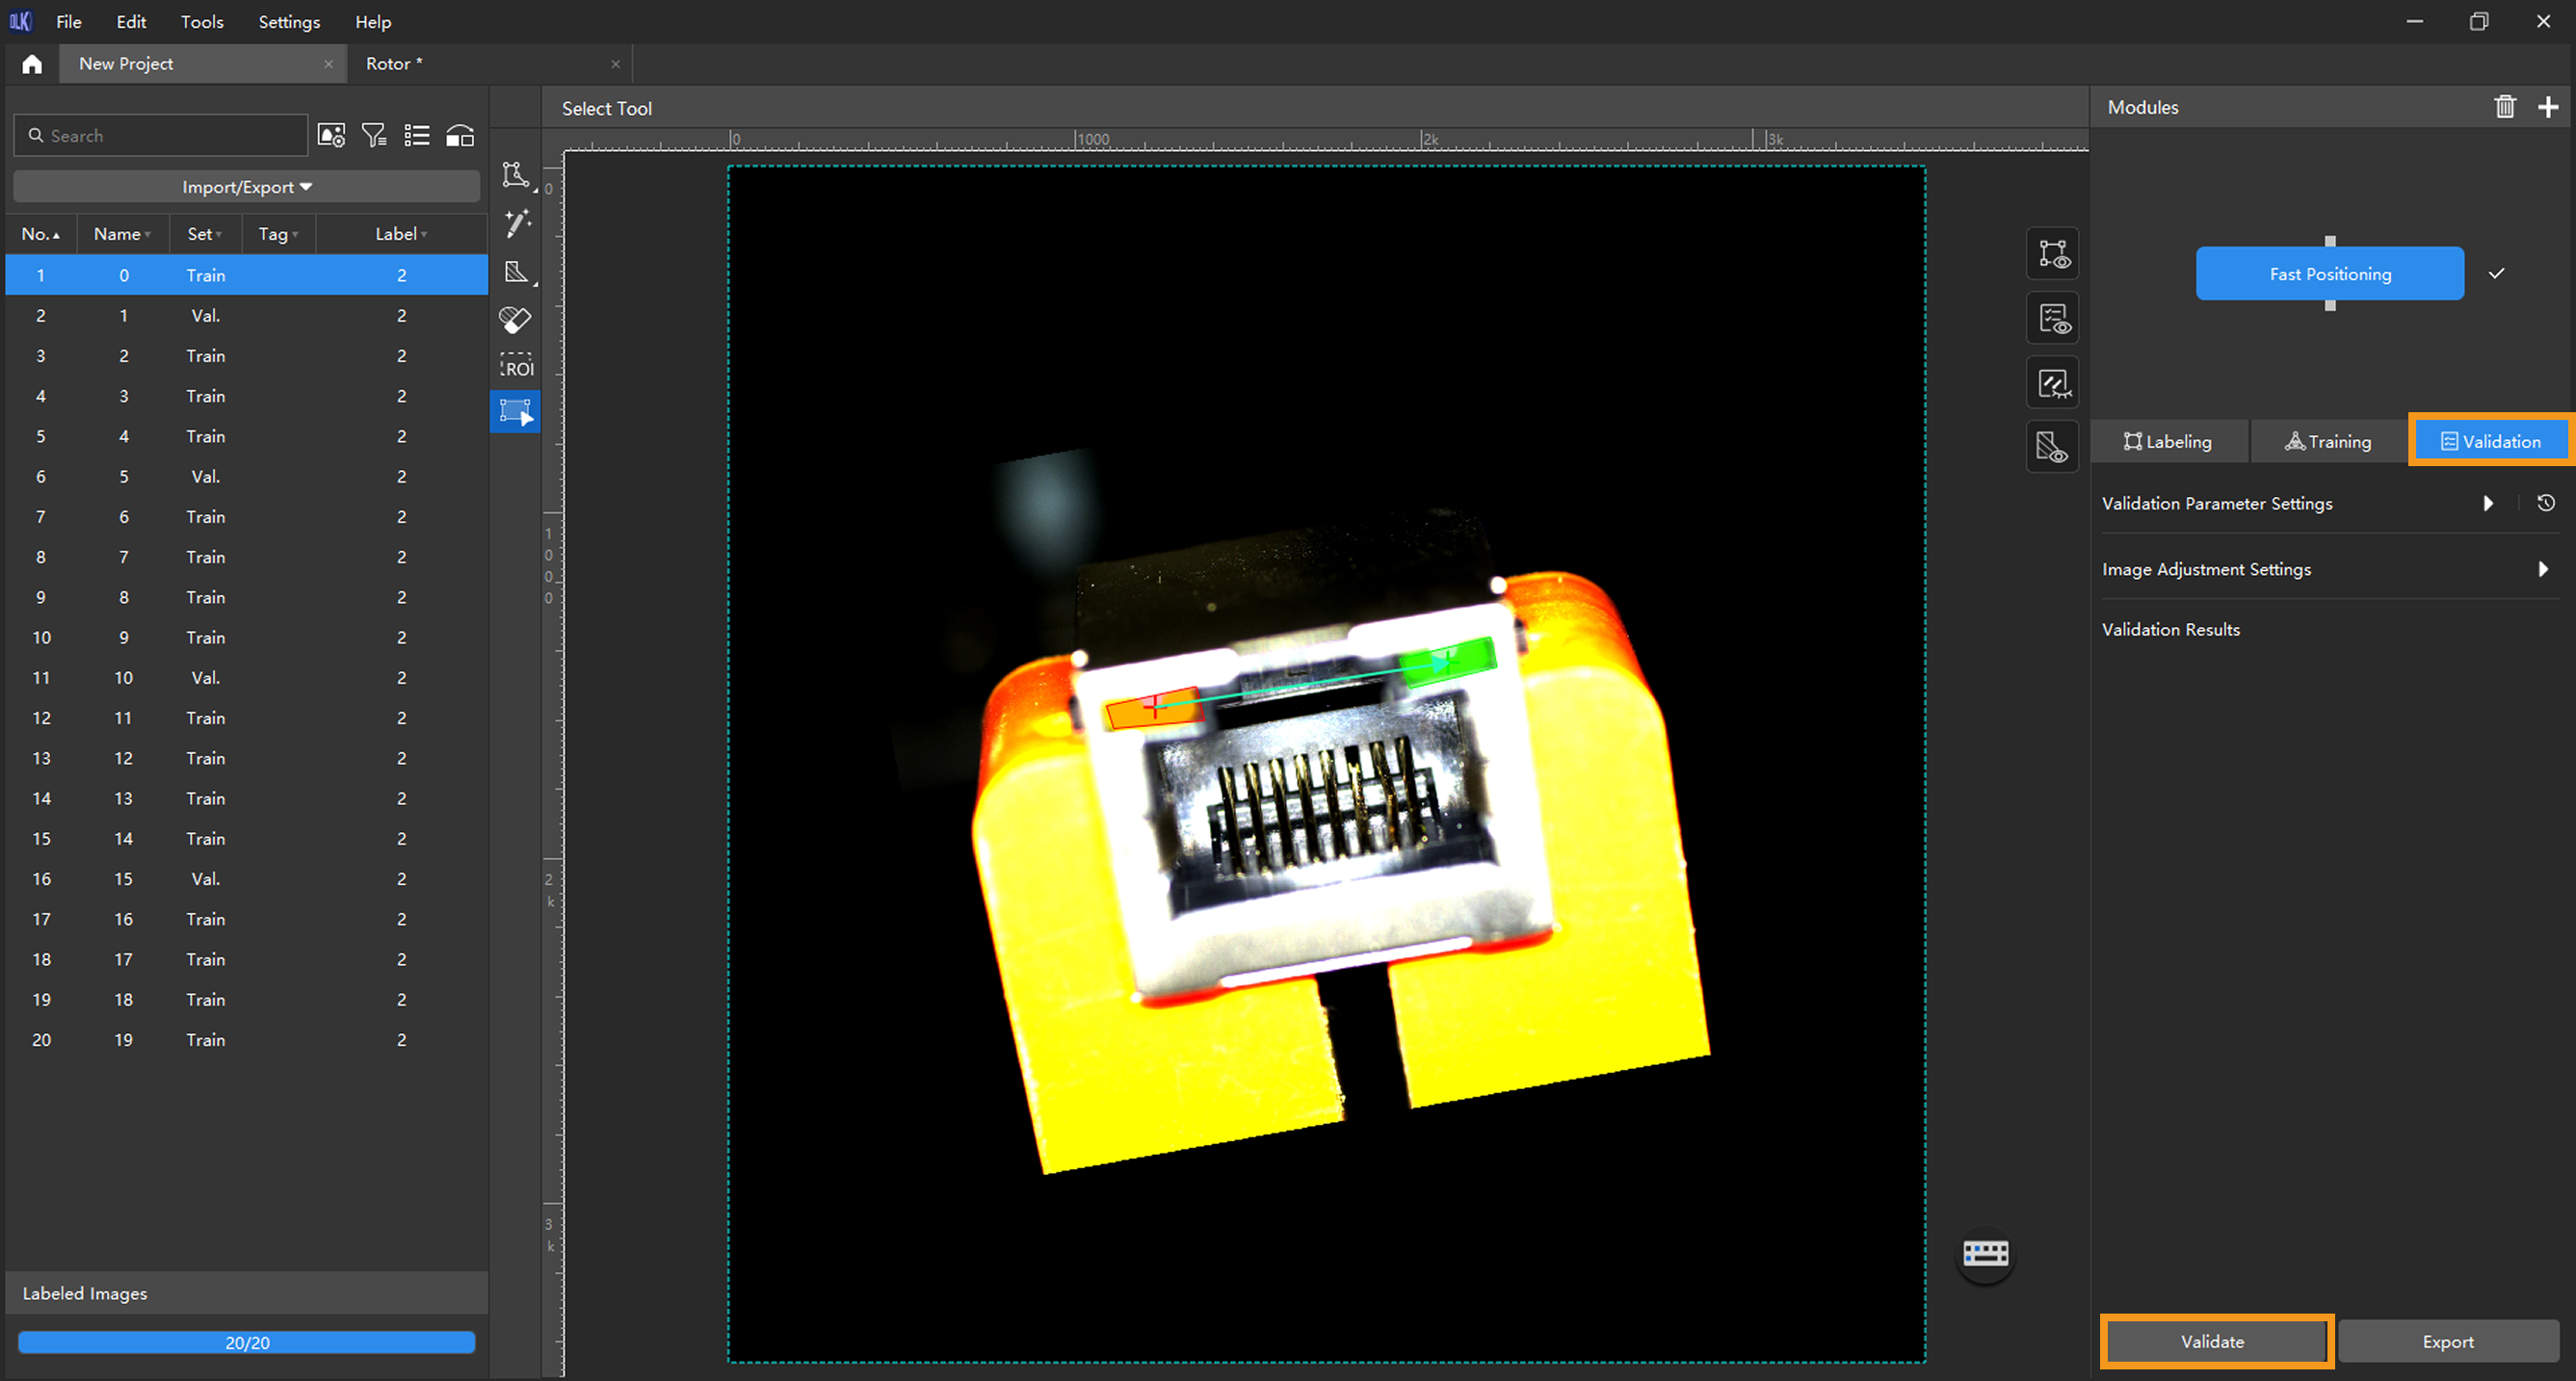
Validate the model: Click Validate to validate the model and check the results.
-
Export the model: Click Export and select a directory to save the trained model.
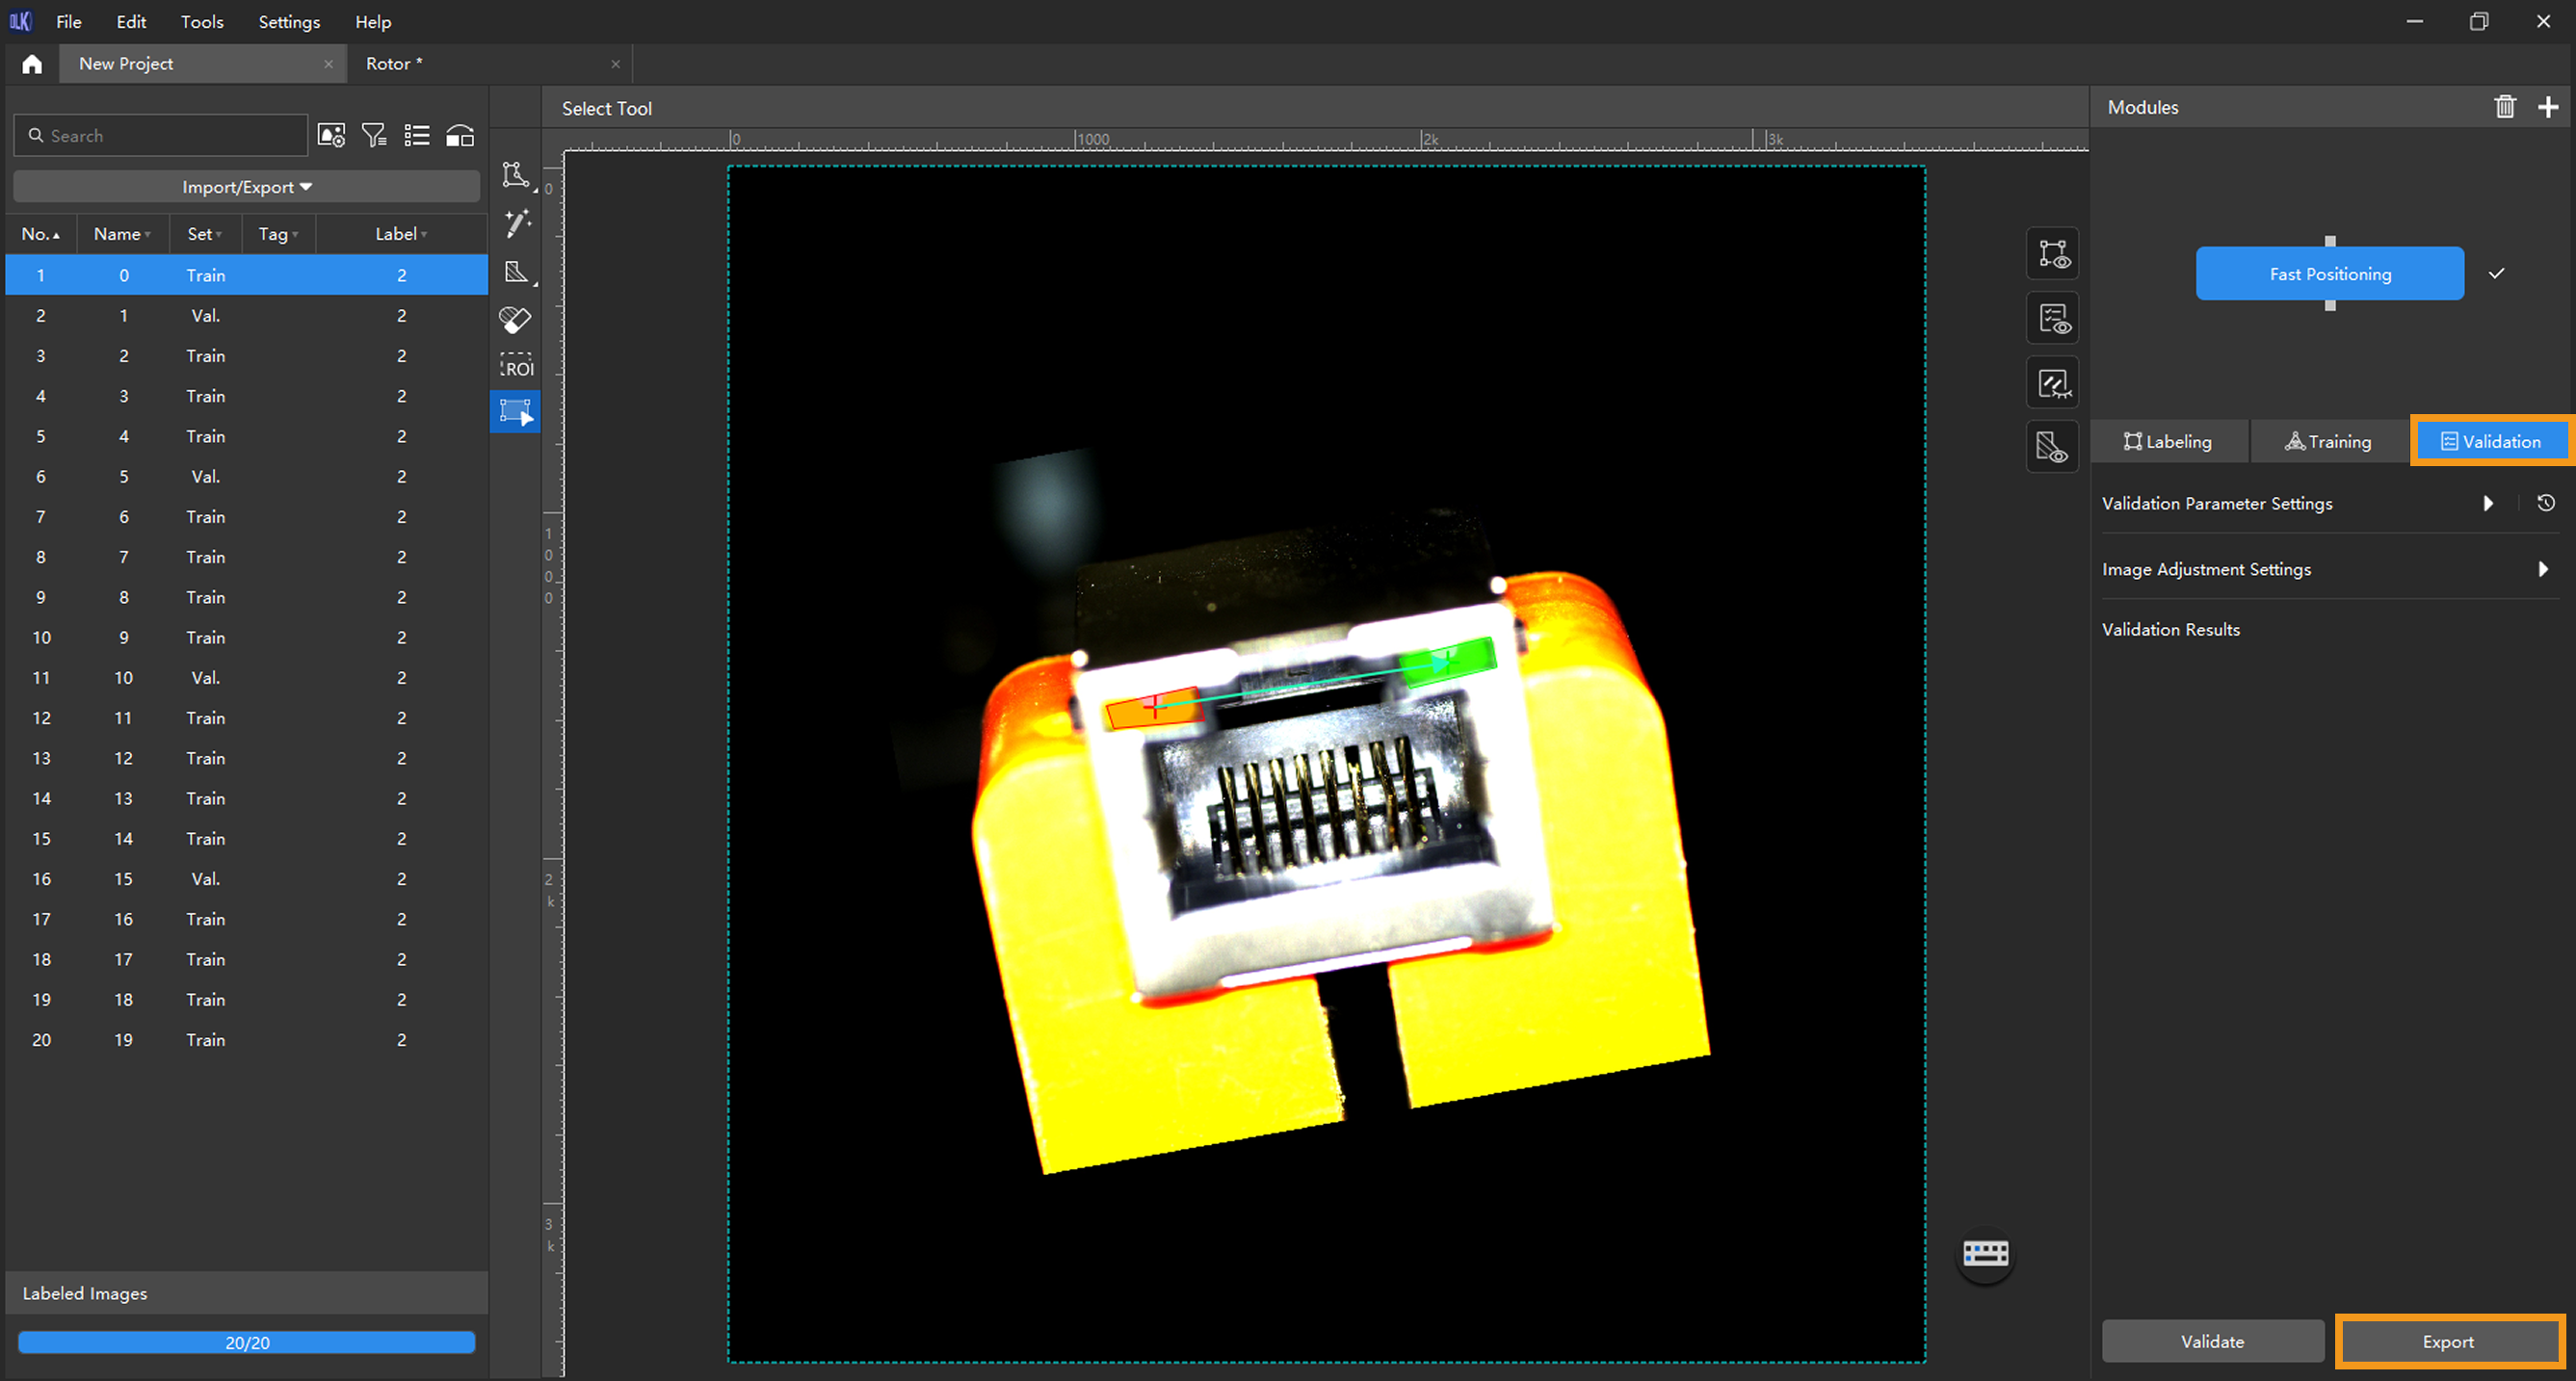
The exported model can be used in Mech-DLK SDK. Click here to view the details.