Use the Text Recognition Module
Taking an image dataset of numbers (click to download) as an example, this topic will show you how to use the Text Recognition module to recognize and output the characters in an image. The characters that can be recognized include numbers, letters, and some special symbols.
| You can also use your own data. The overall workflow is the same, but the labeling stage is different. |
Preparations
-
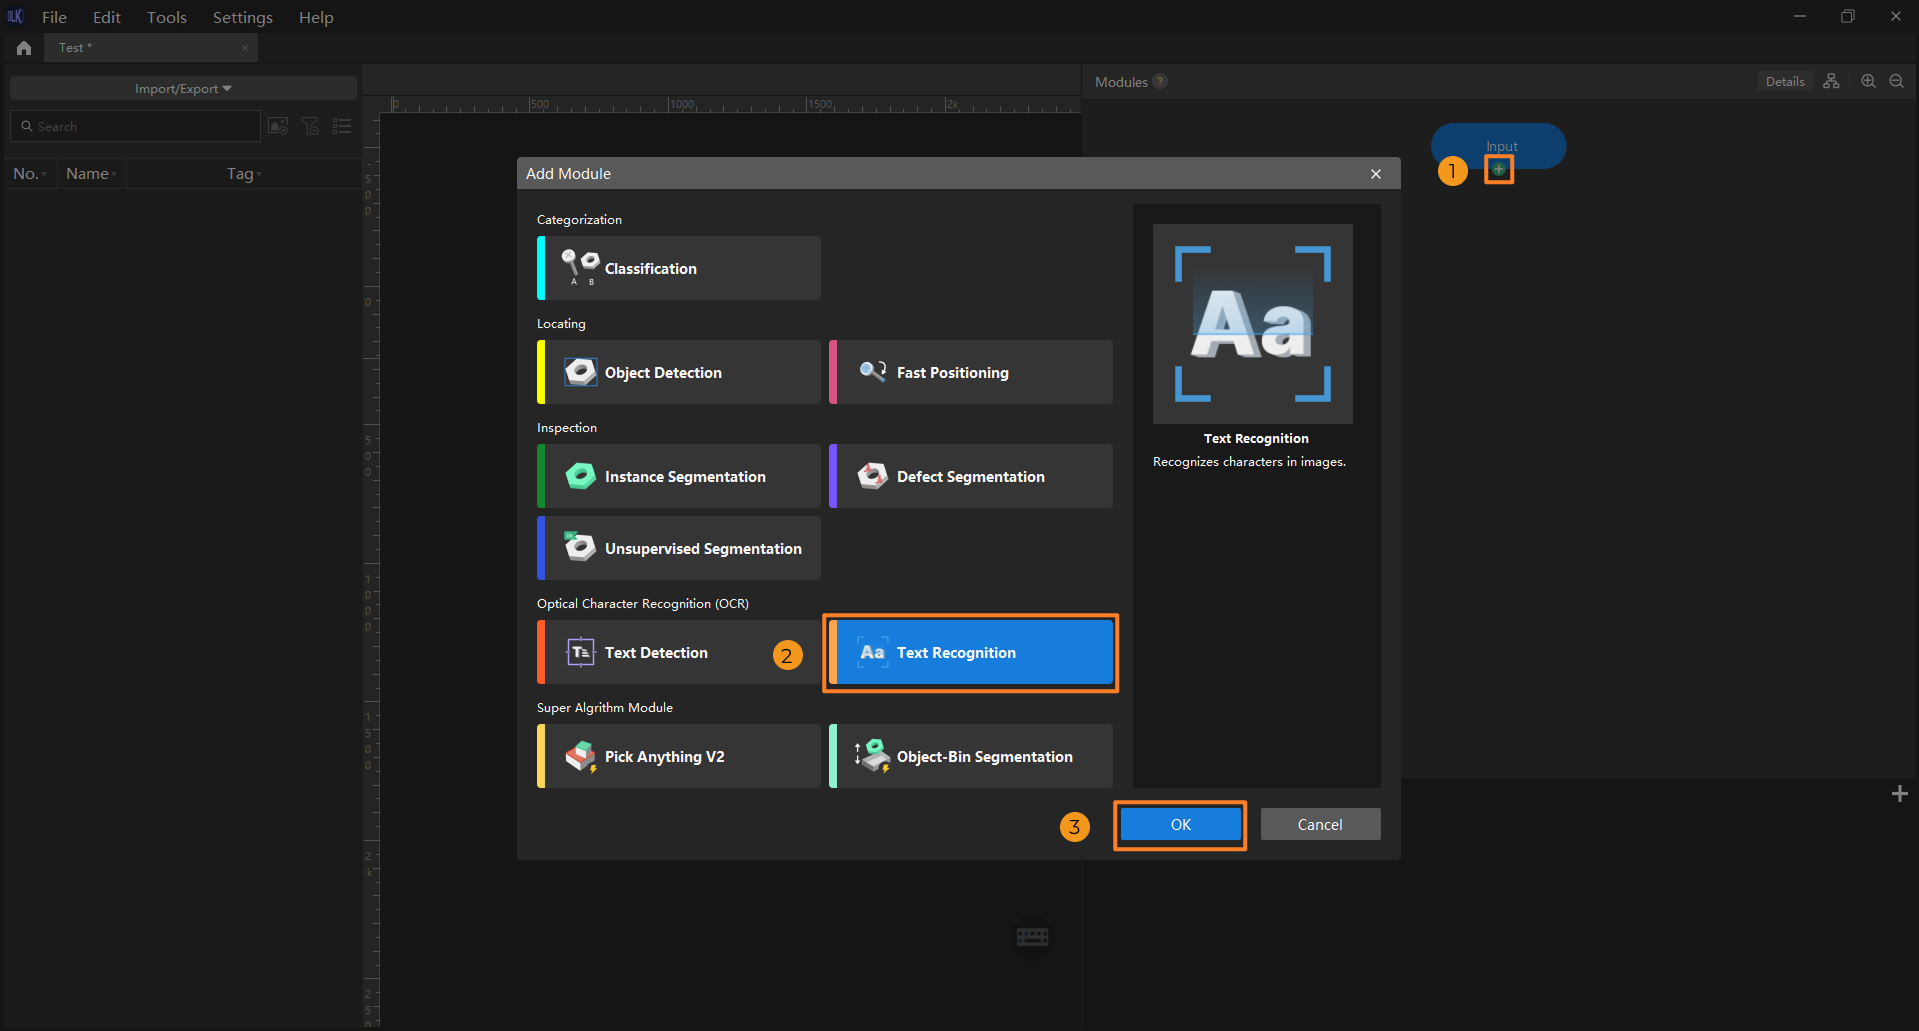
Create a new project and add the Text Recognition module: Open Mech-DLK, click New Project in the interface, name the project, and select a directory to save the project. In the main interface, click the + button under the Input module, and select the Text Recognition module in the Add Module window.
-
Import image data: Import the acquired image data or decompress the data file provided in this article. You can use one of the following methods to import image data:
-
Method one
Drag and drop images or files into the image list area to import them. Importing datasets by dragging is not supported.
-
Method two
On the top of the image list, click the Import/Export button. Select the import method based on the data type:
-
Import from Previous Module: Import images from the previous module.
-
Import Images: Import one or more images.
-
Import Folder: Import all images in the folder (images in the subfolders are not included).
-
Import Dataset: Import datasets in the DLKDB format (.dlkdb), which are datasets exported from Mech-DLK.
-
The texts in the imported images should be oriented toward the positive direction (0°).
-
The Text Detection or Object Detection module can precede the Text Recognition module for better recognition results. In this case, you can select to import data.
-
If a Text Detection module precedes it, make sure the Rectify image(s) feature is enabled to rectify images to 0°. Typically, the Rectify image(s) feature reliably carries out its designated task. However, occasionally, few images oriented at 0° may inadvertently undergo rectification to 180°. In such situations, it is advisable to exercise discretion in practical applications.
-
-
-
-
-
Select an ROI: Click the ROI tool button
 and adjust the frame to set an ROI that covers the text areas of all images. Then, click the application icon
  in the lower right corner of the ROI to save the setting. Setting the ROI can avoid interferences from the background.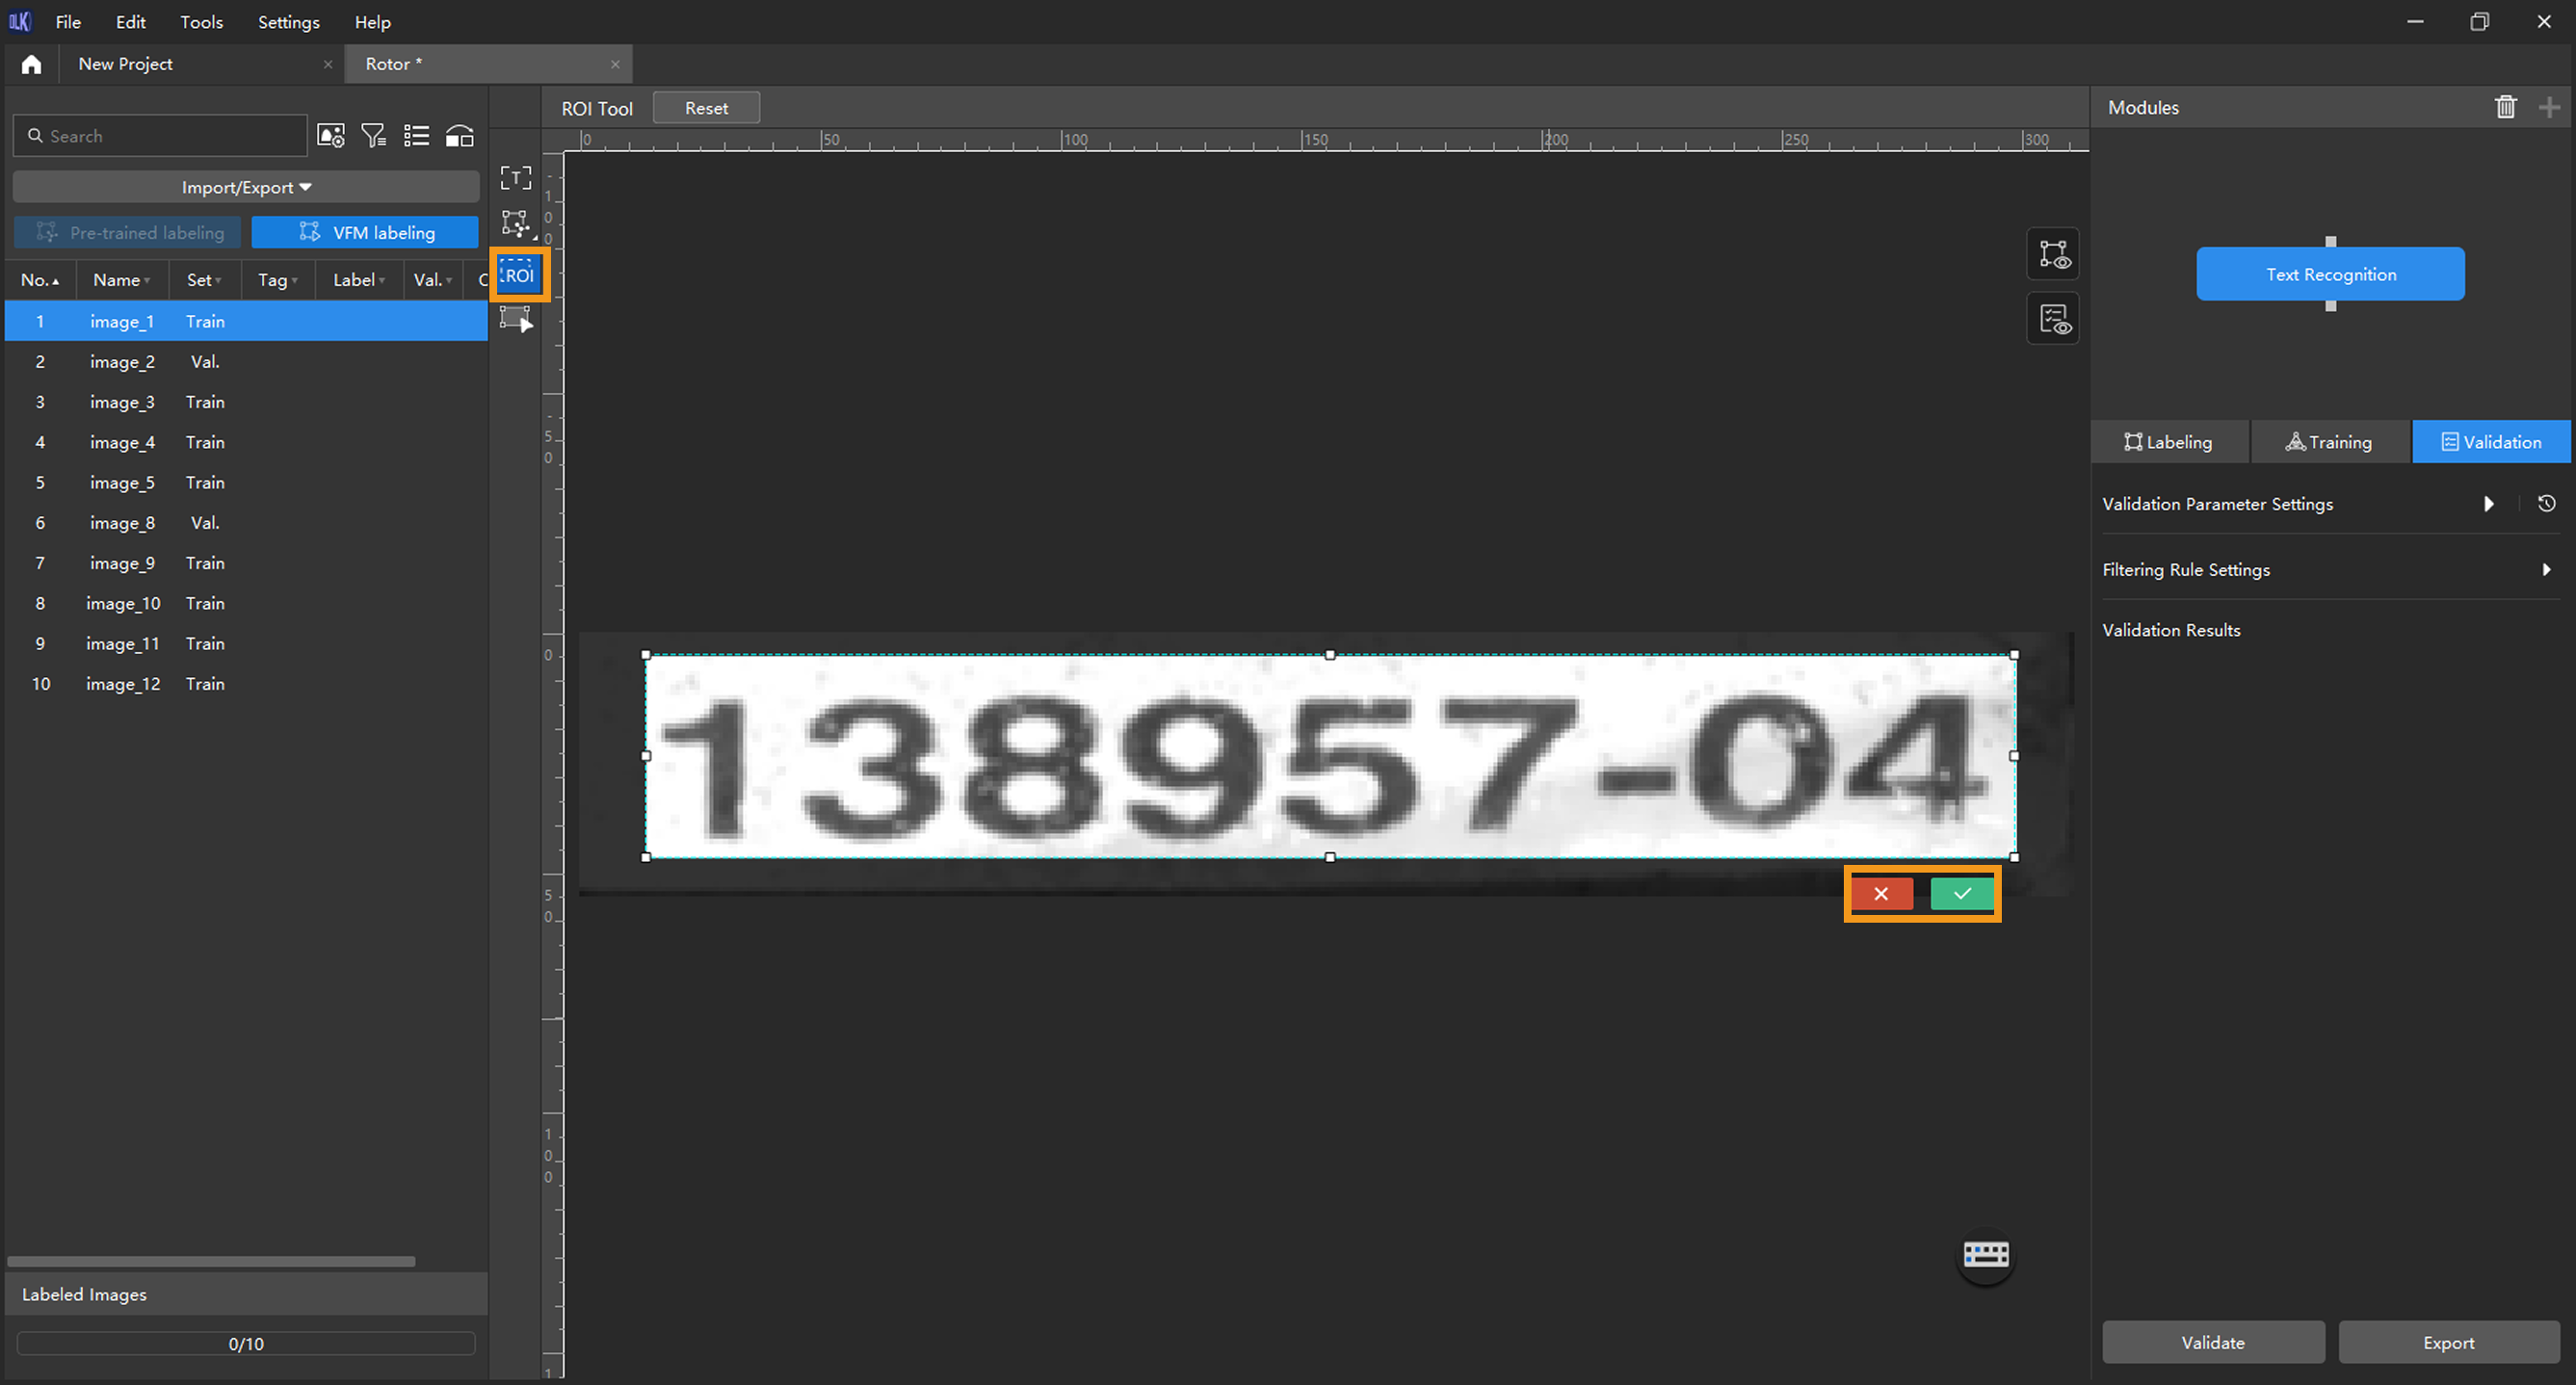
-
Split the dataset into the training set and validation set: Click the partition training and validation sets icon
 and drag the slider to adjust the proportion of images. Please make sure that both the training set and validation set include all kinds of texts to be detected. If the default training set and validation set cannot meet this requirement, please right-click the name of the image and then click Switch to training set or Switch to validation set to adjust the set to which the image belongs.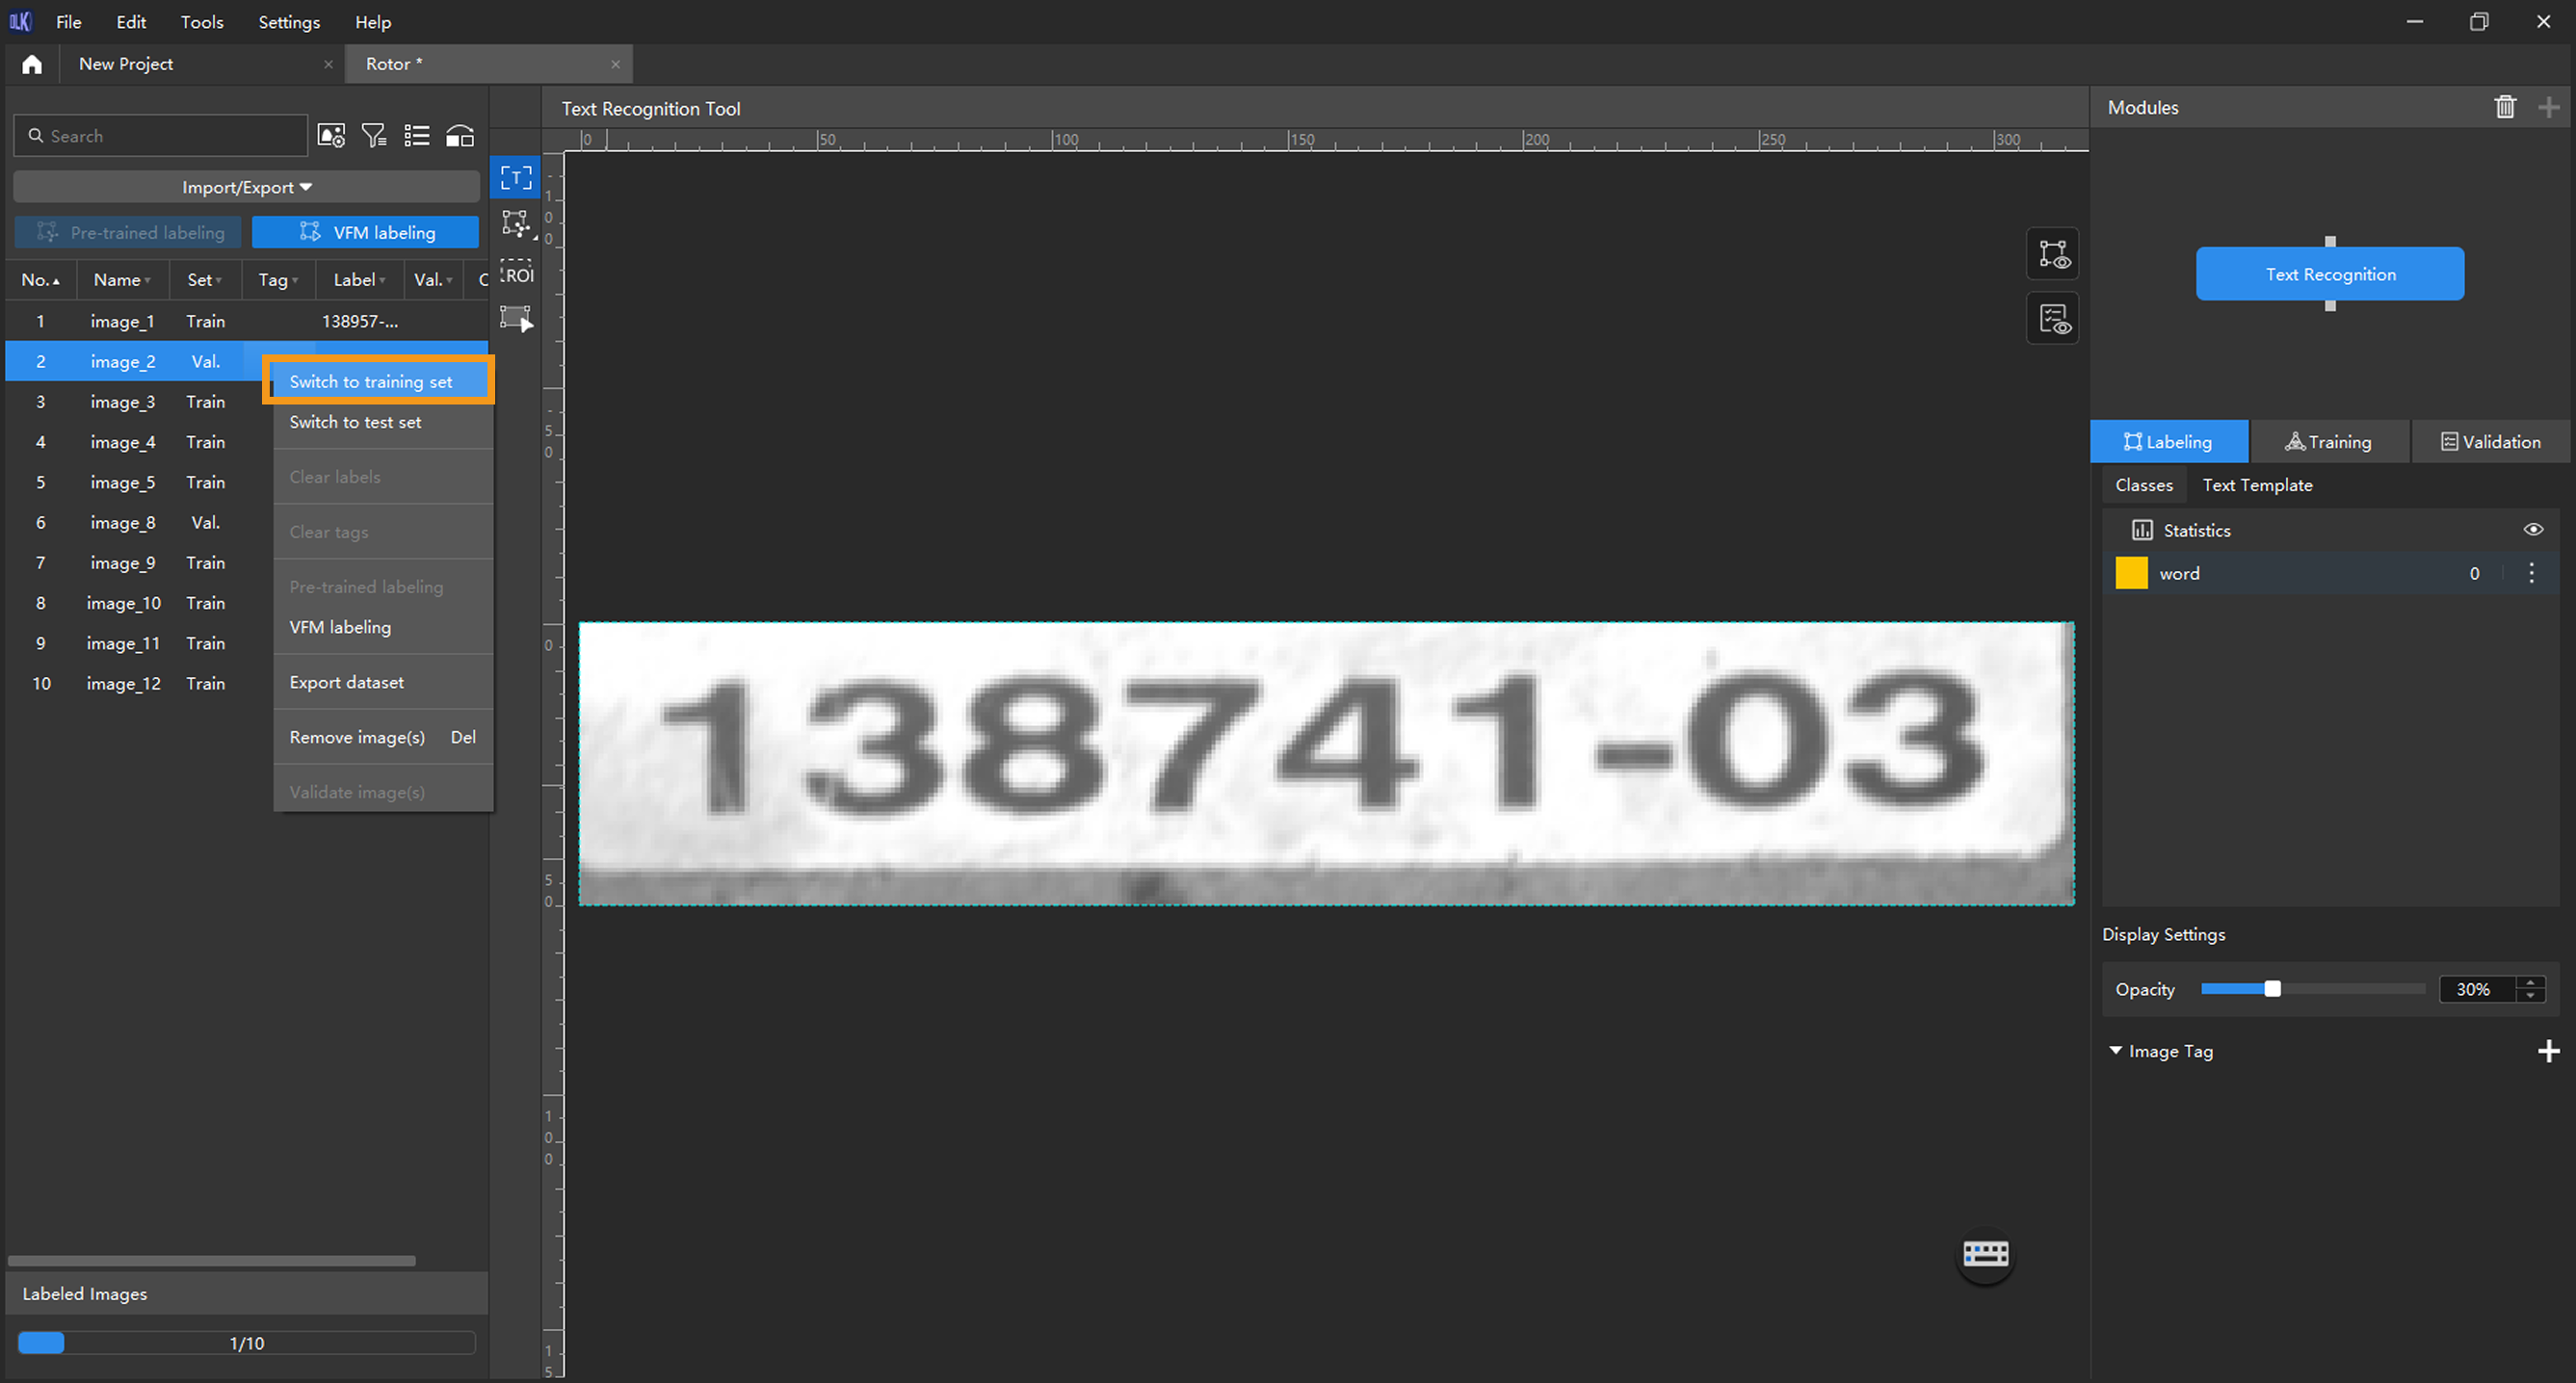
Data Labeling
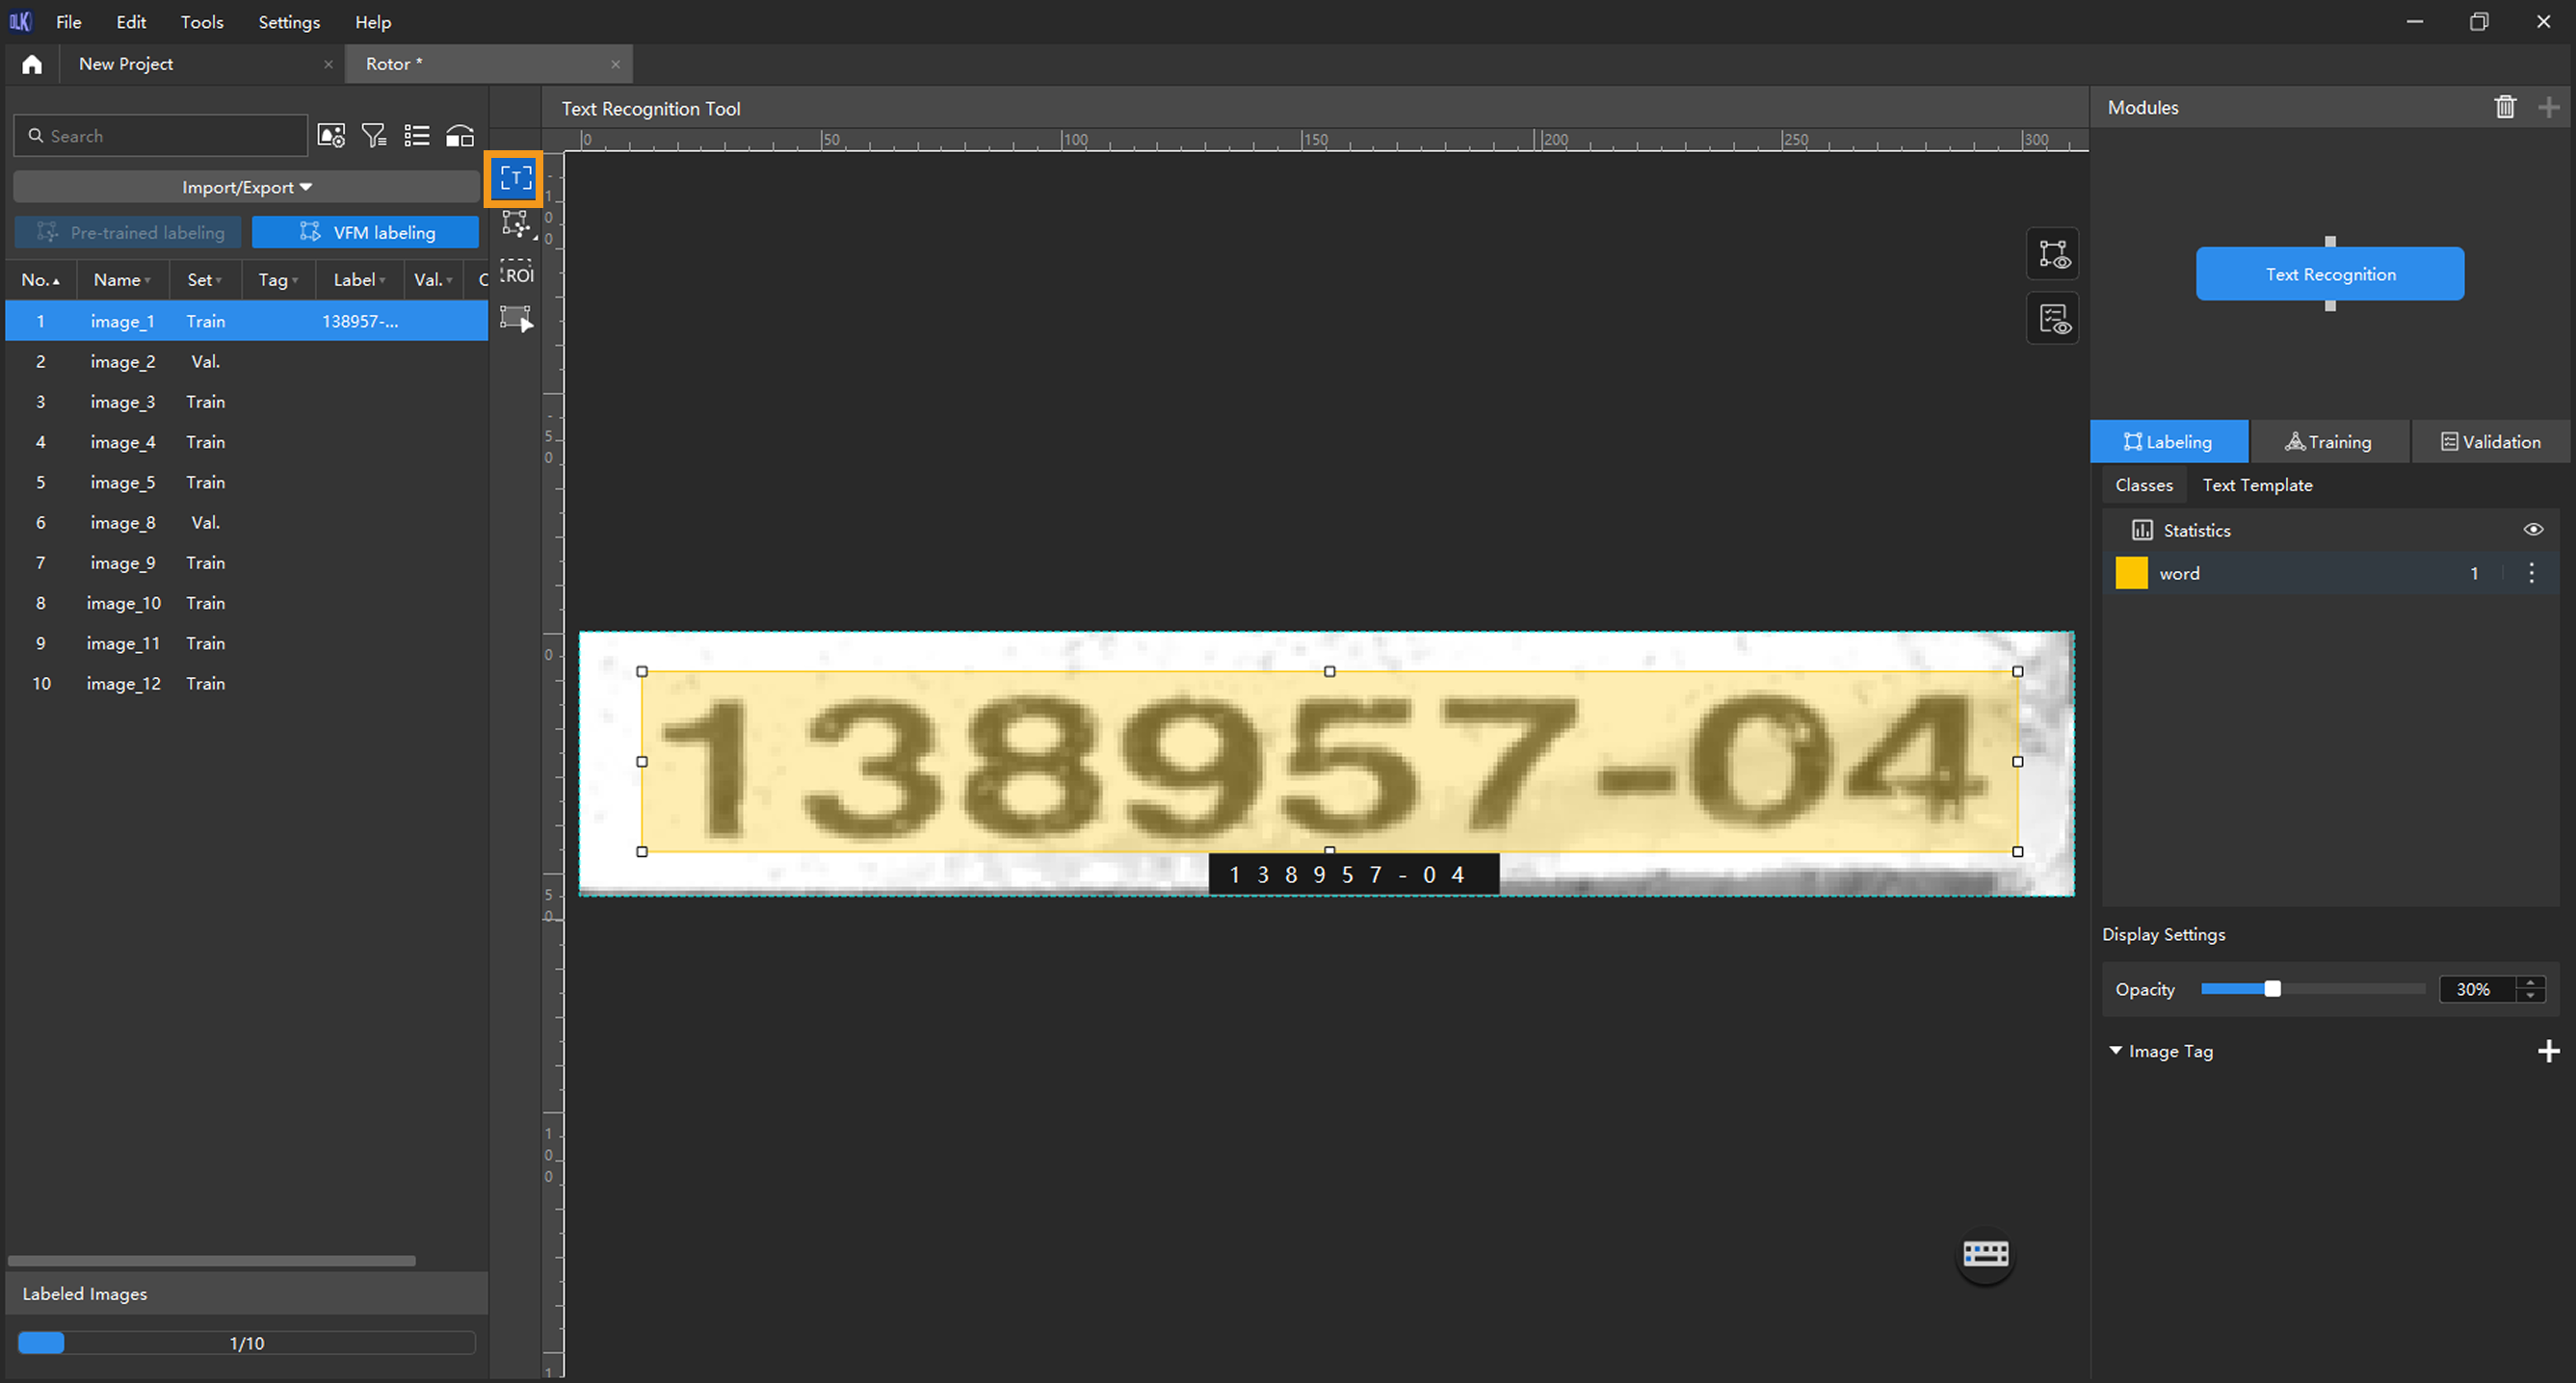
Select the Text Recognition Tool from the toolbar to label the images. When the Text Recognition Tool is used to make a selection, the recognition result will automatically appear right under the selection frame. Manual verification and confirmation are required. Therefore, making a valid selection and confirming a correct recognition result in time are conducive to improving model quality.
|


|
In the process of labeling, the feature of Text Template can be used. Text Template is for the batch replacement of labeled results. Please follow these steps:
|
Model Training
-
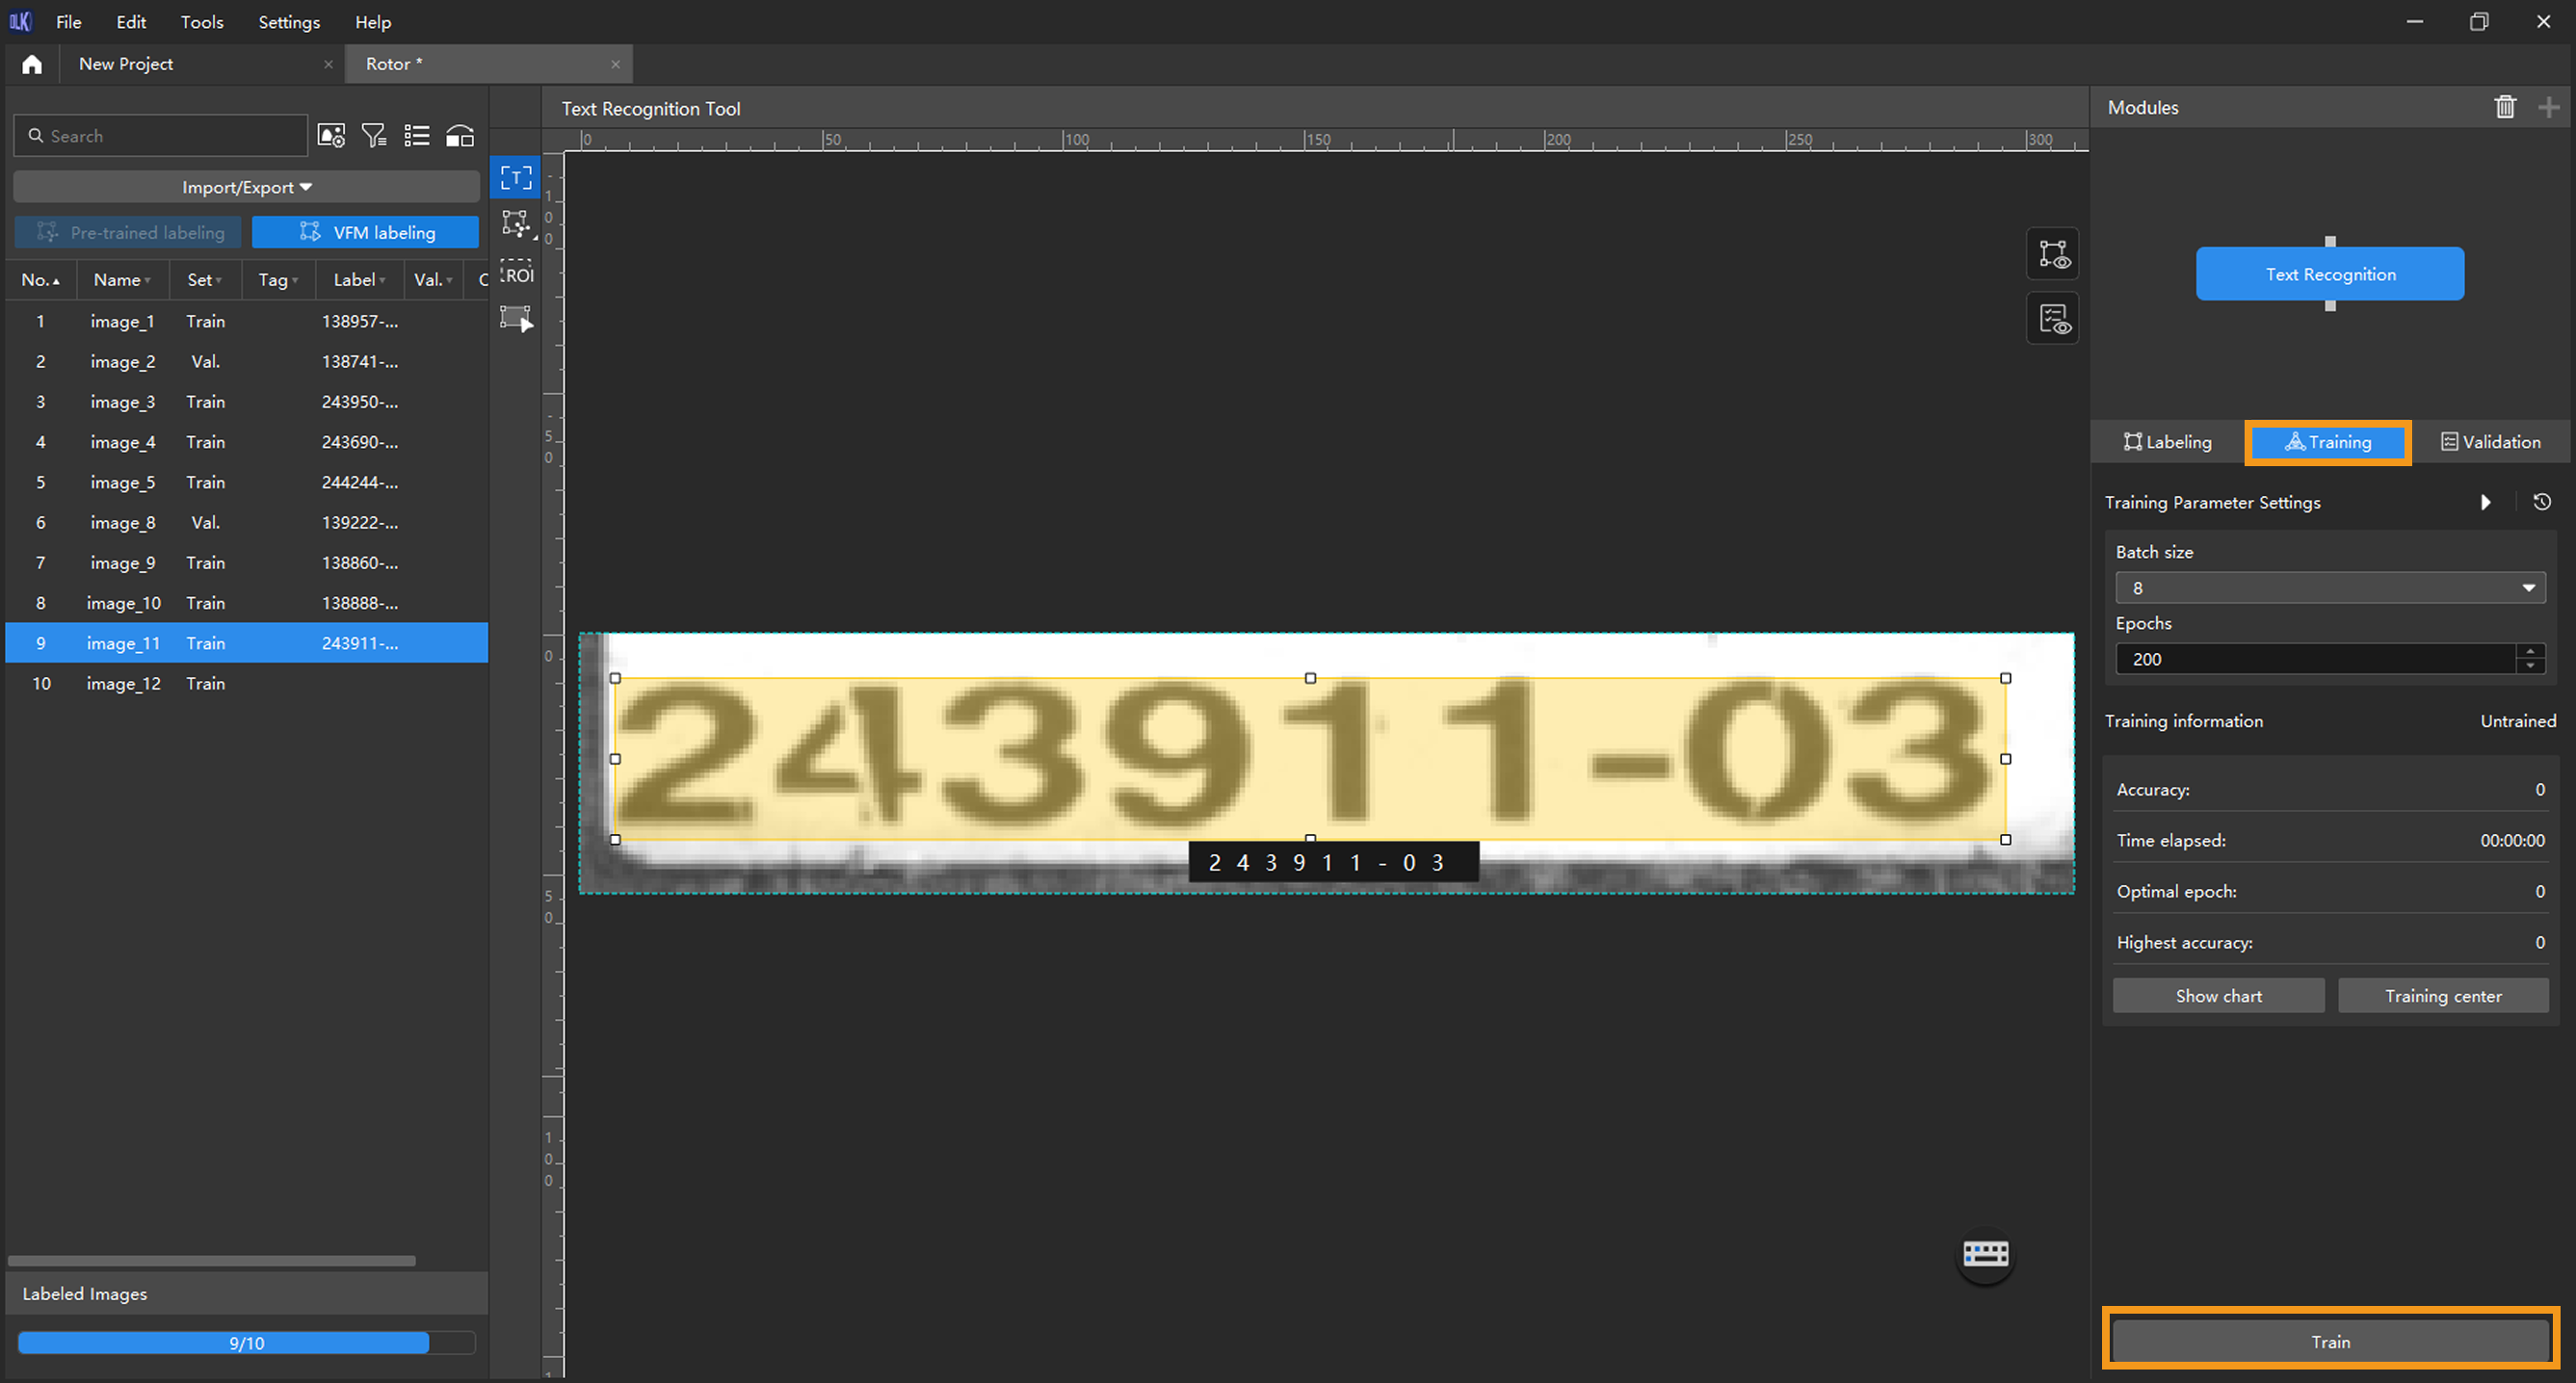
Train the model: Keep the default training parameter settings and click on Train to start training the model.
-
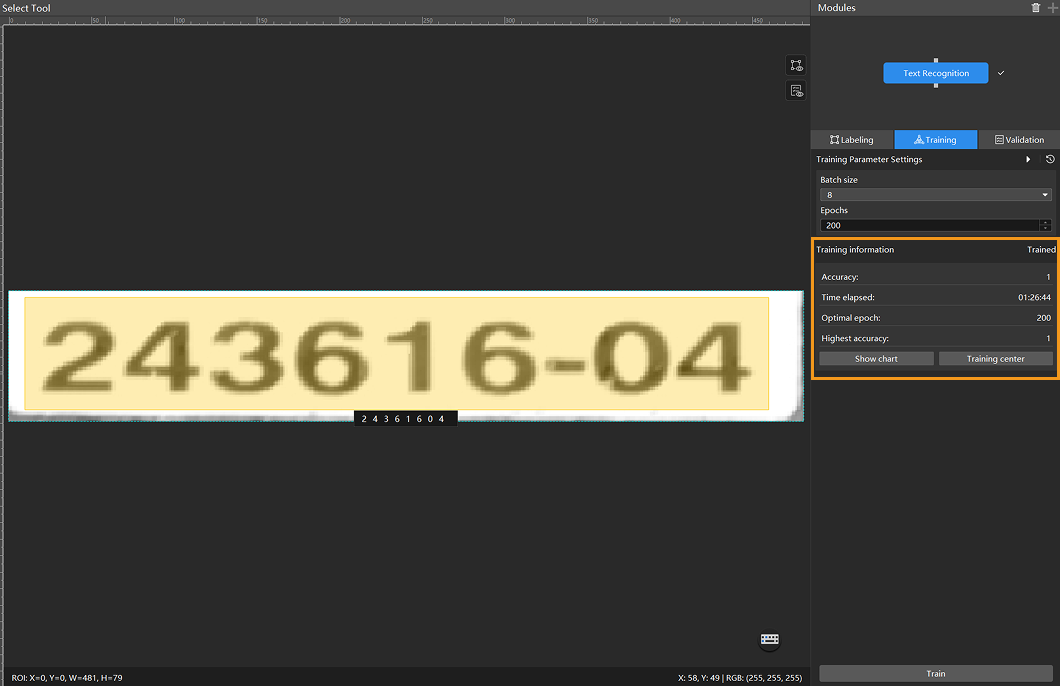
Monitor training progress through training information: On the Training tab, the training information panel allows you to view real-time model training details.
-
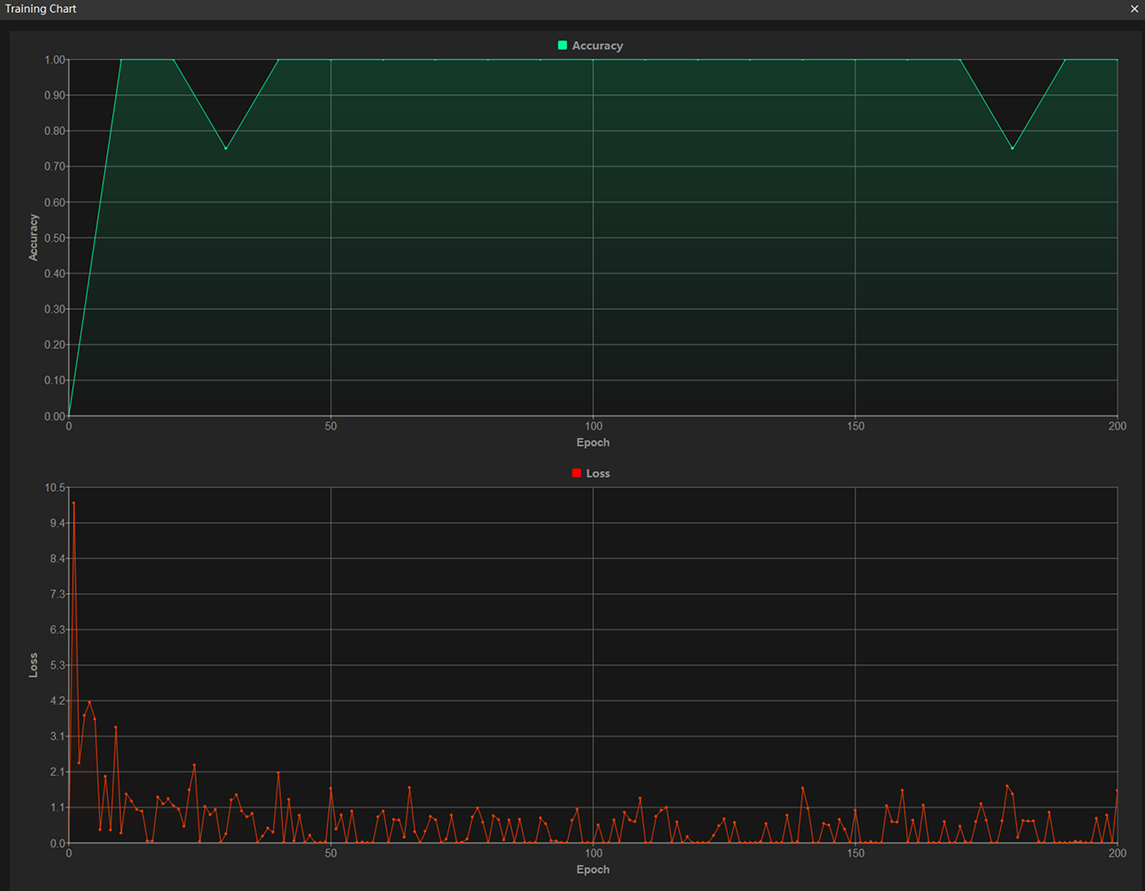
View training progress through the Training Chart window: Click the Show chart button under the Training tab to view real-time changes in the model’s accuracy and loss curves during training. An overall upward trend in the accuracy curve and a downward trend in the loss curve indicate that the current training is running properly.
-
Stop training early based on actual conditions (optional): When the model accuracy has met the requirements, you can save time by clicking the Training center button, selecting the project from the task list, and then clicking the stop icon
 to stop training. You can also wait for the model training to complete and observe parameter values such as the highest accuracy to make a preliminary assessment of the model’s performance.
If the accuracy curve shows no upward trend after many epochs, it may indicate a problem with the current model training. Stop the model training process, check all parameter settings, examine the training set for missing or incorrect labels, correct them as needed, and then restart training.
Model Validation
-
Validate the model: After the training is completed, click Validate to validate the model and check the results.
-
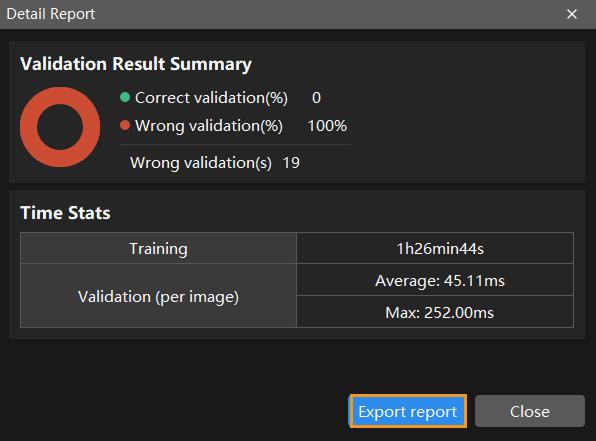
Check the model’s validation results in the training set: After validation is complete, you can view the validation result quantity statistics in the Validation statistics section under the Validation tab. Click the View full report button to open the Detailed Report window and view detailed validation statistics.
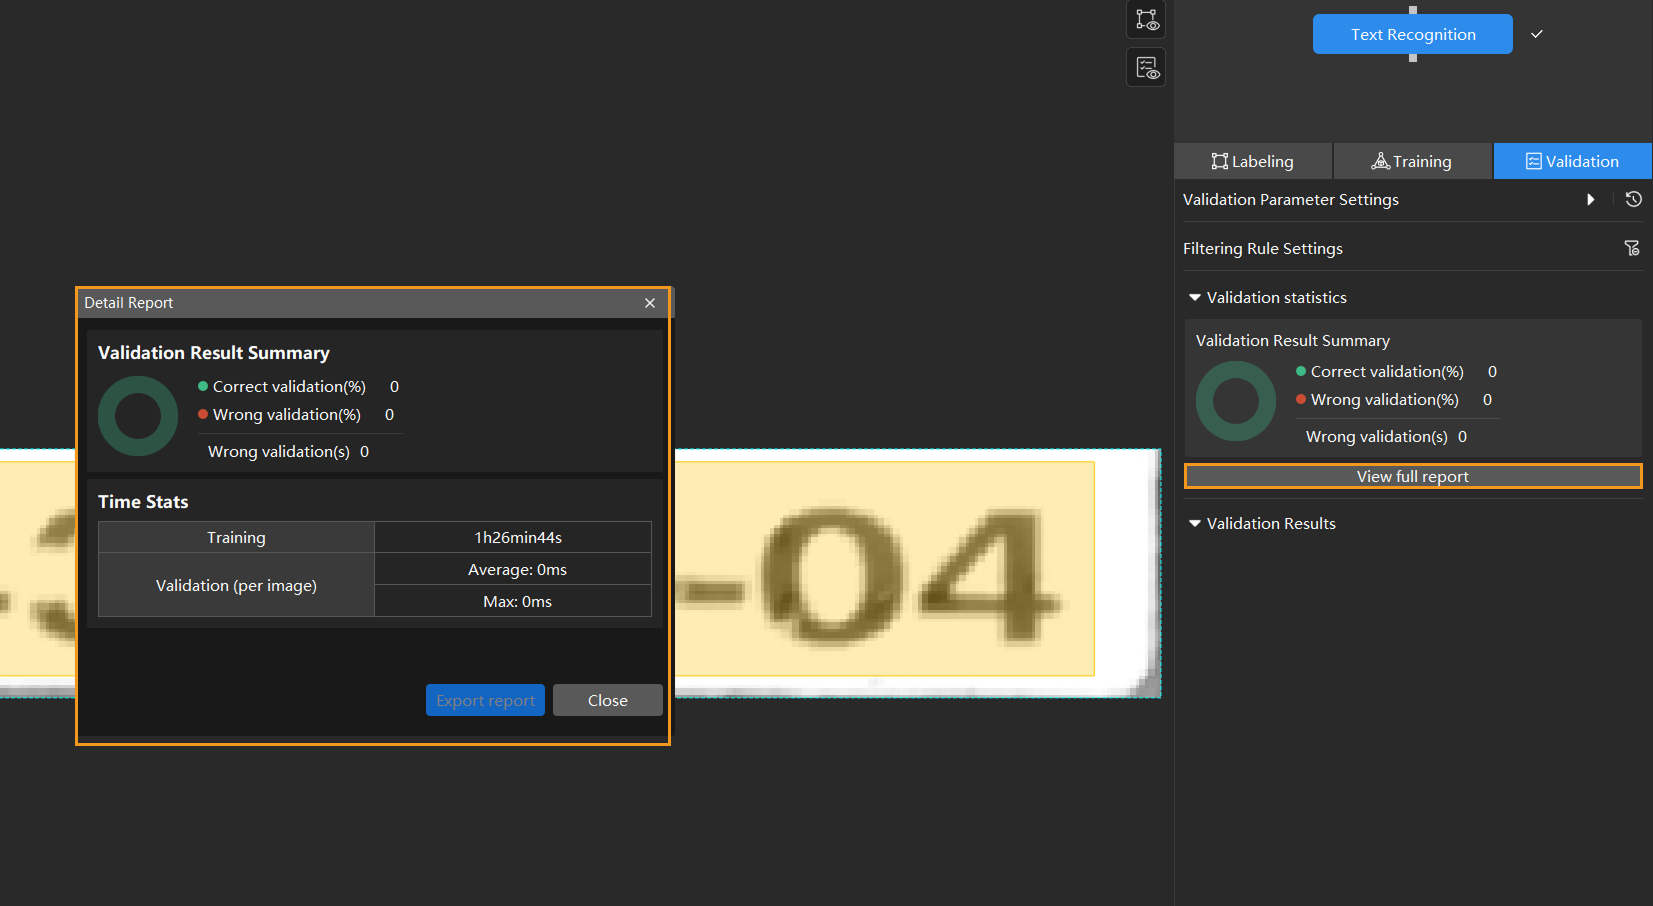
If the model training performance is unsatisfactory, please check the labels, adjust the training parameter settings, and restart the training. You can also click the Export report button at the bottom-right corner of the Detailed Report window to export the report to your local device.
-
Restart training: After adding newly labeled images to the training set, click the Train button to restart training.
-
Recheck model validation results: After training is complete, click the Validate button again to validate the model and review the validation results on each dataset.
-
Fine-tune the model (optional): You can enable developer mode and turn on Finetune in the Training Parameter Settings dialog box. For more information, see Iterate a Model.
-
Continuously optimize the model: Repeat the above steps to continuously improve model performance until it meets the requirements.
If you want to adjust validation results, please follow those steps:
-
Set filtering rules in Filtering Rule Settings in the validation tab.
-
In Filtering Rule Settings window, you can modify validation results by adding filtering items.
-
Model Export
Click Export and select a directory to save the trained model.
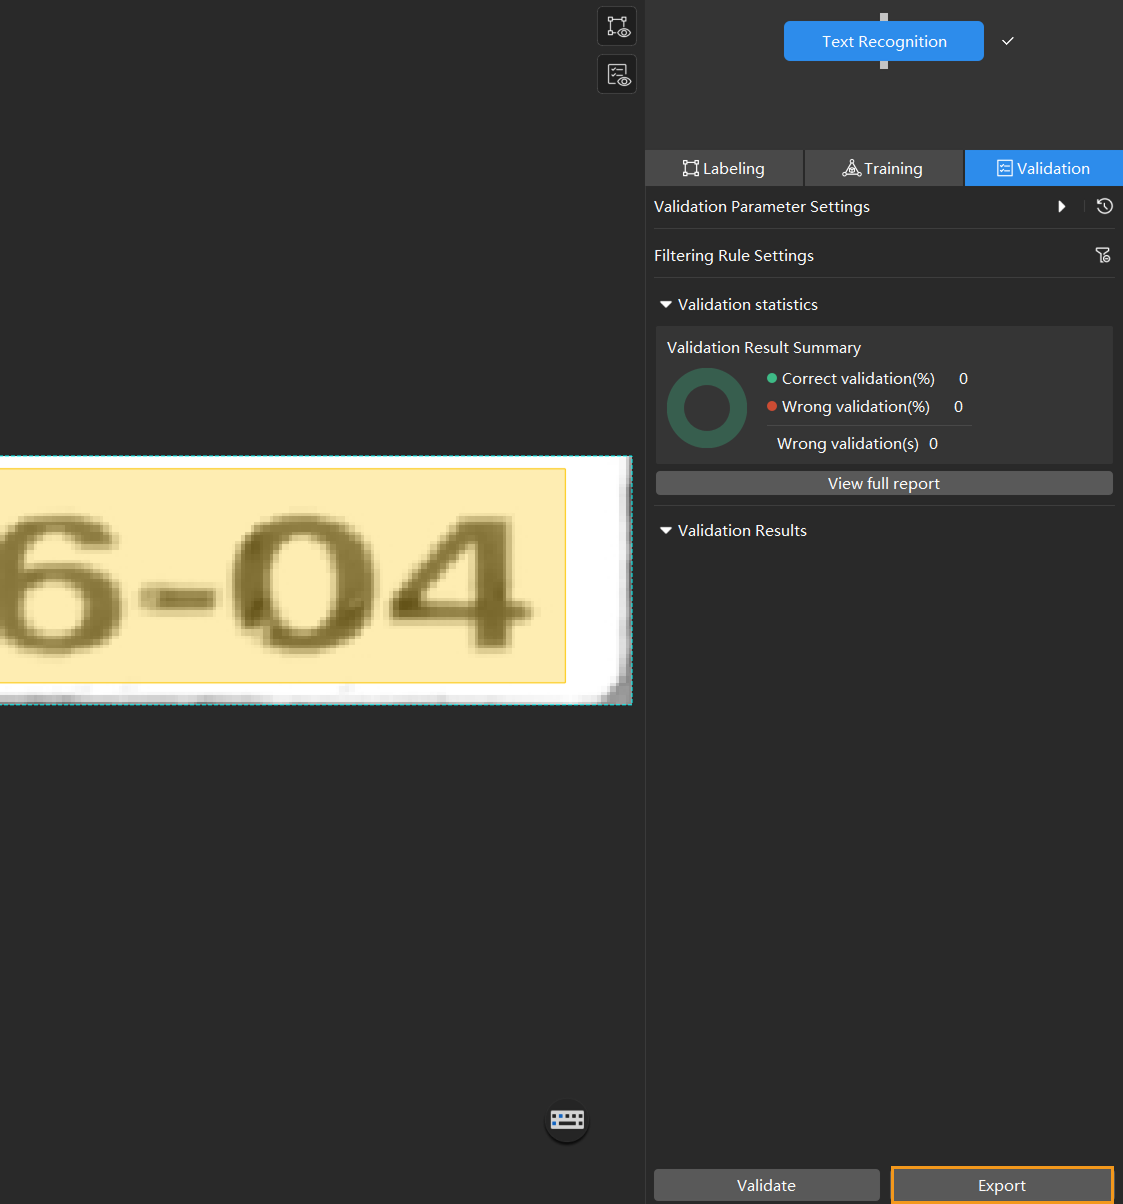
The exported model can be used in Mech-DLK SDK. Click here to view the details.