Use the Text Recognition Module
Taking an image dataset of numbers (download) as an example, this section will show you how to use the Text Recognition module to recognize and output the characters in an image. The characters that can be recognized include numbers, letters, and some special symbols.
| You can also use your own data. The usage process is overall the same, but the labeling part is different. |
-
Create a new project and add the Text Recognition module: Click New Project after you opened the software, name the project, and select a directory to save the project. Then, click
 in the upper-right corner and add the Text Recognition module.
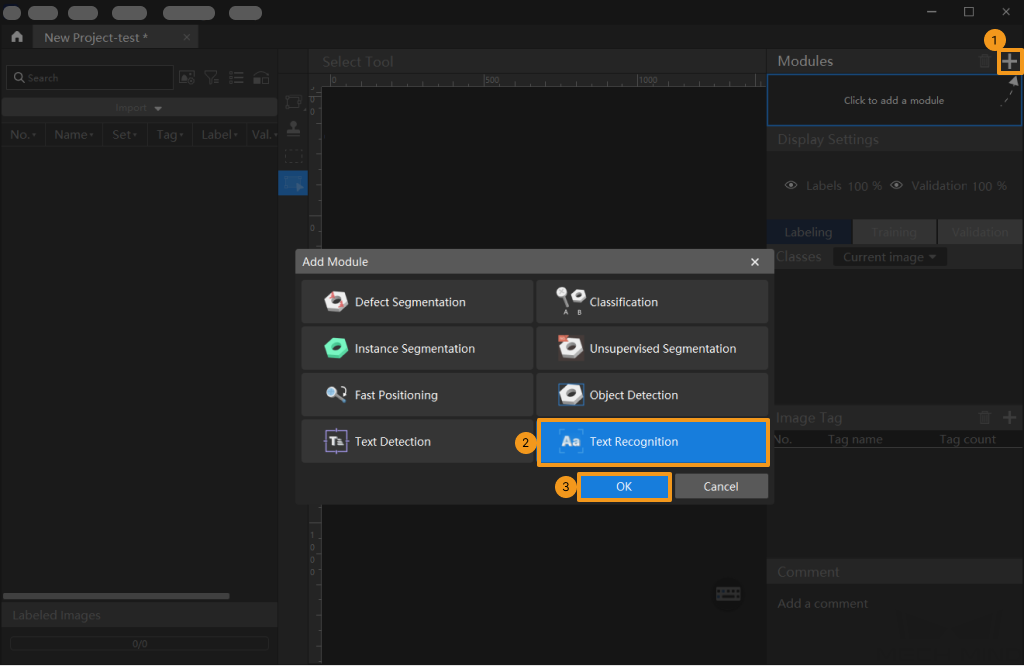
-
Import the image dataset: Extract the downloaded zip file. Select on the left of the interface to import the image dataset.
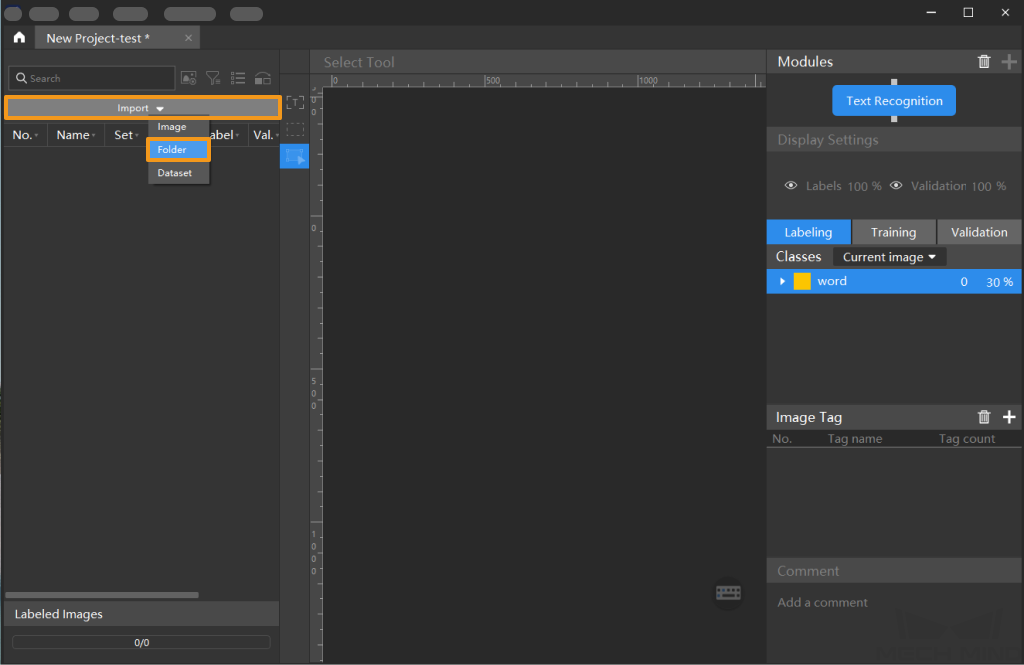
For better model performance, the Text Recognition module is often preceded by another module. In this case, you can select to import data. -
Select an ROI: Click the ROI Tool button
 and adjust the frame to set an ROI that covers the text areas of all images. Then, click Apply on the top of the selection region to save the setting. Setting the ROI can avoid interferences from the background.
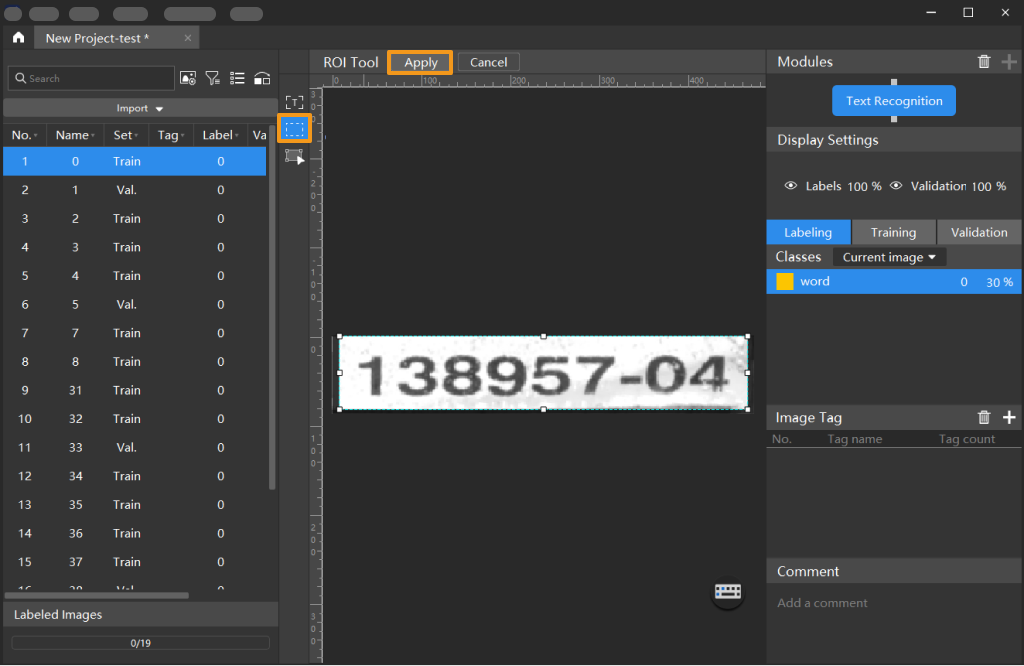
-
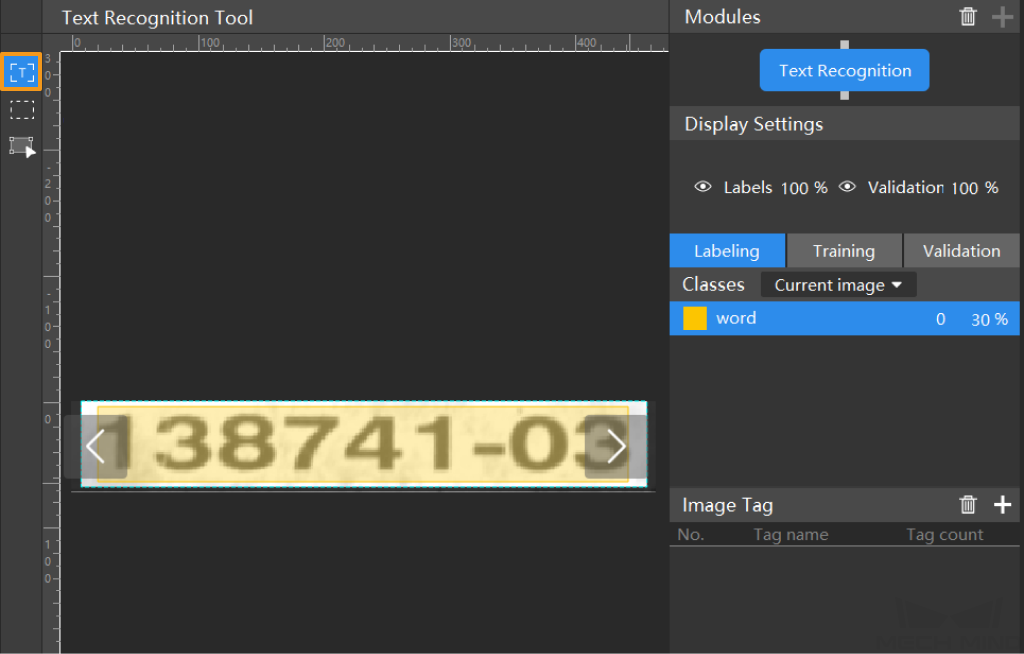
Label the images: Select the Text Recognition Tool from the toolbar to label the images.
-
Split the dataset into the training set and validation set: By default, 80% of the images in the dataset will be split into the training set, and the rest 20% will be split into the validation set. You can click
 and drag the slider to adjust the proportion. Please make sure that both the training set and validation set include all kinds of texts to be detected. If the default training set and validation set cannot meet this requirement, please right-click the name of the image and then click Switch to training set or Switch to validation set to adjust the set to which the image belongs.
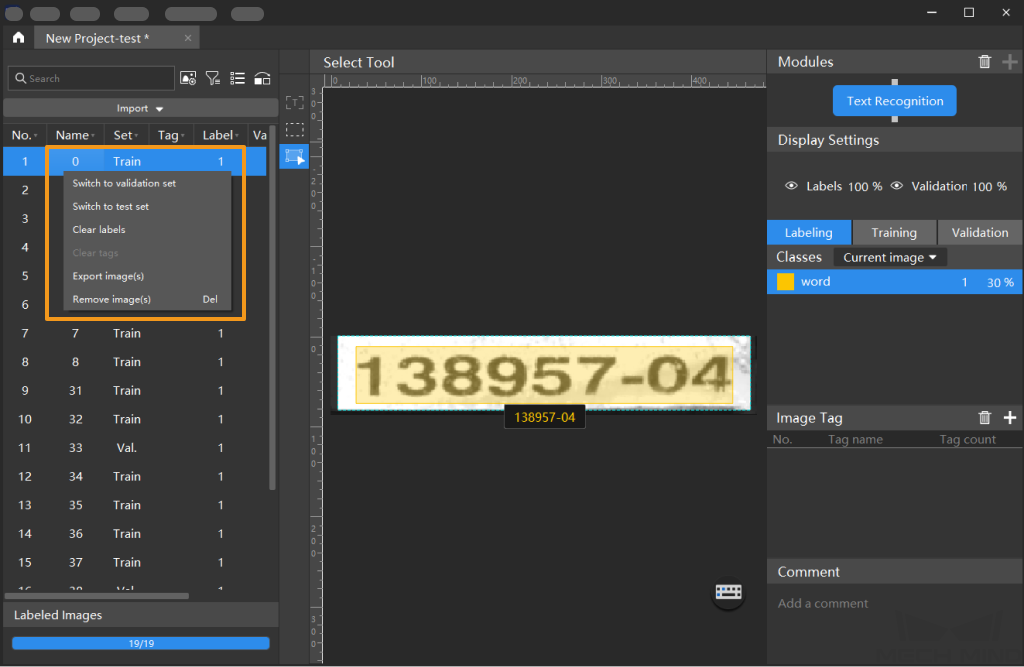
-
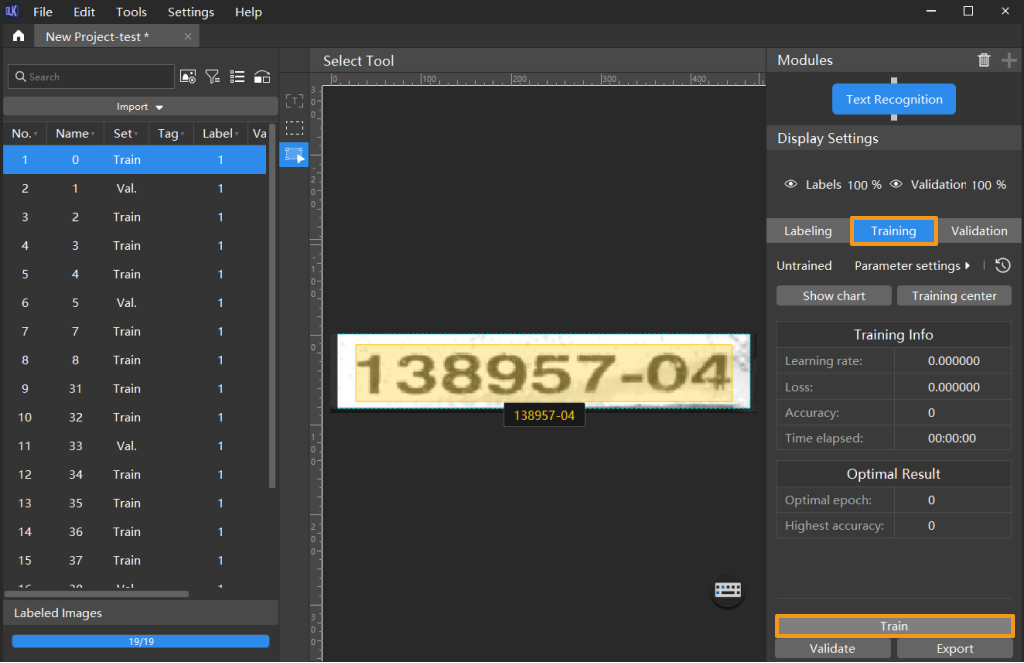
Train the model: Keep the default training parameter settings and click Train to start training the model.
-
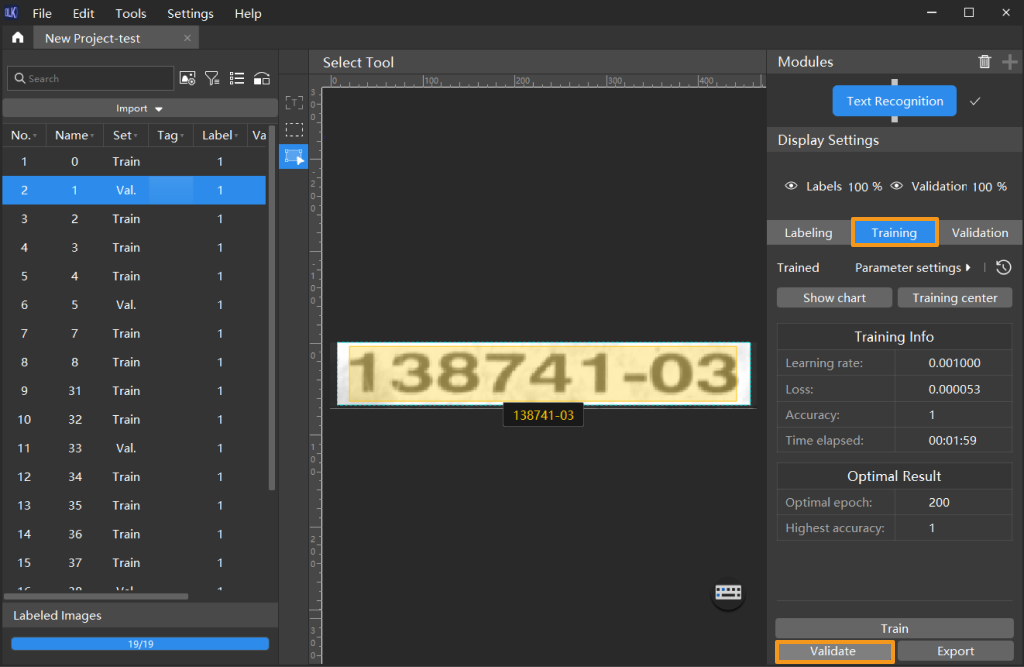
Validate the Model: After the training is completed, click Validate to validate the model and check the results.
-
Export the model: Click Export and select a directory to save the trained model.
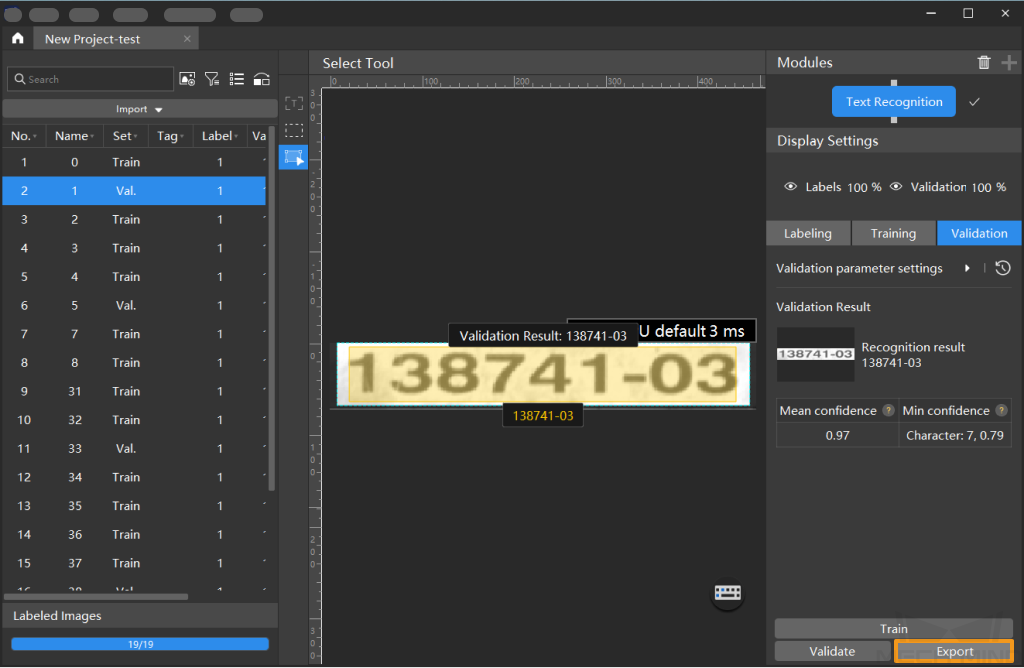
The exported model can be used in Mech-Vision and Mech-DLK SDK. Click here to view the details.