Introduction to Labeling Tools
Free Rectangle Tool
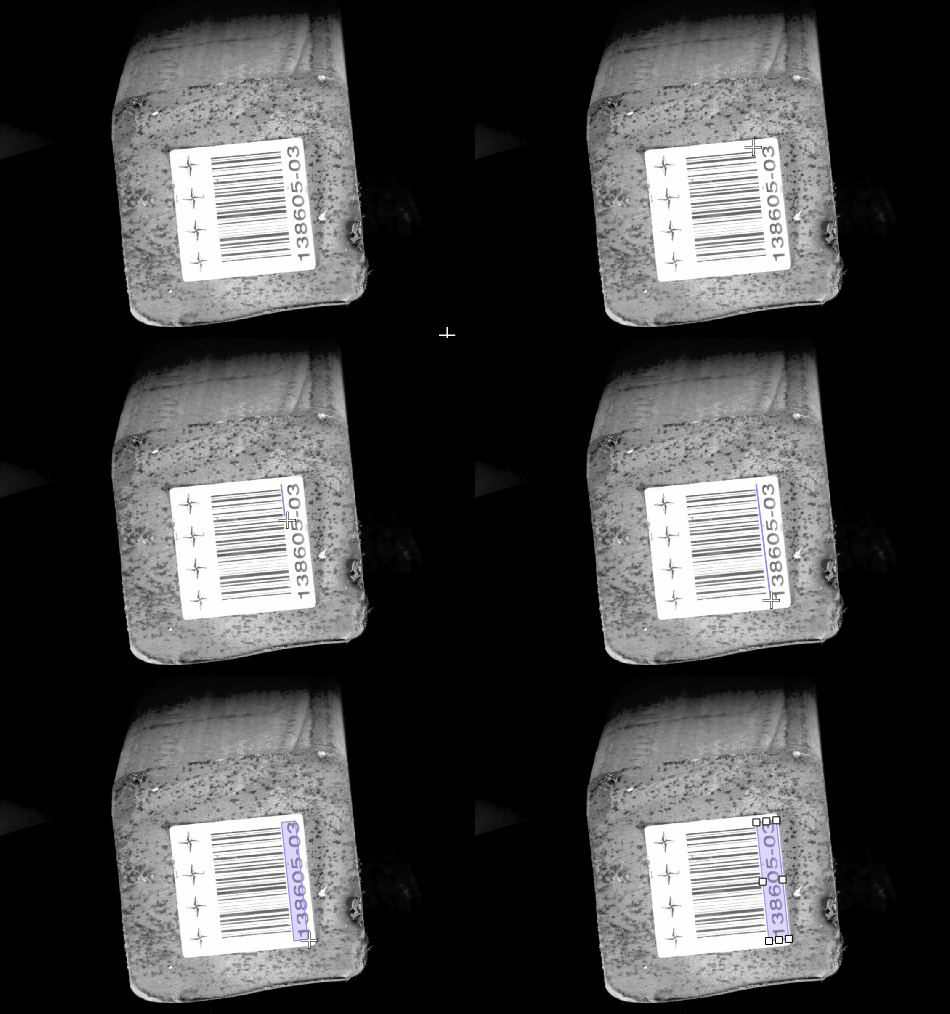
The Free Rectangle Tool can be used to draw a rectangle around the text area. Therefore, it is recommended to select this tool for rectangular text areas.
-
Click
 (or press D on the keyboard).
 -
Move the crosshair cursor in the selection region and left-click to select the starting point of the area you want to outline. Then, move the cursor and left-click again to select the second point to define the range you want to outline. At this point, a straight line will be created, forming one side of the rectangular selection frame.
-
Moving the cursor to either side of the straight line will allow you to create a rectangle. Click the left mouse button to complete the labeling.
| During the process, you can click the right mouse button to cancel the labeling. |
Polygon Tool
The Polygon Tool can be used to draw polygon labels by adding vertices. Therefore, it is recommended to select this tool for text areas with complex shapes or text areas that are close to image edges.
-
In the labeling toolbar, right-click
 and then click
  (or press P on the keyboard).
 -
Click the first position (vertex) in the selection region, then click the second one, third one, etc., to draw the labels, and right-click to finish. (At least three vertices are required.)
After labeling, use the Select Tool to select a label and adjust the label by the following methods.
-
Click the label edges to increase the number of vertices.
-
Right-click a vertex to delete it.
-
Long press the left mouse button and drag the vertex in any direction to modify the label shape.
Pre-trained Labeling Tool
After you validate a model, you can use the Pre-trained Labeling Tool to automatically label a single image.
-
In the labeling toolbar, click
 (or press T on the keyboard) to select the Pre-trained Labeling Tool.
 -
In the upper part of the image, click Start labeling to enable the automatic labeling.
| After the labeling process is finished, you can view a yellow triangle in the upper left corner of the sequence number of the image. |
VFM Labeling Tool
You can use the VFM Labeling Tool to quickly label datasets that are not yet labeled.
-
In the labeling toolbar, right-click
 , then click
  (or press H on the keyboard) to select the VFM Labeling Tool.
 -
In the upper part of the image, click Start labeling to enable the automatic labeling.
| After the labeling process is finished, you can view a yellow triangle in the upper left corner of the sequence number of the image. |
Template Tool
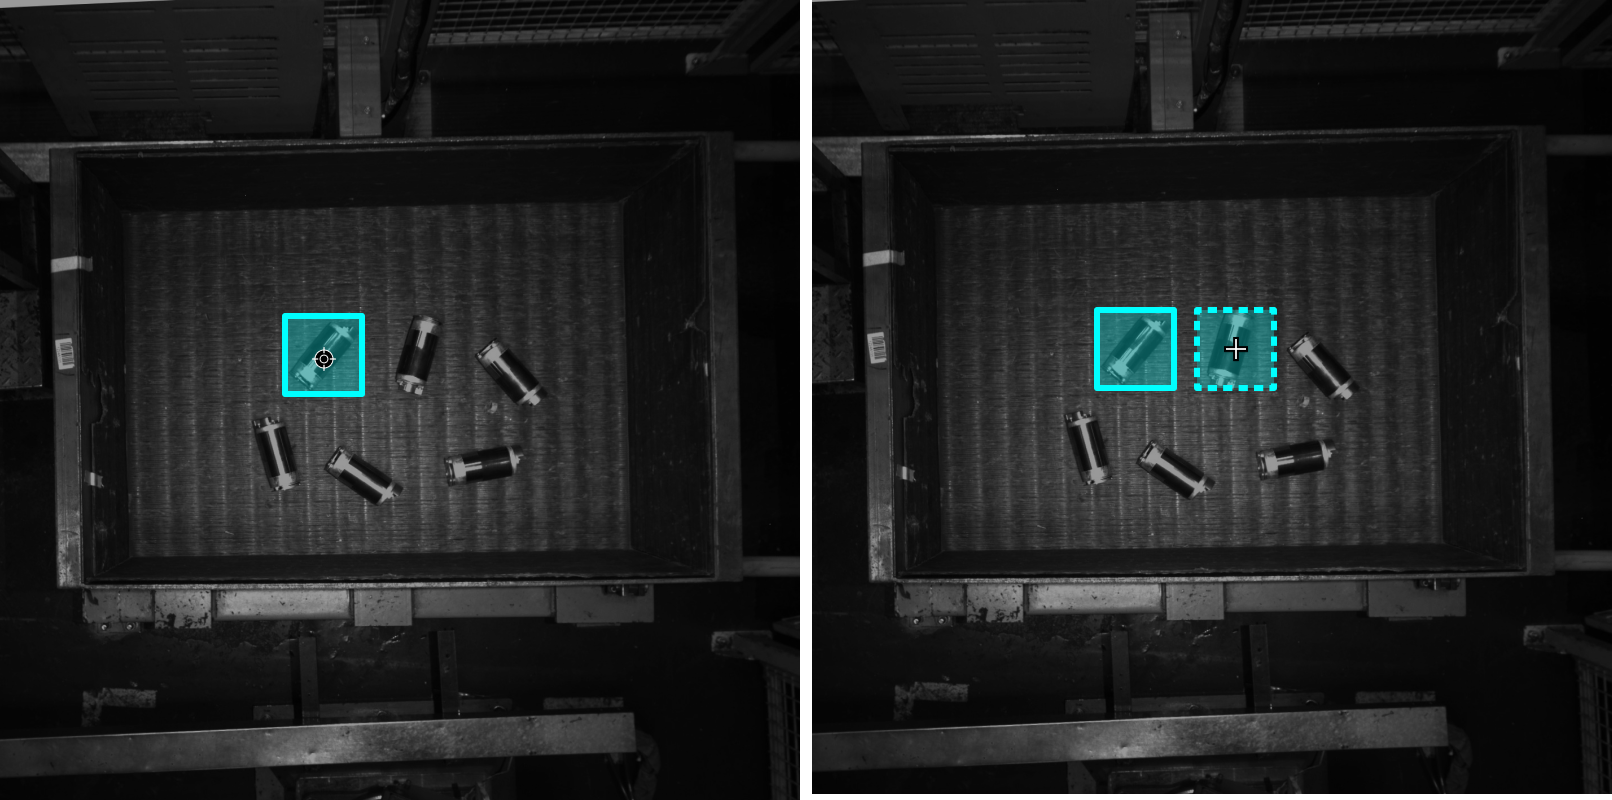
You can use the Template Tool to set an existing selection as a template. After setting, you can use this template to rapidly label contours and objects with the same pose.
It is suitable for scenarios where there are multiple neatly arranged objects of the same type in an image, which can improve labeling efficiency.
-
Click
 (or press C on the keyboard).
 -
Click the region that needs to be set as the template.
-
Move the template to the object that you need to select, adjust the angle of the template to make it fit the object, and then click it.
-
Coarse adjustment: Press and hold the Shift key and then scroll the mouse wheel.
-
Fine adjustment: Adjust the Rotation angle parameter.
-
| During labeling, press and hold the Ctrl key and click the selection to switch the template. You can also click Replace template and then click the selection to achieve the same purpose. |
ROI Tool
You can use the ROI Tool to set the region of interest.
Setting the ROI can avoid interferences from the background.
-
Click
 (or press O on the keyboard).
 -
Adjust the ROI frame in the selection region.
-
Click the
 button in the lower right corner of the ROI to save the setting, or click the
  button to disable the ROI Tool.
 -
Click the Reset button in the upper left corner of the image to reset the ROI.
Select Tool
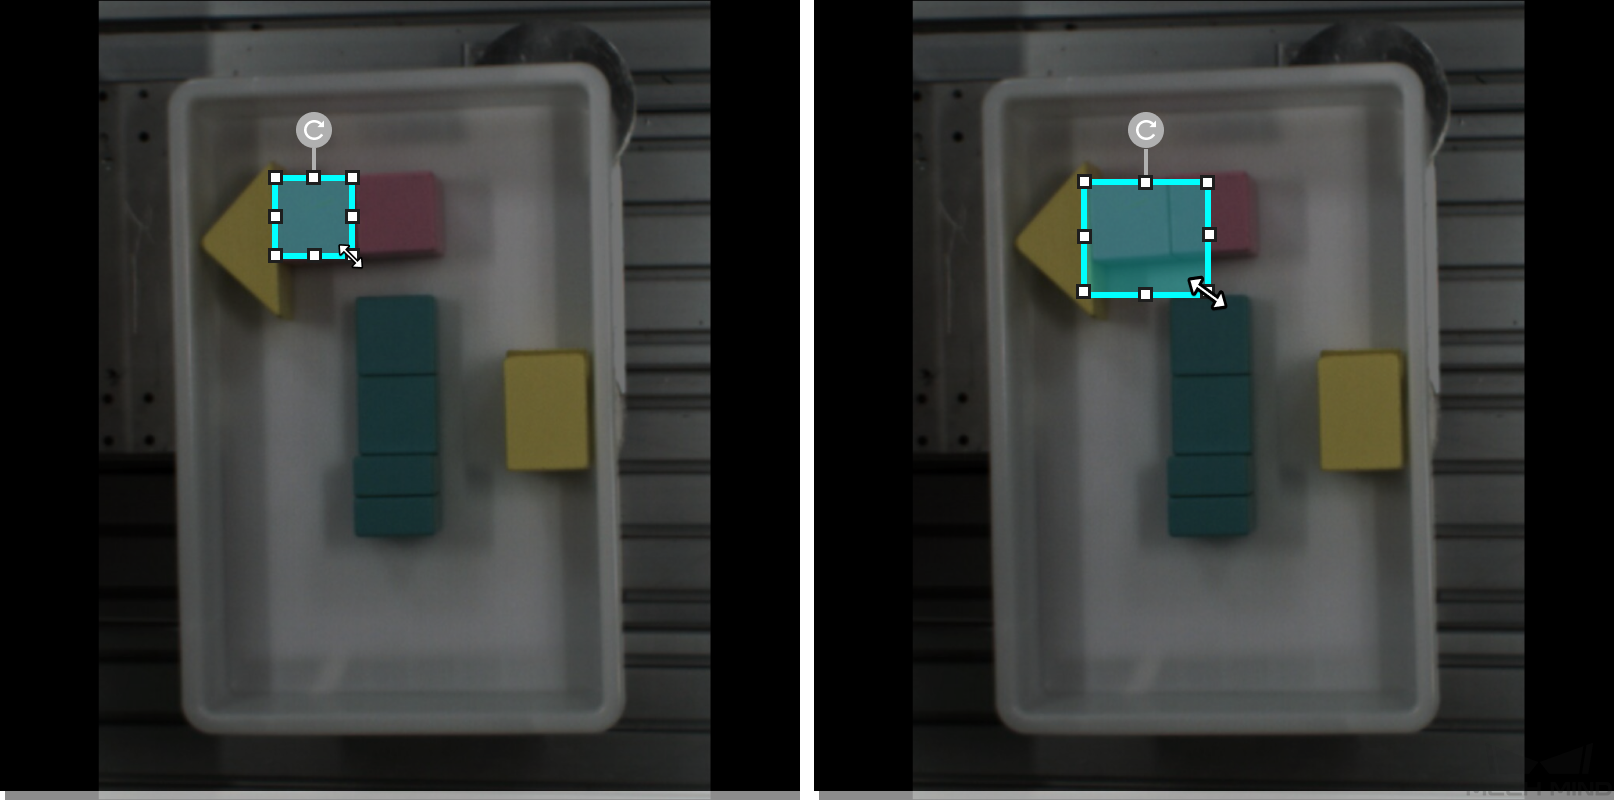
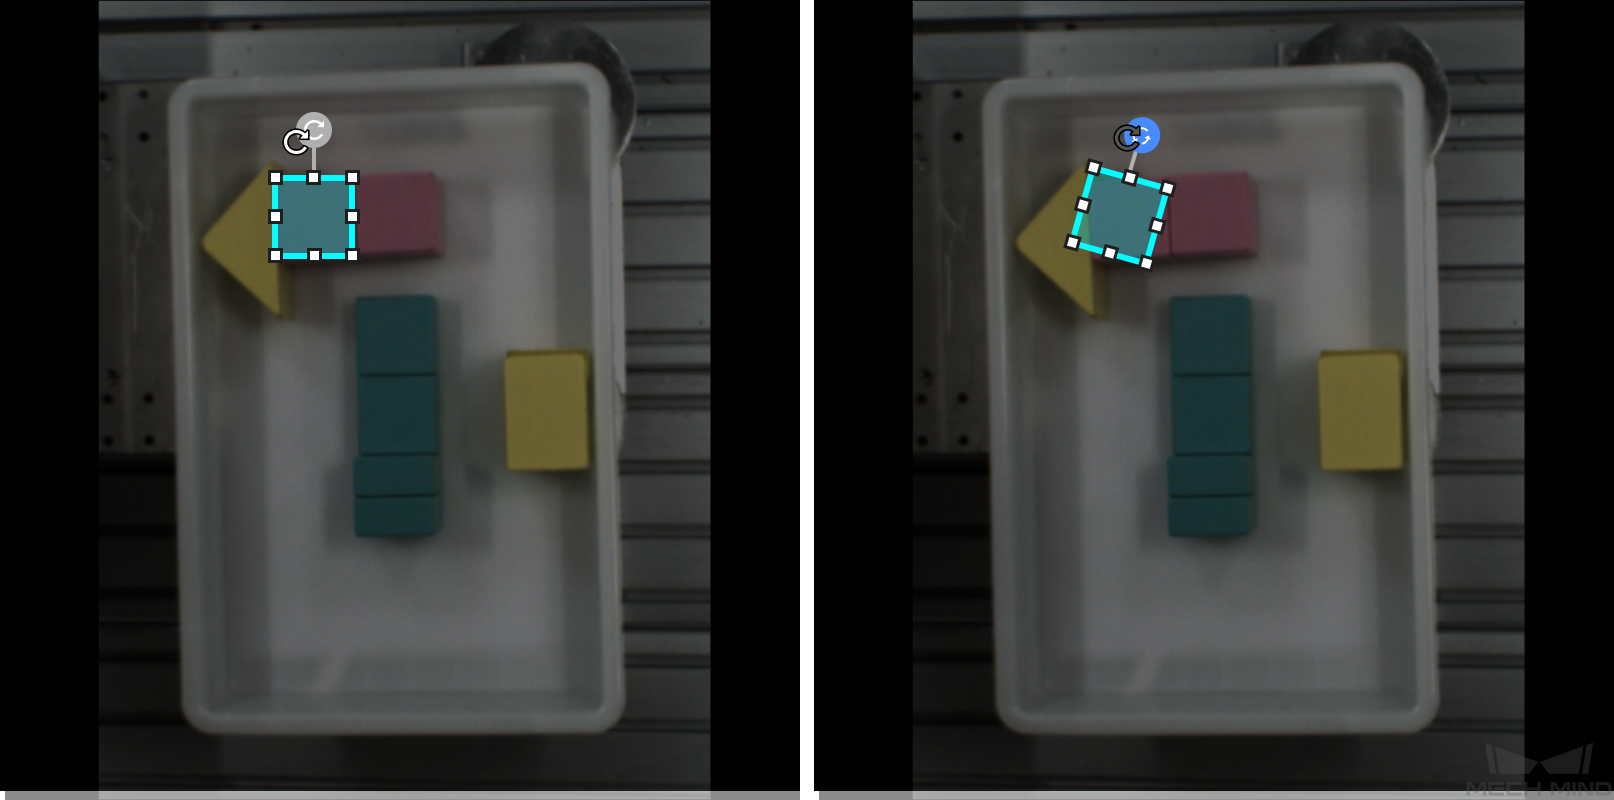
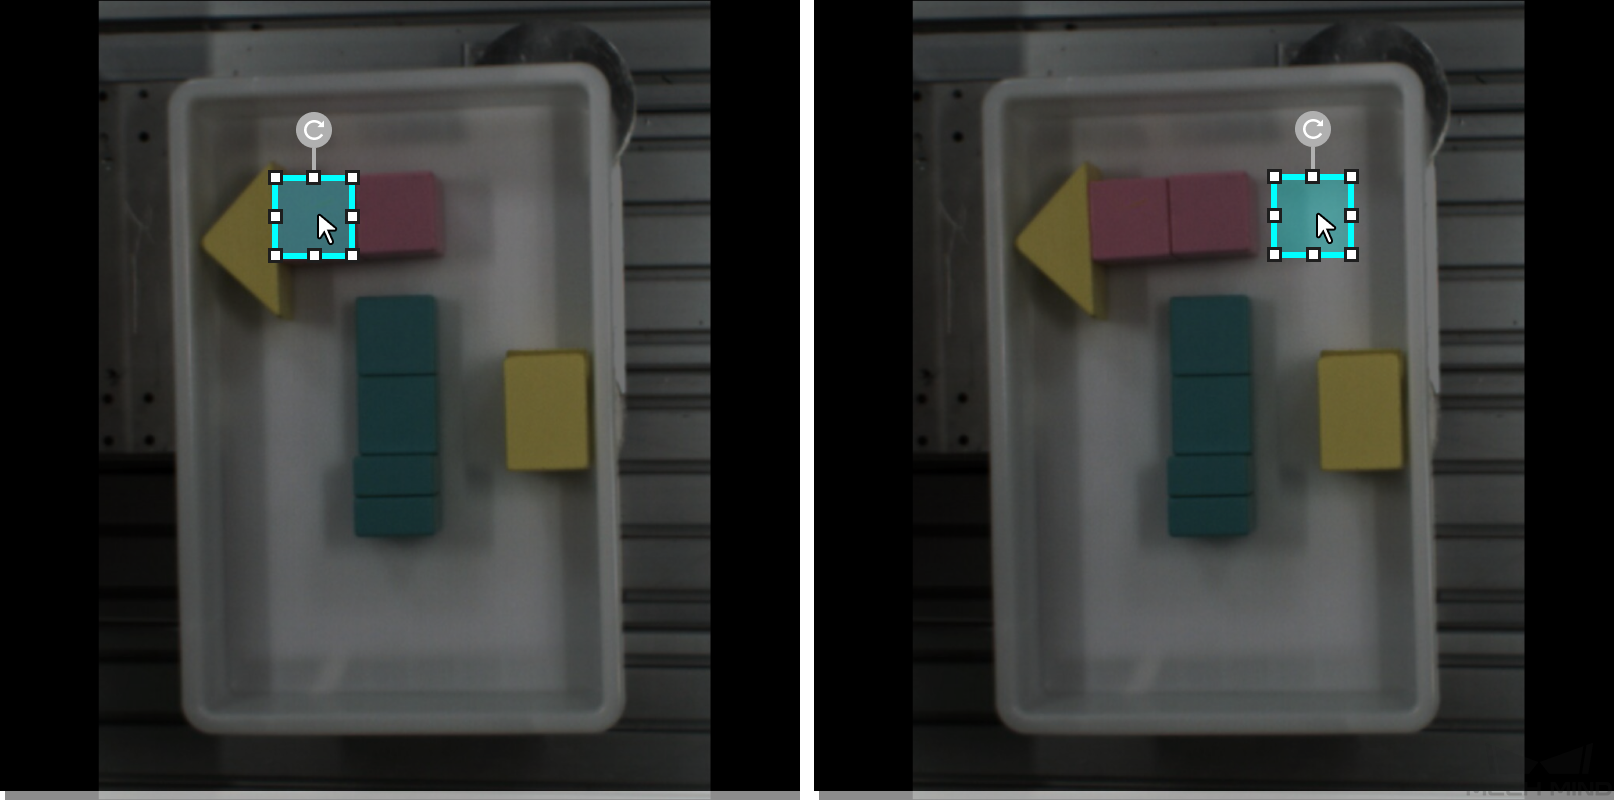
You can use the Select Tool to select, move, and adjust the selections.
-
Click
 (or press F on the keyboard).
 -
Move the cursor in the selection region and then click the selection to be processed.
|
Adjust size |
|
Rotation |
|
Move |
|
