Use the Instance Segmentation Module
Please click here to download an image dataset of wooden blocks, an example project provided by Mech-DLK. In this section, we will use an Instance Segmentation module and train a model to segment different types of wooden blocks and export the corresponding class labels.
| You can also use your own data. The usage process is overall the same, but the labeling part is different. |
-
Create a new project and add the Instance Segmentation module: Click New Project in the interface, name the project, and select a directory to save the project. Click
 in the upper right corner of the Modules panel and add the Instance Segmentation module.
-
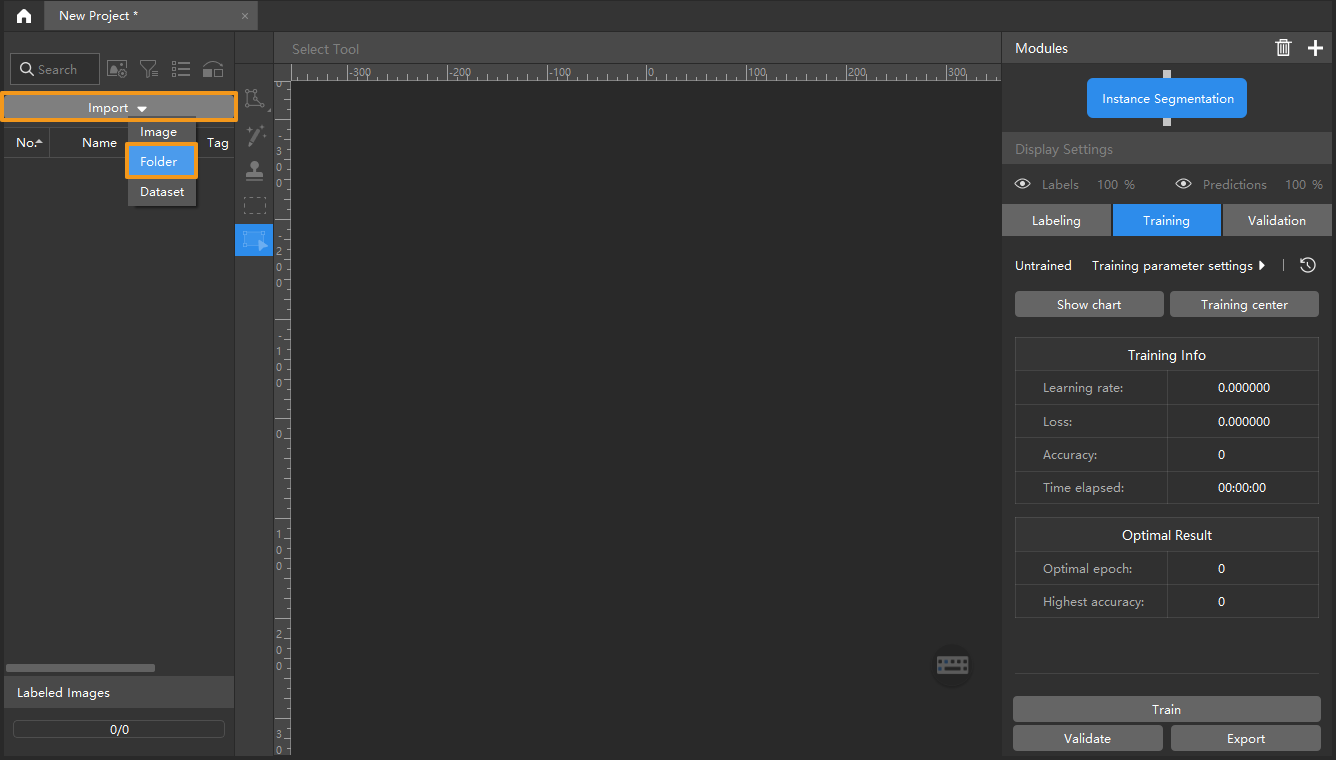
Import the image dataset of wooden blocks: Unzip the downloaded dataset file. Click the Import button in the upper left corner, select Folder, and import the image dataset. The wooden blocks in the images are of four different shapes and colors.
-
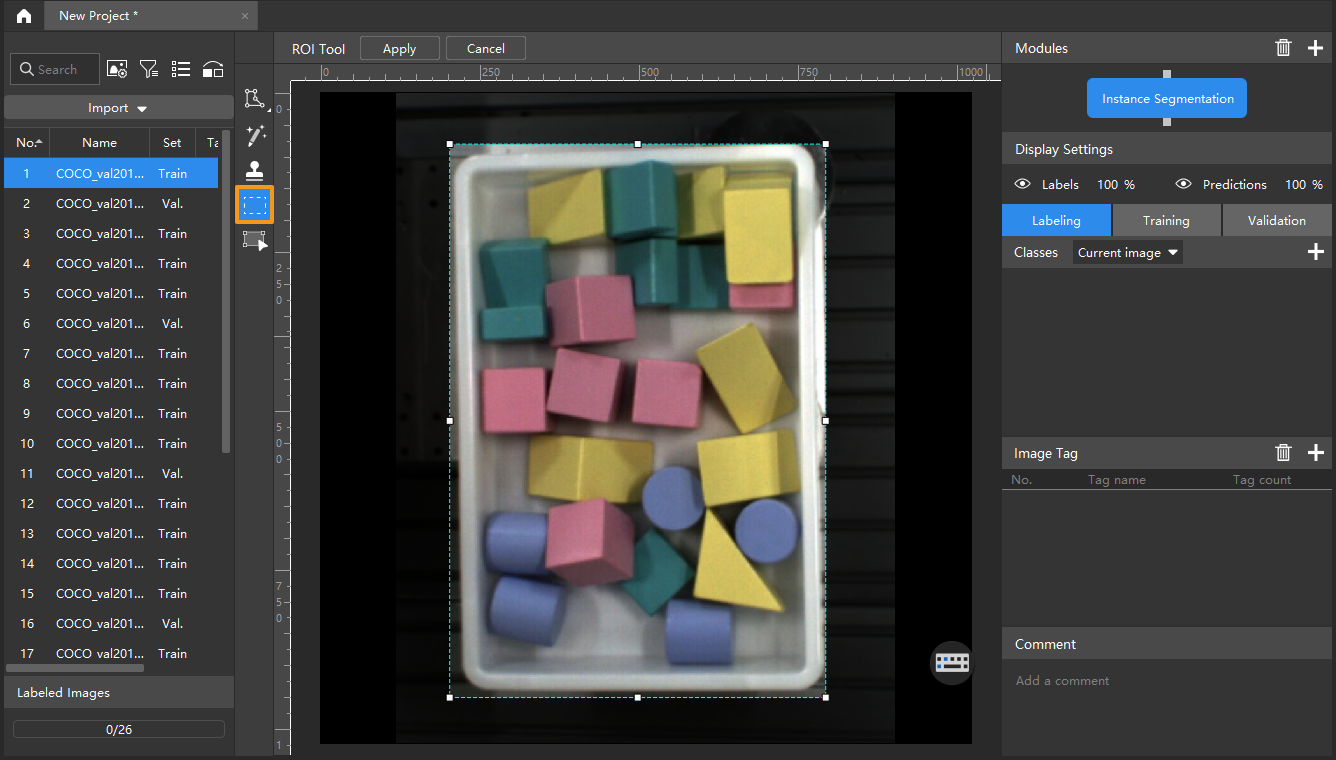
Select an ROI: Click the ROI Tool button
 and adjust the frame to select the bin containing wooden blocks in the image as an ROI, and click Apply to save the settings. Setting the ROI can avoid interferences from the background and reduce processing time.
-
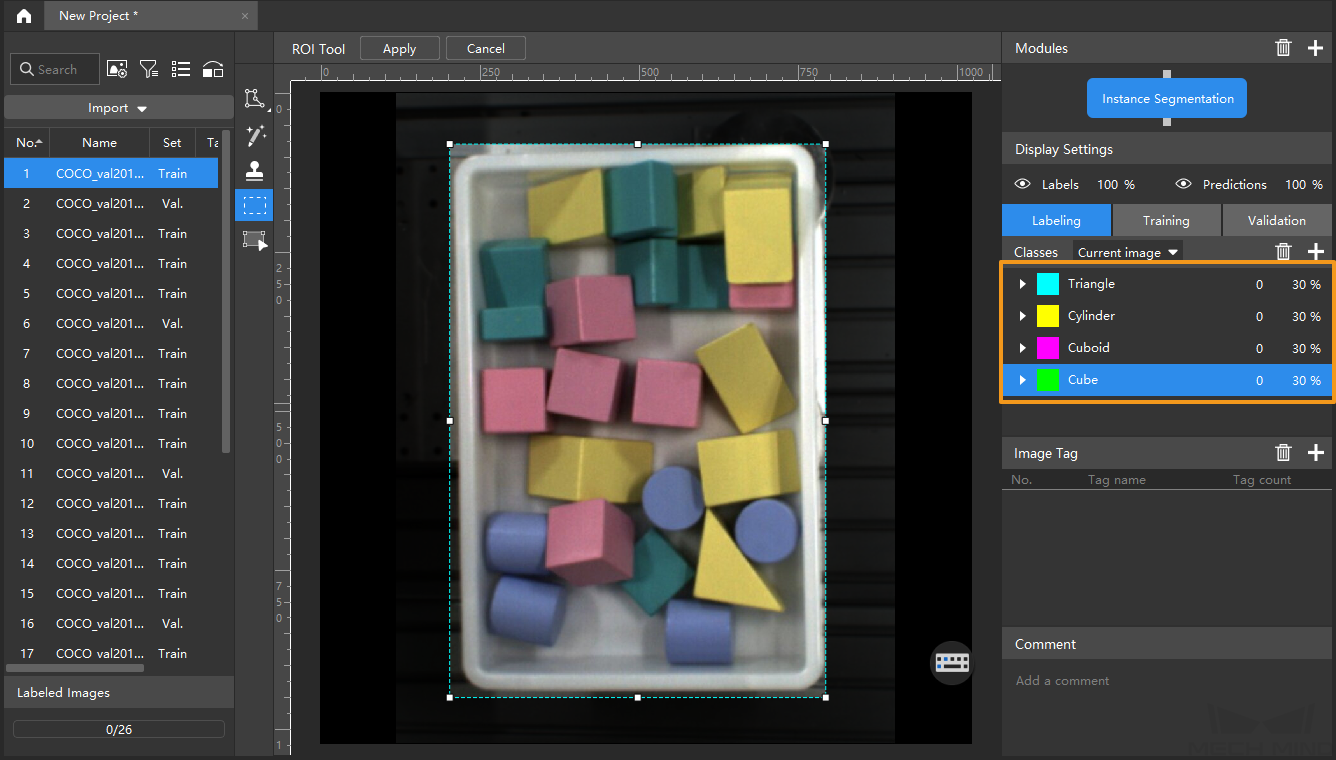
Create Labels: Select Labeling and click the
 button in the Classes panel to create labels based on the type or feature of different objects. In this example, the labels are named after the different shapes of the wooden blocks. You can also name the labels according to different colors.
-
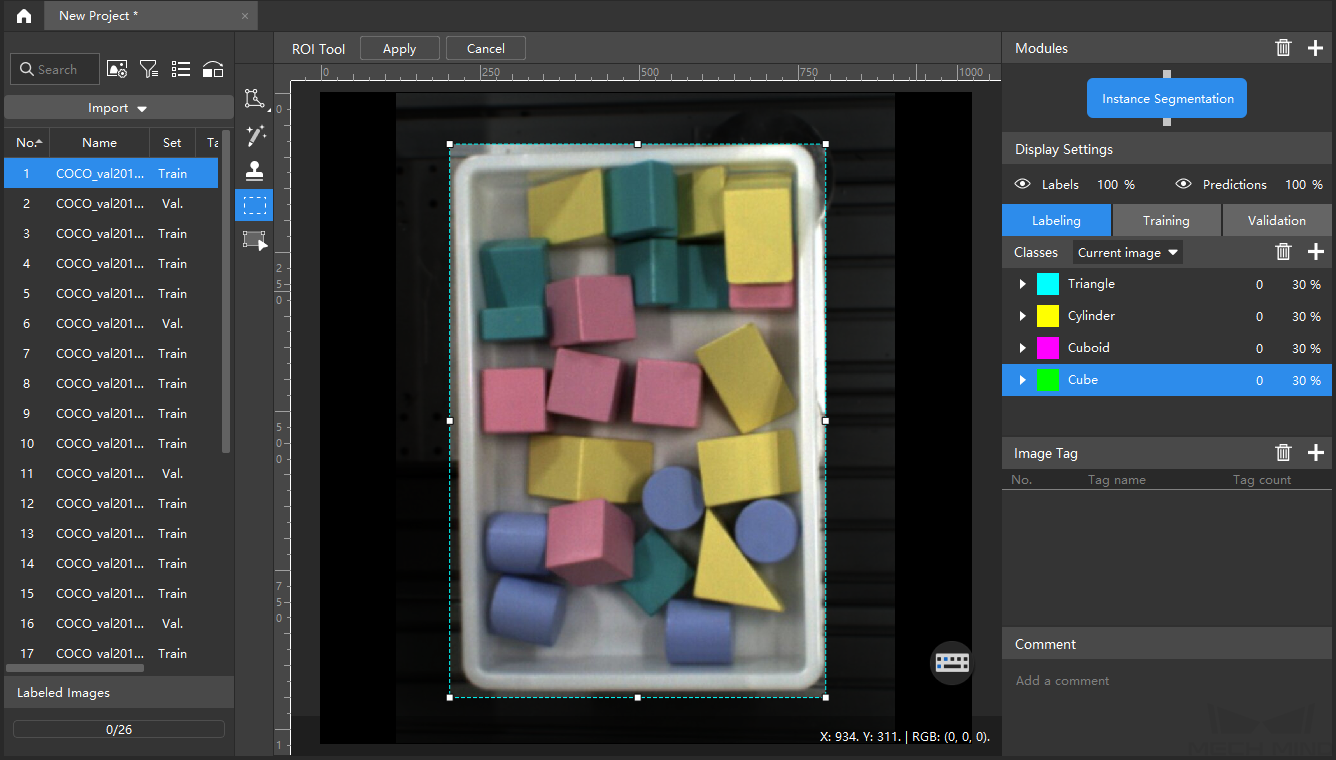
Label images: Right-click the
 button and select a suitable tool to label the image. In this example project, the contours of the wooden blocks need to be outlined for segmentation. In addition, please make sure that the different shapes of wooden blocks have been labeled correctly.
Click here to view how to use labeling tools.
-
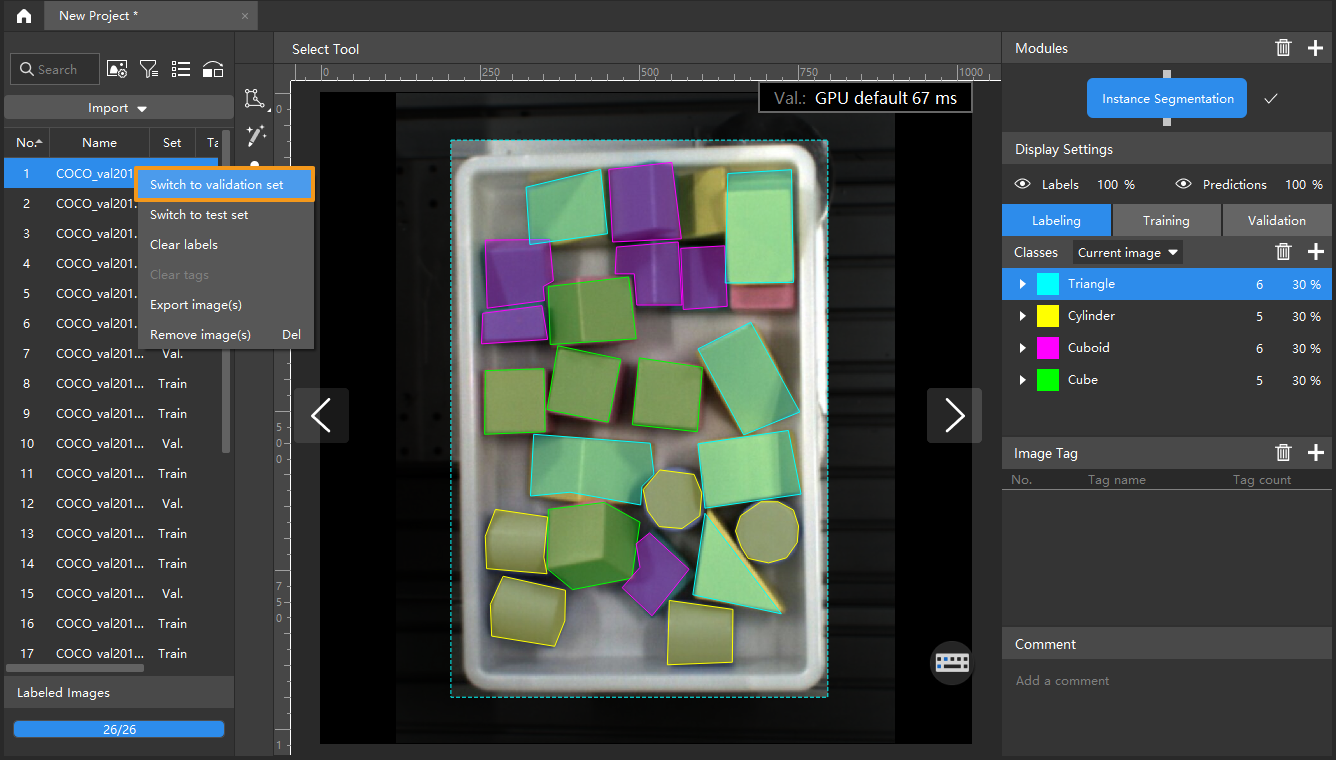
Split the dataset into the training set and validation set: By default, 80% of the images in the dataset will be split into the training set, and the rest 20% will be split into the validation set. You can click
 and drag the slider to adjust the proportion. Please make sure that both the training set and validation set include objects of all classes to be segmented. If not, select the image name and then right-click it for adjustment.
-
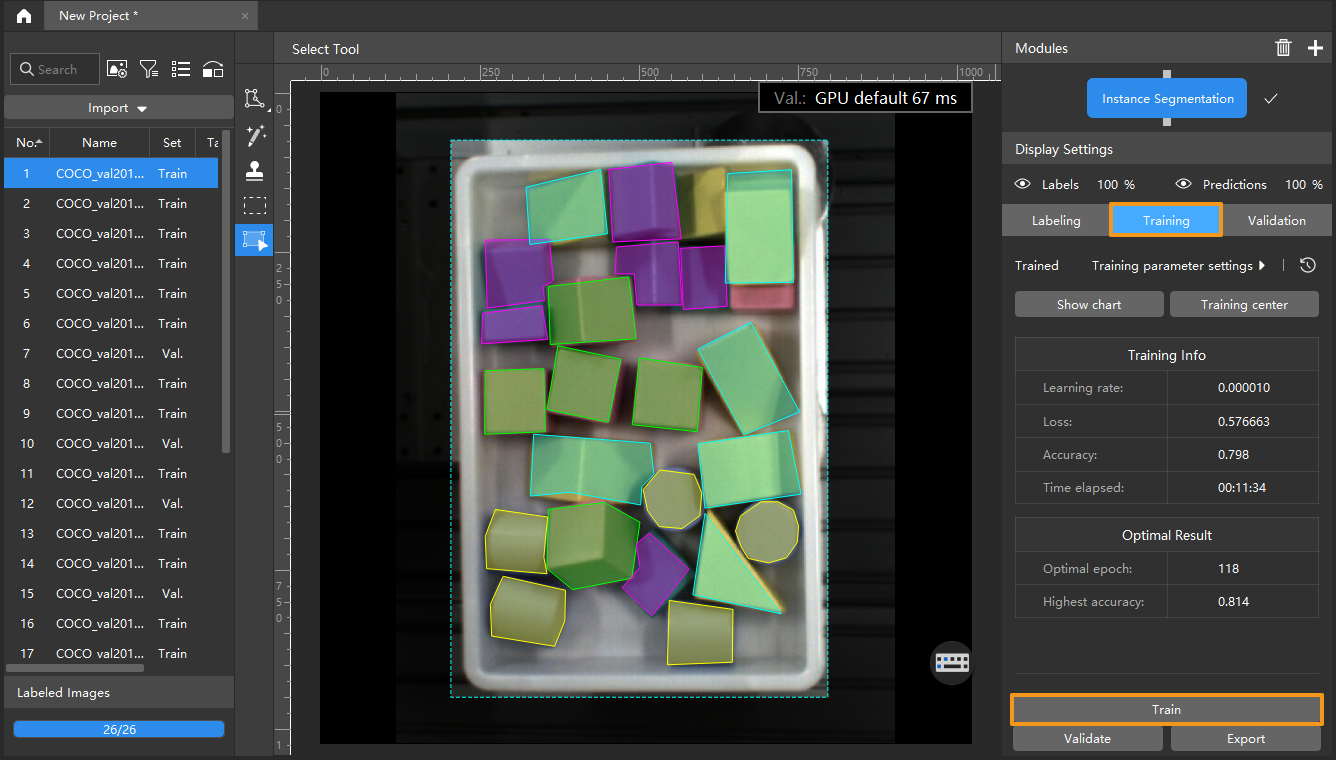
Train the model: Keep the default training parameter settings and click Train to start training the model.
-
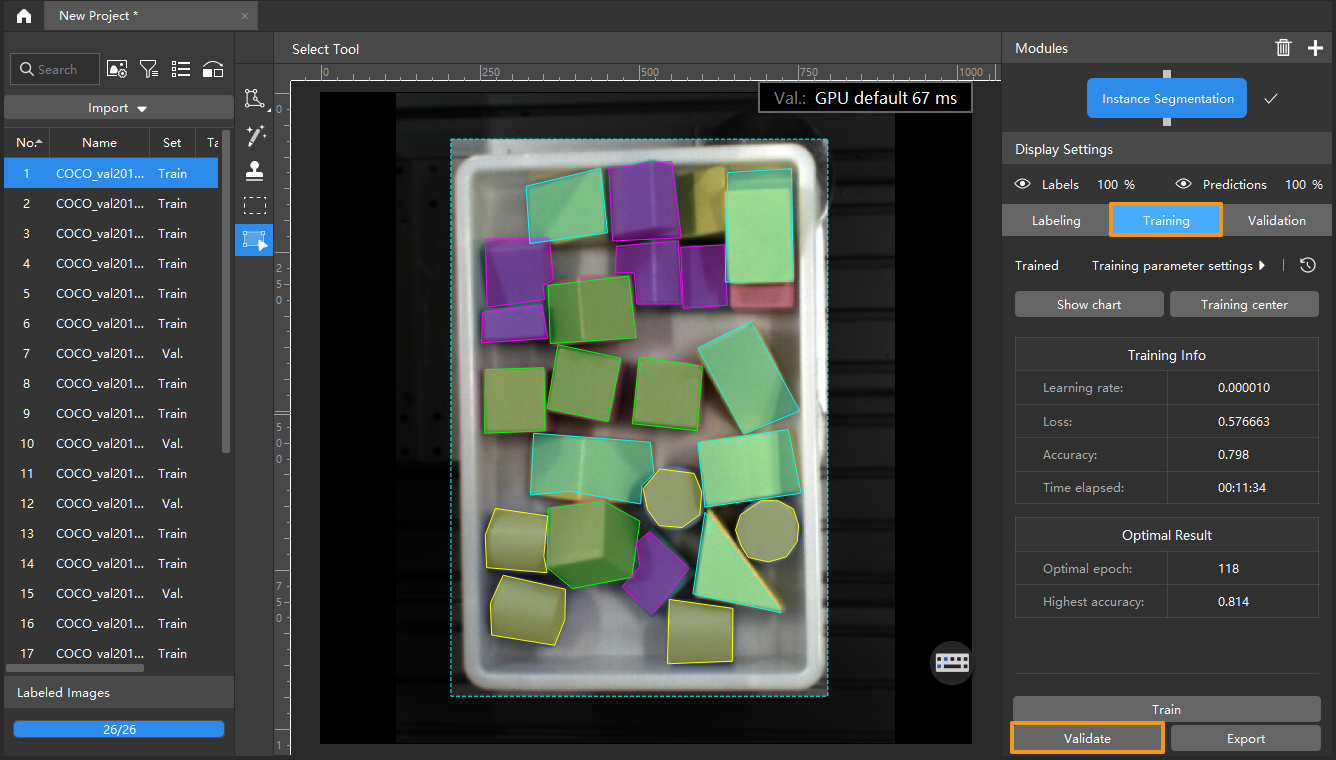
Validate the Model: After the training is completed, click Validate to validate the model and check the results.
-
Export the model: Click Export. Then, set Max num of inference objects in the pop-up dialog box, click Export, and select a directory to save the exported model.
The maximum number of objects during a round of inference, which is 100 by default. 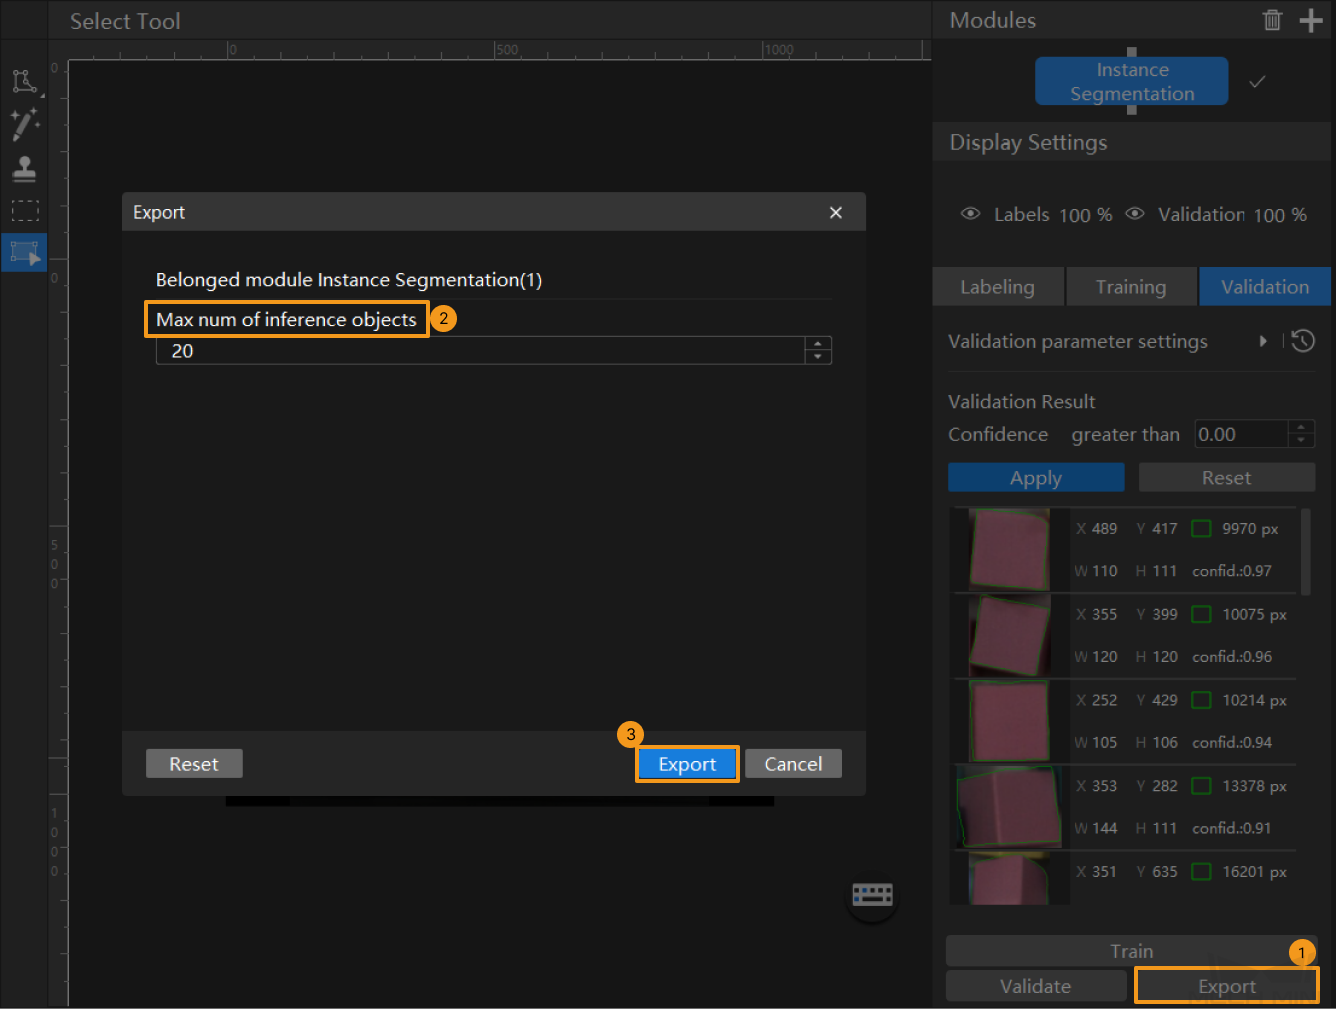
The exported model can be used in Mech-Vision and Mech-DLK SDK. Click here to view the details.