Edit Point Cloud Model
Once you have generated a point cloud model using ![]() or
or ![]() , or imported a point cloud model using
, or imported a point cloud model using ![]() , you may want to edit it so that it can meet your actual needs.
, you may want to edit it so that it can meet your actual needs.
In Matching Model and Pick Point Editor, you can perform the following editing (Click for detailed instructions).
 Select points: delete unwanted points
Select the point cloud model for editing in the Model Files List, adjust your view in the Visualizing Space so that you can see most or all the points you want to delete, and then click on
 in the Toolbar.
Hint
Once you’ve clicked on
 , the view in the Visualizing Space will be locked. Therefore, please adjust your view first.
Select the points to delete in the Visualizing Space. To select multiple areas, hold the Ctrl key while you select. The selected points are shown in orange.

Click on in the Menu Bar or press the Delete key to delete the selected points.
Tip
If you deleted wanted points by accident, you can undo the deleting by clicking on in the Menu Bar or using the shortcut Ctrl+Z.
You can also redo deleting by clicking on in the Menu Bar or using the shortcut Ctrl+Y.
Tip
The size of the bounding box can indicate if you have deleted all the unwanted points. Check the box in front of Show bounding box below the CAD Files List to show the bounding box.
Click on
 again, or press the Esc key to unlock the view in the Visualizing Space.
 Merge point cloud: merge multiple point clouds into one
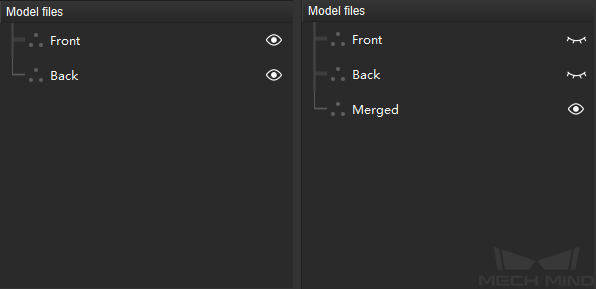
Select the point cloud models for merging in the Model Files List, and then click on ![]() in the Toolbar to generate a new point cloud from merging. Meanwhile, the point clouds selected for merging will become invisible automatically.
in the Toolbar to generate a new point cloud from merging. Meanwhile, the point clouds selected for merging will become invisible automatically.
In the figure below, the left image is the Model Files List before point cloud merging, and the right is the Model Files List after merging the point clouds Front and Back.

 Downsample: reduce the size of the point cloud model to speed up subsequent processing
Select the point cloud model for downsampling in the Model Files List, click on
 , and adjust the sampling interval in the pop-up window.
Note
the larger the sampling interval, the sparser the points in the point cloud model, and therefore the smaller the file size will be.
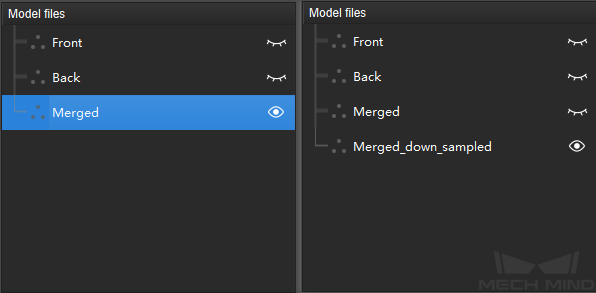
Once you finish adjusting the sampling interval, click on OK to generate a new, downsampled point cloud. Meanwhile, the point cloud selected for downsampling will become invisible automatically.
In the figure below, the left image is the Model Files List before downsampling Merged, and the right after.

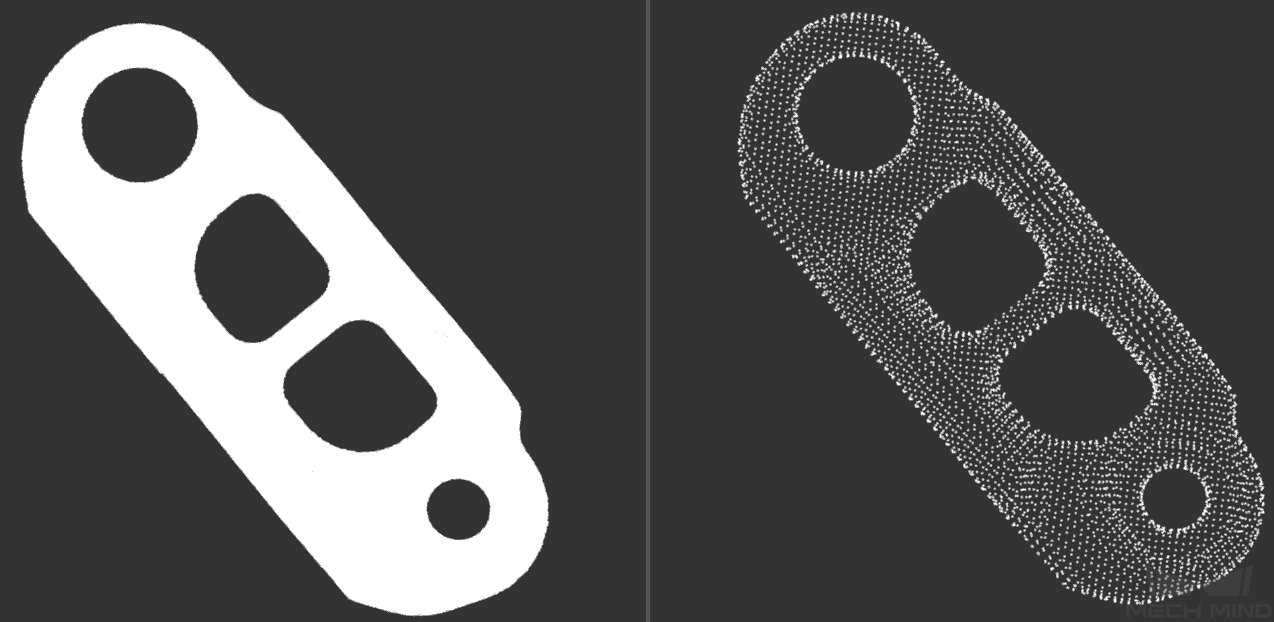
In the figure below, the left image is a point cloud model before downsampling, and the right one is after downsampling with a sampling interval of 3 mm.

Hint
Point cloud models must be visible (i.e., the icon after the file name is ![]() ) to be edited.
) to be edited.