Quick Calibration Mode
In some project sites, it is often necessary to re-calibrate the camera after replacing the camera. For projects with restrictions on time spent on camera replacement, workstation space, or fixture mounting, quick calibration mode can be used to quickly and easily replace the camera with a camera of the same model.
Preparations Before Replacing the Camera
Before using the quick calibration mode to calibrate the camera, preparations listed below should be made:
The old camera and the camera parameter group that has been calibrated in the standard extrinsic parameter calibration mode.
Choose a suitable calibration board model for the camera, install and fix the calibration board so that the calibration board is located somewhere convenient within the reach of the camera’s field of view, not affecting the normal running of the project (the calibration board cannot be moved or should not be damaged).
If in Eye In Hand mode, move the robot to a proper pose, record the pose through the Mech-Viz project or a third-party master control program, and ensure that the “pose during data collection by photo-taking” is consistent with the “pose during secondary calibration by photo-taking”.
Record Feature Points
Click :menuselection: Camera –> Camera Calibration –> Quick to enter the quick calibration mode. If the Mech-Vision project has been opened in Mech-Vision, the recorded feature point data will be saved under the project path; if no project is opened, please select the project path. If the project has no recorded feature points, the interface shown in Figure 1 will appear.
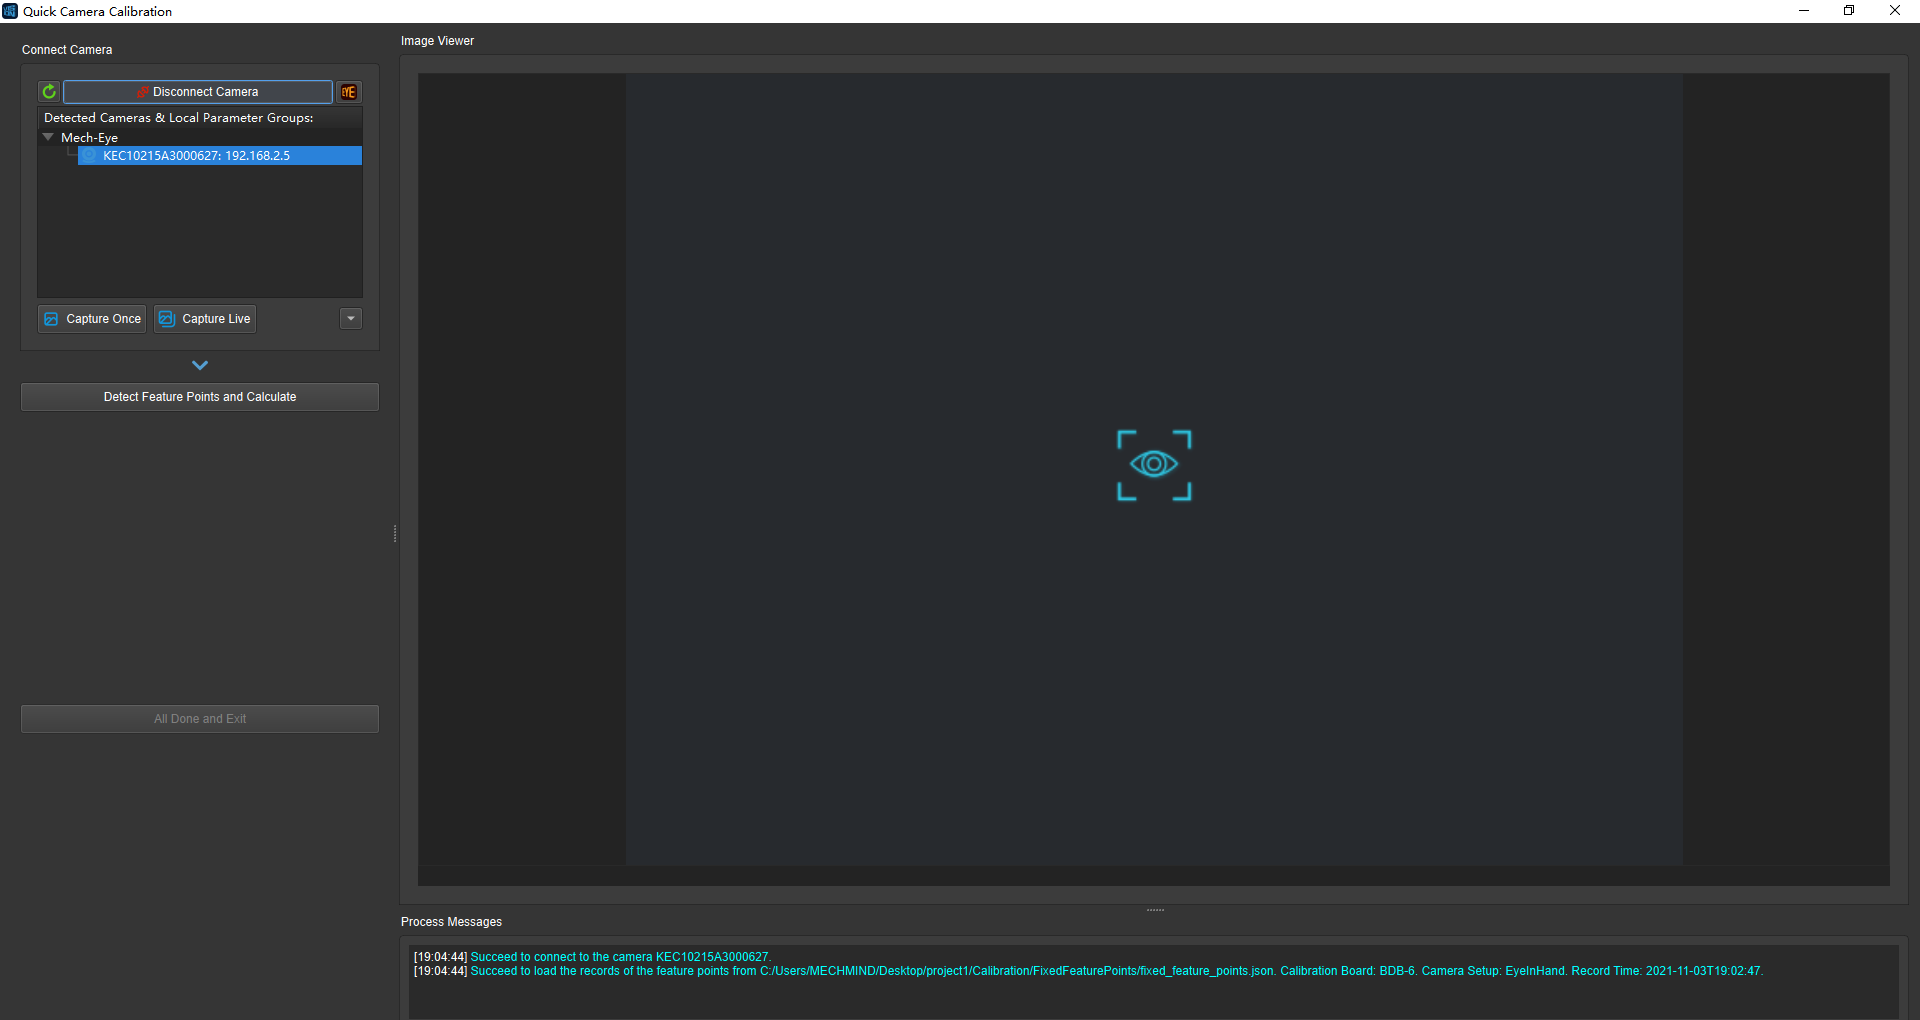
Figure 1. Window of Recording Feature Points
If the project has recorded feature points, the window as shown in Figure 2 will appear. If the extrinsic parameter group is updated, the position of the calibration board is moved or damaged, and the pose of the robot changes before the quick calibration of the new camera, please select Re-record the fixed feature points.
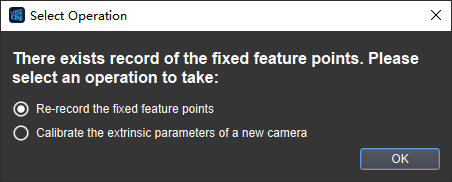
Figure 2. Re-Record Feature Points or Start a New Camera Calibration
After entering the record feature point page, connect the camera and select the corresponding extrinsic parameter group. When the camera has only one parameter group, there is no need to manually select the parameter group.
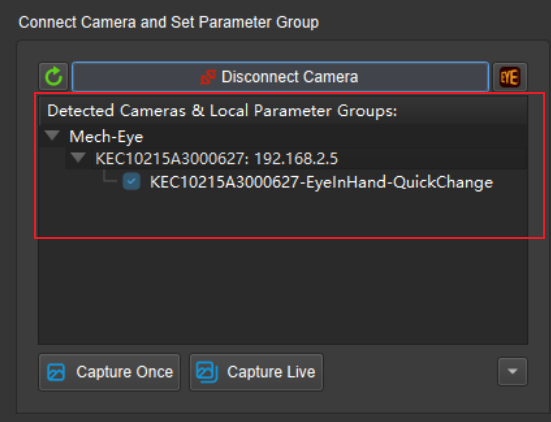
Figure 3. Connect the Camera and Select the Extrinsic Parameter Group
Then select the calibration board type to use. After done setting, click Detect Feature Points and Calculate to start recording feature points. If the Finish and Exit button is on, the feature points have been recorded. Click Finish and Exit.
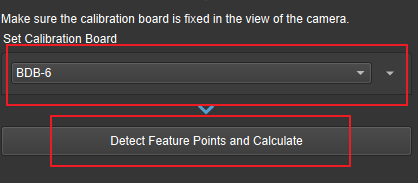
Figure 4. Set Calibration Board Type and Calculate Feature Points
After recording, a feature point folder is generated in the project folder, and the project can be quickly calibrated directly after replacing the new camera.

Figure 5. Folder Containing Feature Points
New Camera Quick Calibration
Enter the quick calibration mode, and select Calibrate the extrinsic parameters of a new camera in the window shown in Figure 6.
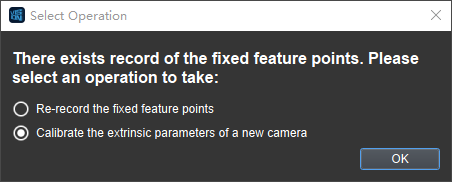
Figure 6. Choose to Re-Record Feature Points or Start a New Camera Calibration
Select Calibrate the extrinsic parameters of a new camera and enter the quick calibration page as shown in Figure 7. First select and connect the new camera, then click Detect Feature Points and Calculate, and click Finish and Exit. The operation notification bar will report the current progress in real time.

Figure 7. New Camera Calibration
After the calibration is completed, the camera with the parameter group can be selected in the Mech-Vision project. The folder location of the new camera parameter group obtained by the quick calibration is shown in Figure 8.

Figure 8. Folder Containing the New Camera Parameter Group