Interface Introduction
The main interface of model editor consists of the following 5 parts.
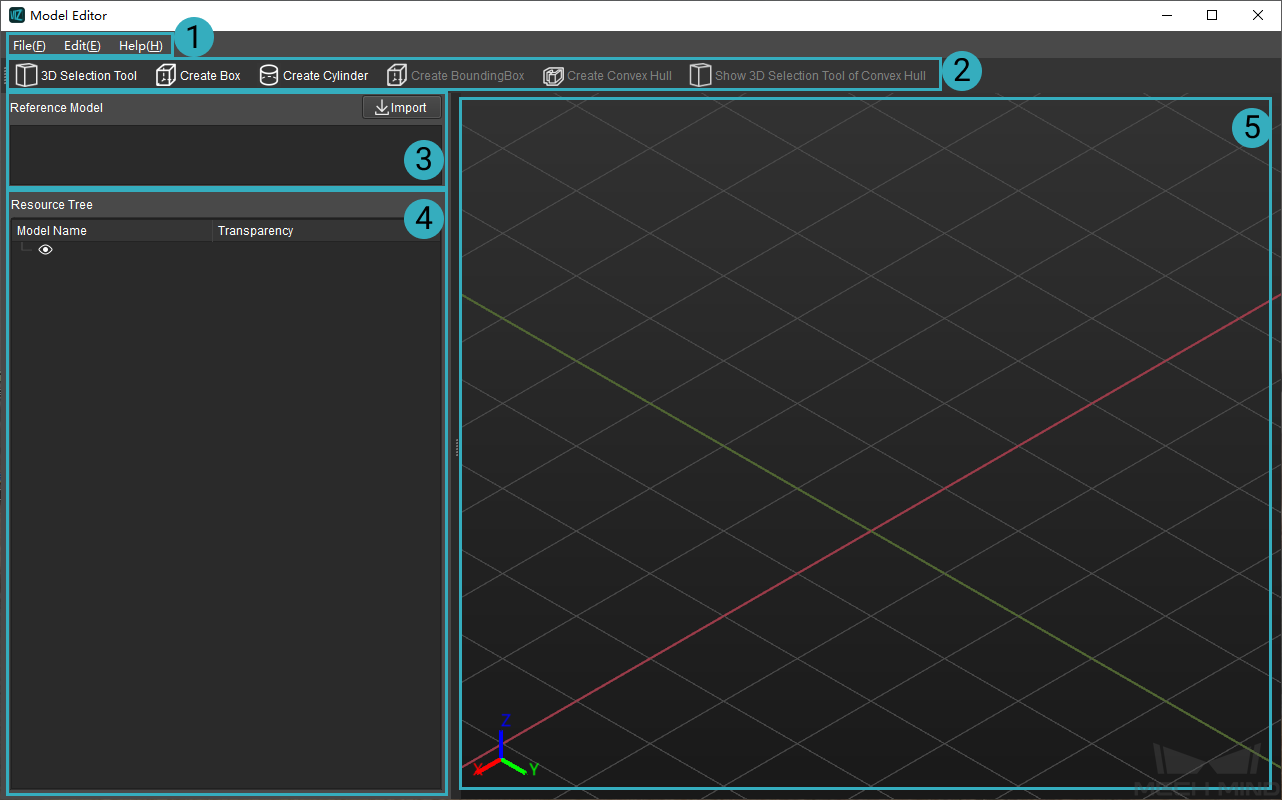
Menu Bar: provides options including File, Edit, and Help.
Toolbar: provides features including 3D Selection Tool, Create Box, Create Cylinder, Create BoundingBox, Create Convex Hull, and Show 3D Selection Tool of Convex Hull.
Reference Model: displays the imported original model which is used as a reference.
Resource Tree: displays all the created geometric solids and convex hulls.
Editing Workspace: where you can edit the model.
Menu Bar

File
Options |
Descriptions |
Shortcut |
New |
Create a new editing project |
Ctrl+N |
Open |
Open an existing M3D file to edit |
Ctrl+O |
Save |
Save a newly created editing project in M3D format or save changes on an existing editing project |
Ctrl+S |
Save As |
Save the editing project in M3D format to a specified directory |
Ctrl+Shift+S |
Import |
Import an original model |
N/A |
Export |
Export the simplified model |
N/A |
Exit |
Exit the model editor window |
N/A |
Edit
Options |
Descriptions |
Shortcut |
Undo |
Undo the change |
Ctrl+Z |
Redo |
Redo the change |
Ctrl+Y |

Toolbar

Options |
Descriptions |
Shortcut |
3D Selection Tool |
Create a cuboid-shaped selection frame |
N/A |
Create Box |
Create a cuboid model |
N/A |
Create Cylinder |
Create a cylinder model |
N/A |
Create BoundingBox |
Create a bounding box within the space selected by the 3D selection tool |
Shift + B |
Create Convex Hull |
Create a convex hull within the space selected by the 3D selection tool |
Shift + C |
Show 3D Selection Tool of Convex Hull |
Display the selected 3D space when a convex hull is created |
N/A |
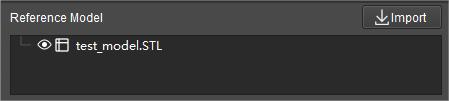
Reference Model
The name of the imported original model will be displayed in the panel as shown below.
You can import models in STL, STP, STEP, and OBJ formats.
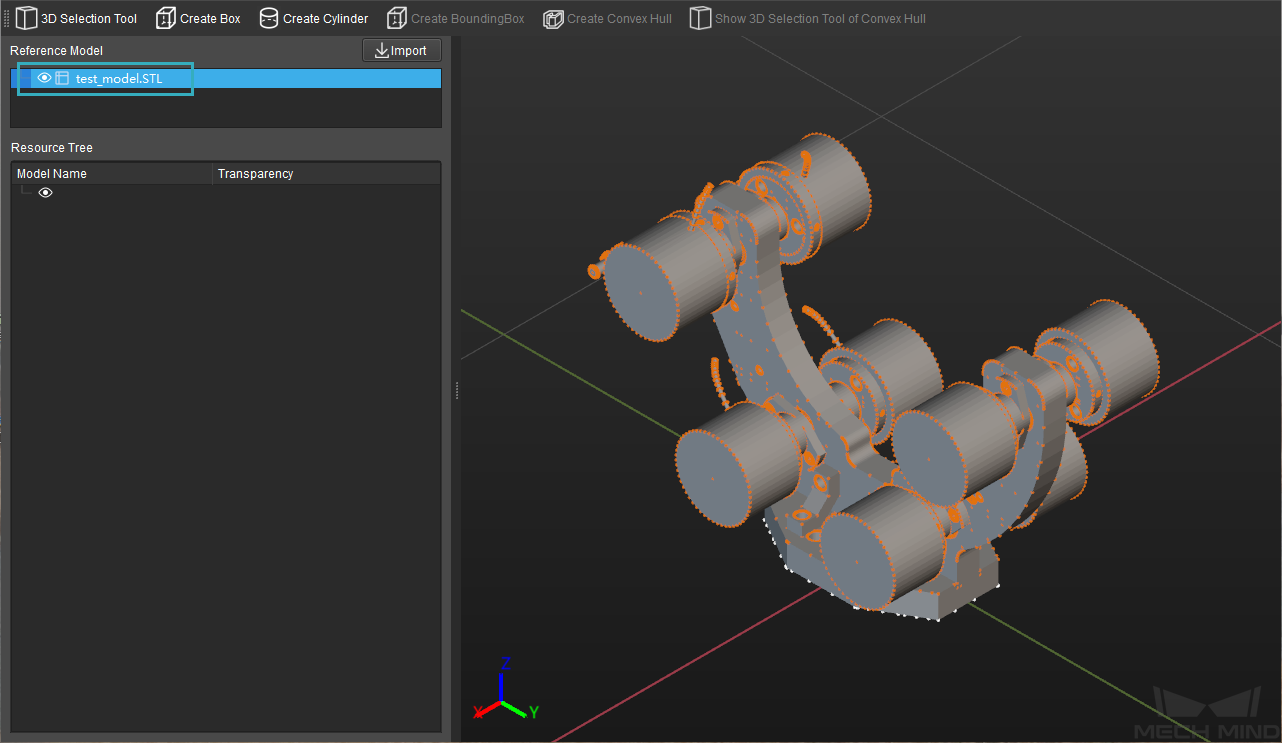
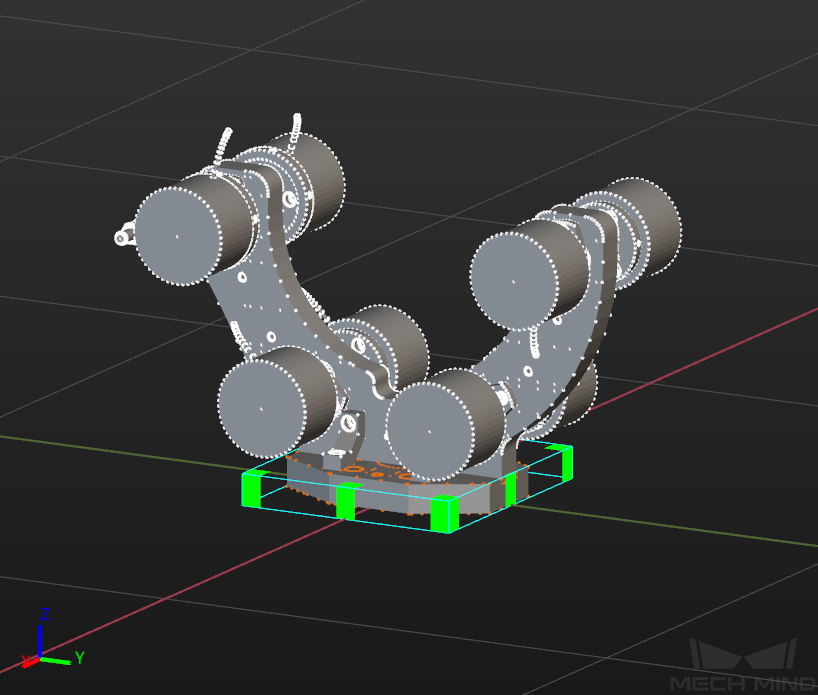
Click on the name of the reference model in the panel, and the vertices of the model will be displayed in the editing workspace, as shown below.
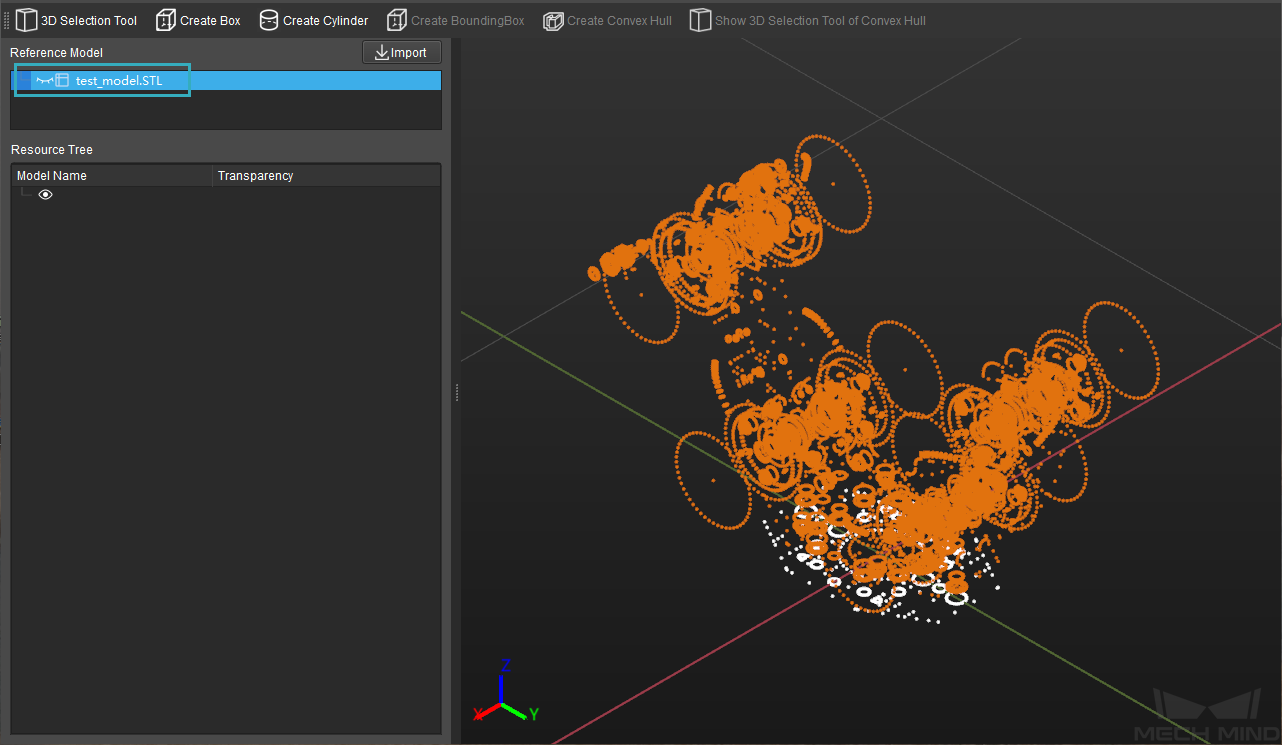
Click on the ![]() icon next to the model name to display or hide the body of the model. The figure below is an example of displaying all the vertices and no facets of the model.
icon next to the model name to display or hide the body of the model. The figure below is an example of displaying all the vertices and no facets of the model.
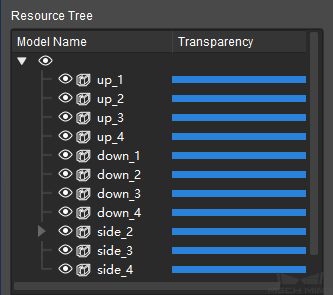
Resource Tree
As shown below, all the created geometric solids and convex hulls will be displayed in this panel, and you can adjust the transparency of them.
Editing Workspace
The editing workspace is shown below. You can edit and view the edited model here.
Scroll up and down with the mouse to zoom in and out in the editing workspace.
Click and hold the left button on the mouse and drag in any direction to rotate the view.
Click and hold the scroll wheel and drag in any direction to pan the view.
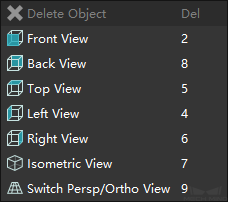
Right click the mouse and you can switch the view by selecting a view in the context menu as shown below.
Hope this section has provided you an overview of model editor. Please read on to find out how to use model editor in a general way.