Pallet Editor
Introduction of the Interface
The main interface of pallet editor can be divided into Overall Editing Area (①) and Layout Editing Area (②).
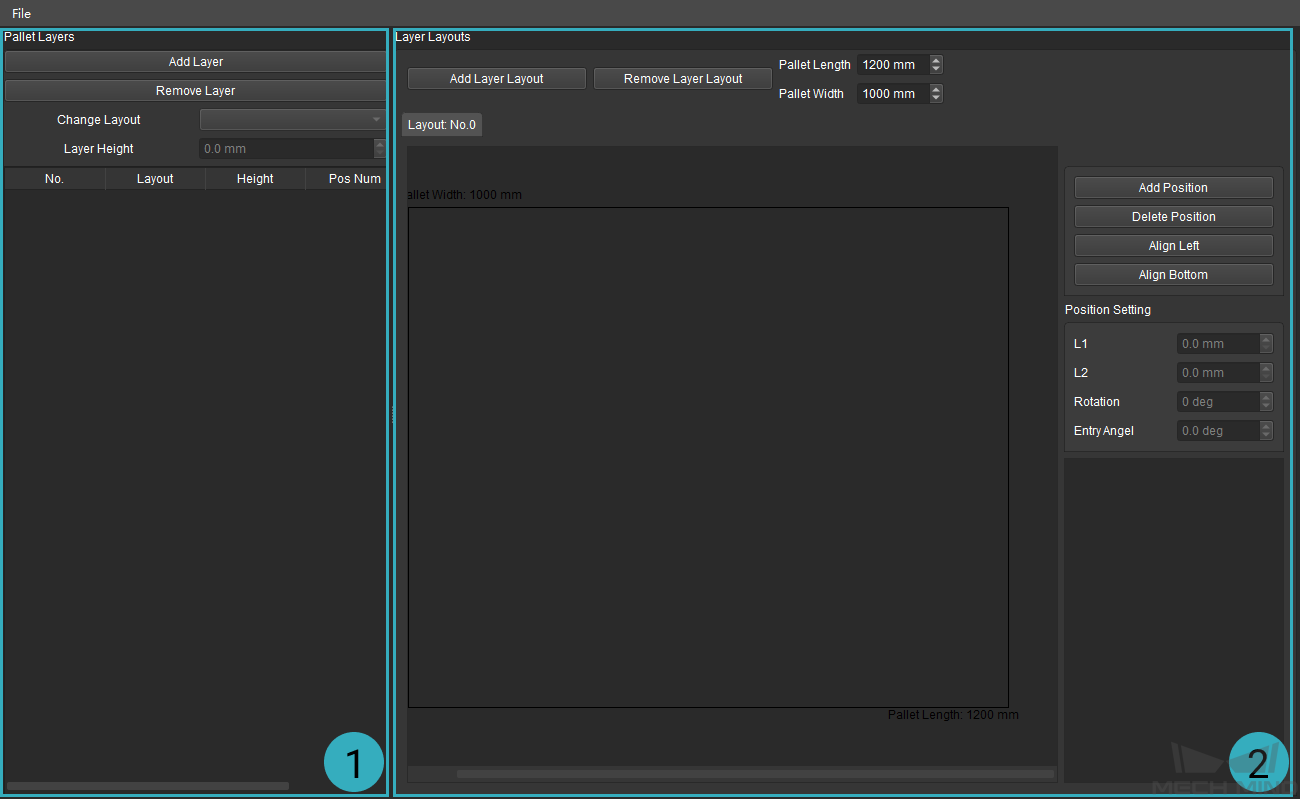
Overall Editing Area: Set the number of layer, layout of each layer, and the height of layer.
Layout Editing Area: Set the number, position, and size of the cartons to edit the layout.
Edit Pallet
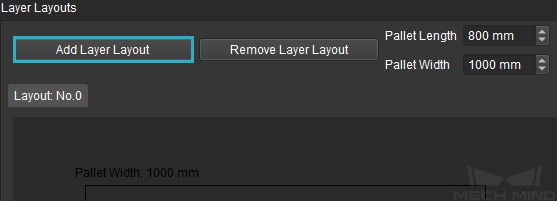
Set the pallet length and pallet width, which are the length and width of the pallet tray.

Click on Add Layer Layout in the Layout Editing Area to add a new layer layout.
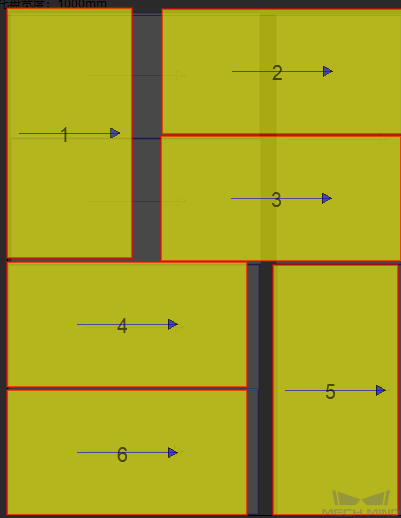
Select a layout and click on Add Position to add cartons. You can drag the carton to adjust the positions. Select the individual carton and set the length, width, rotation, and entry angle in the Position Setting panel. If you want to delete a carton, select it and click on Delete Position.
Click on Add Layer in the Overall Editing Area to add new layers.

Select the layer, select a customized layer layout in the drop-down list of Change Layout, and enter the Layer Height. The method to configure each layer is the same.
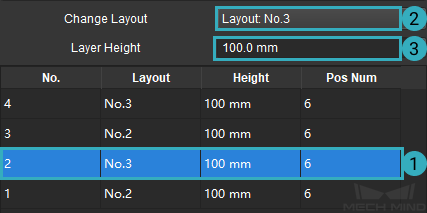
Hint
Pos Num is equal to the number of cartons in each layer and will be updated automatically.
After configuration, go to and specify a directory to save the configuration file in JSON format. Go to , and you can open the existing pallet configuration file in the pallet editor.