Create your own Procedure
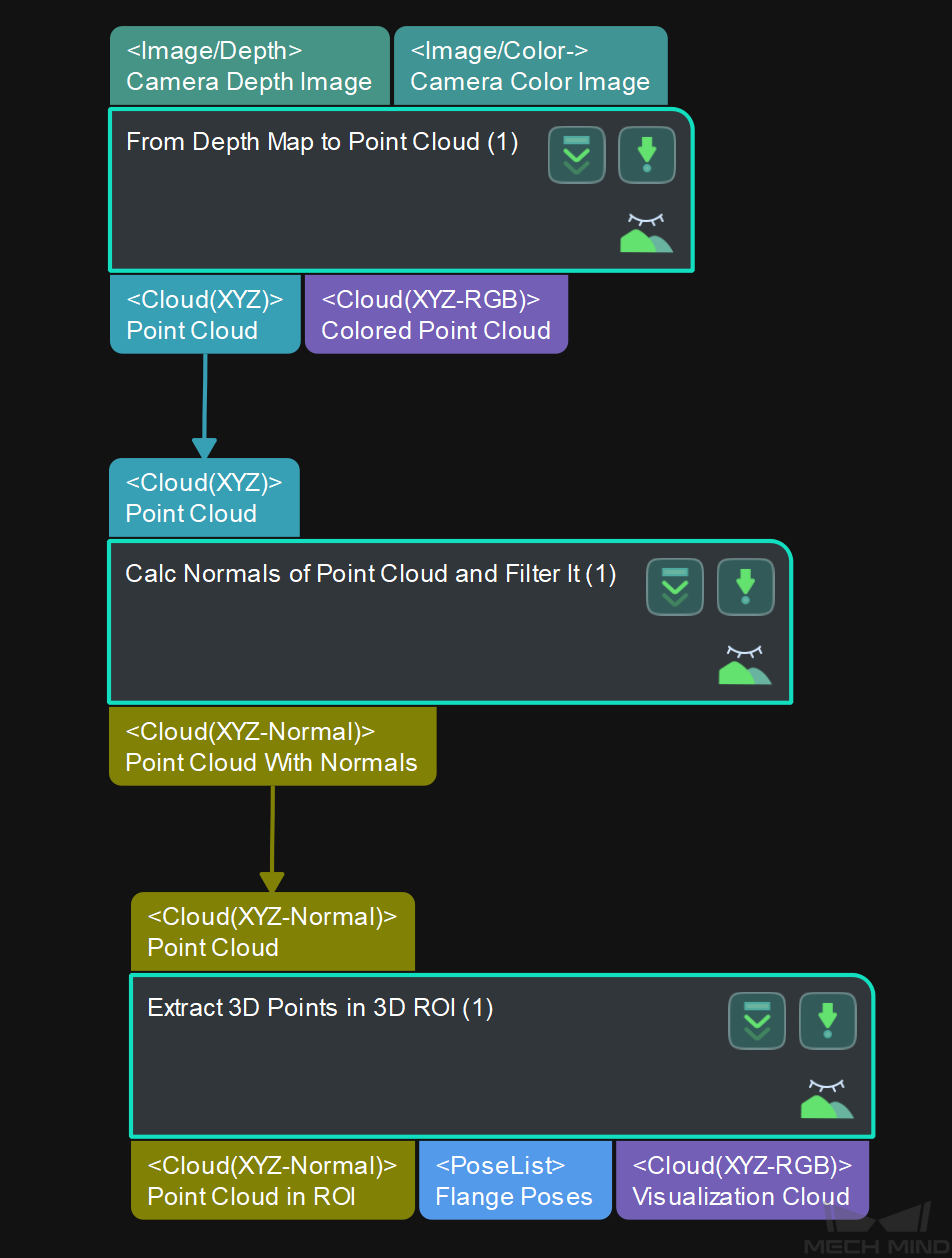
This section will show you how to package Steps to create a customized Procedure Point Cloud Processing. The Steps From Depth Map to Point Cloud, Calc Normals of Point Cloud and Filter It, and Extract 3D Points in 3D ROI are needed to create the Procedure, and the packaging should be completed with Procedure.
This section covers the following topics:
Add Steps
Locate Procedure in the Step library and drag it to the graphical programming workspace, as shown below.
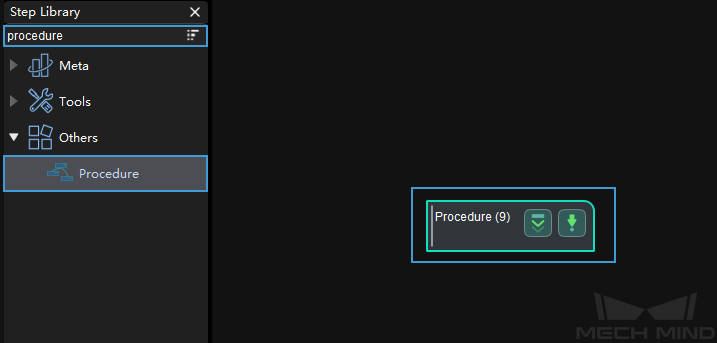
Click on Procedure to enter the Step level, drag the Steps From Depth Map to Point Cloud, Calc Normals of Point Cloud and Filter It, and Extract 3D Points in 3D ROI into the graphical programming workspace and then connect the Steps as shown below.
Set the Input and Output of the Procedure
Input:
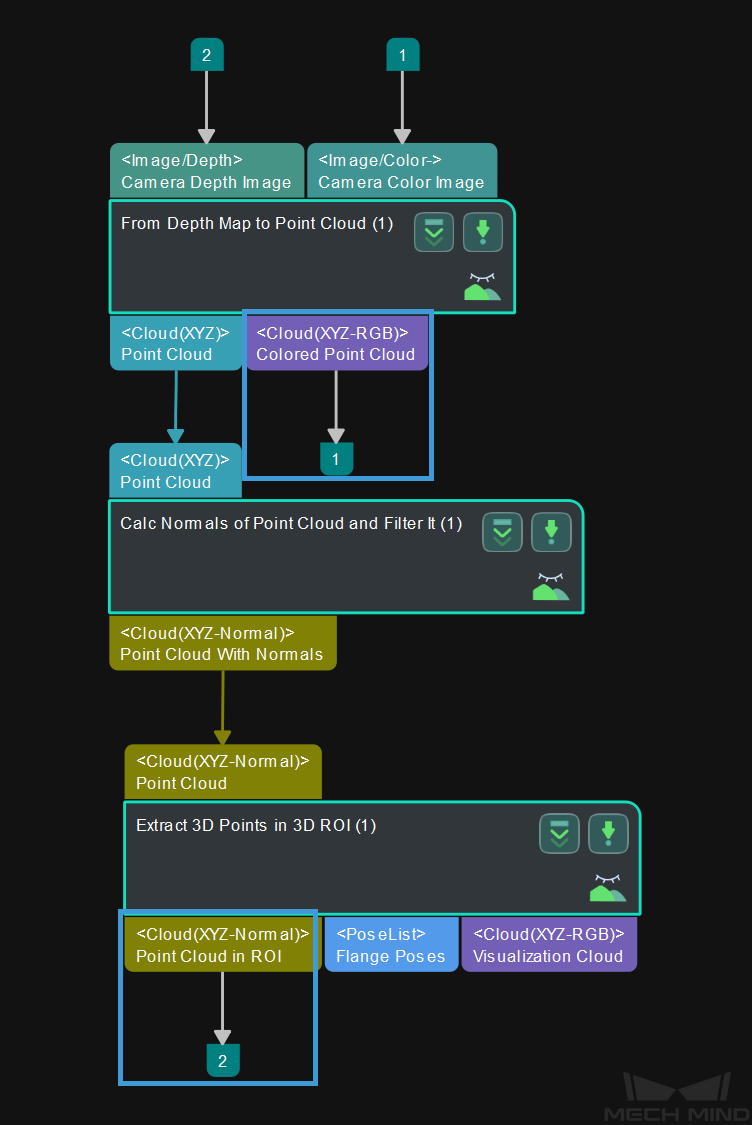
Double click on the input port of From Depth Map to Point Cloud. A short line with the number indicates that the port will be used as the input port of the Procedure. The sequence of clicking the port decides the sequence of the port being displayed on the Procedure.The figure above shows the layout of the input ports of the Procedure when Camera Depth Image is clicked before Camera Color Image, while the figure below shows the layout when Camera Color Image is clicked before Camera Depth Image.
 Click on the number on the port, press the Delete key or right click on the number and select Delete in the context menu to delete the port.
Output:
The method to set the output ports is the same as that of the input ports.
Edit Procedure Parameters
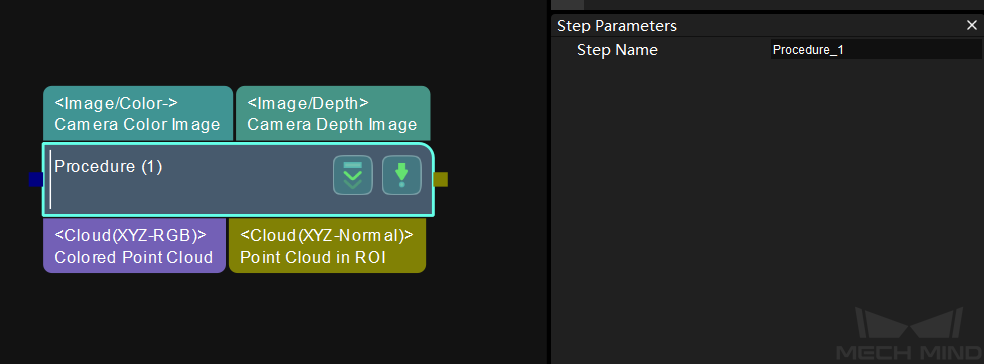
After creating a Procudure, you can only change the name of it, as shown below.
In order to facilitate adjusting the parameters of the Procedure, you can select some key parameters of the Steps as the parameters of the Procedure.
Right click on the Procedure, select Edit Procedure Parameters in the context menu.

In the Edit Procedure Parameters window, click on + to open the Add a New Parameter window.
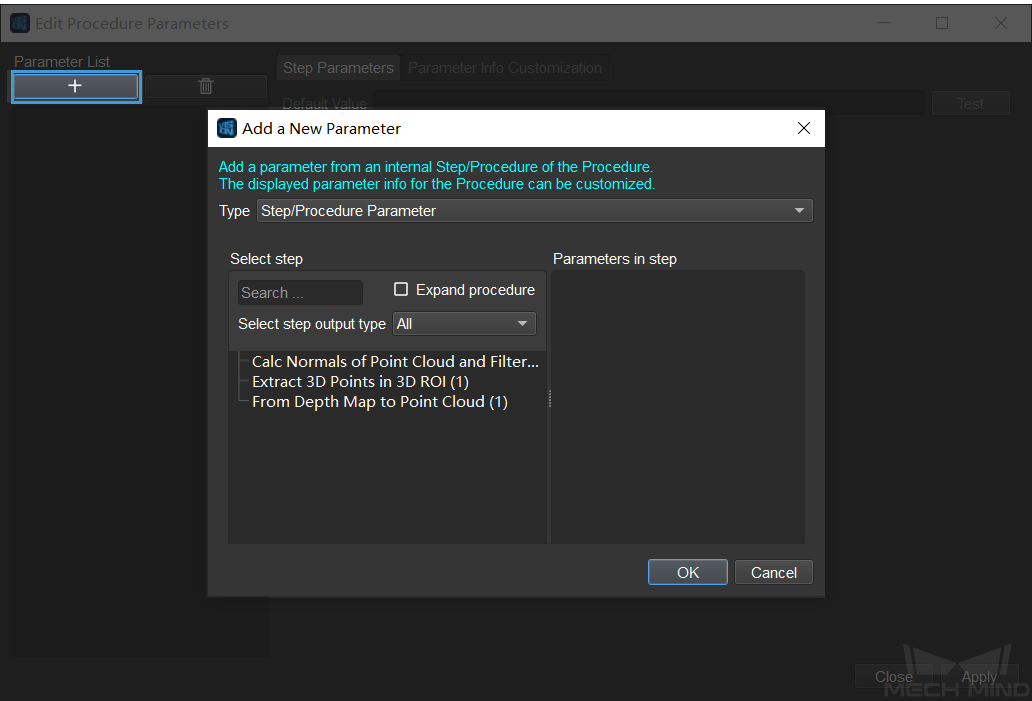
There are 3 types of the Procedure parameter:
Step/Procedure Parameter (the one used here)
Custom Mapped Parameter
Custom Recipe Parameter
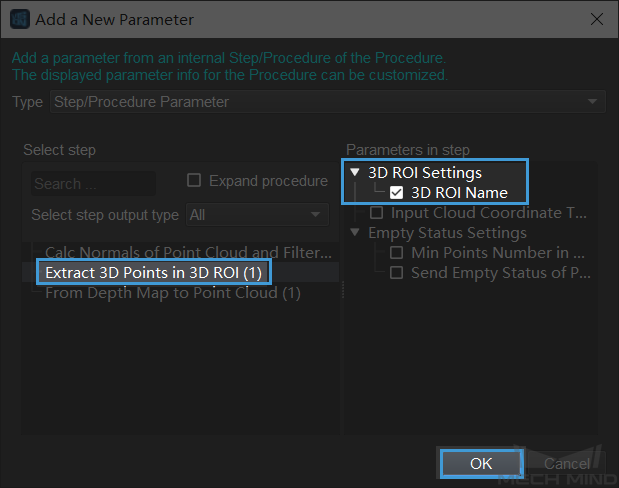
Select a Step and its parameter in the window. As shown below, the Step Extract 3D Points in 3D ROI and its 3D ROI Settings parameter is selected. Click on OK to save settings.
Hint
You can select multiple parameters according to actual needs.
Now you can see the selected parameter in the Parameter List. Click on Apply to apply the changes.
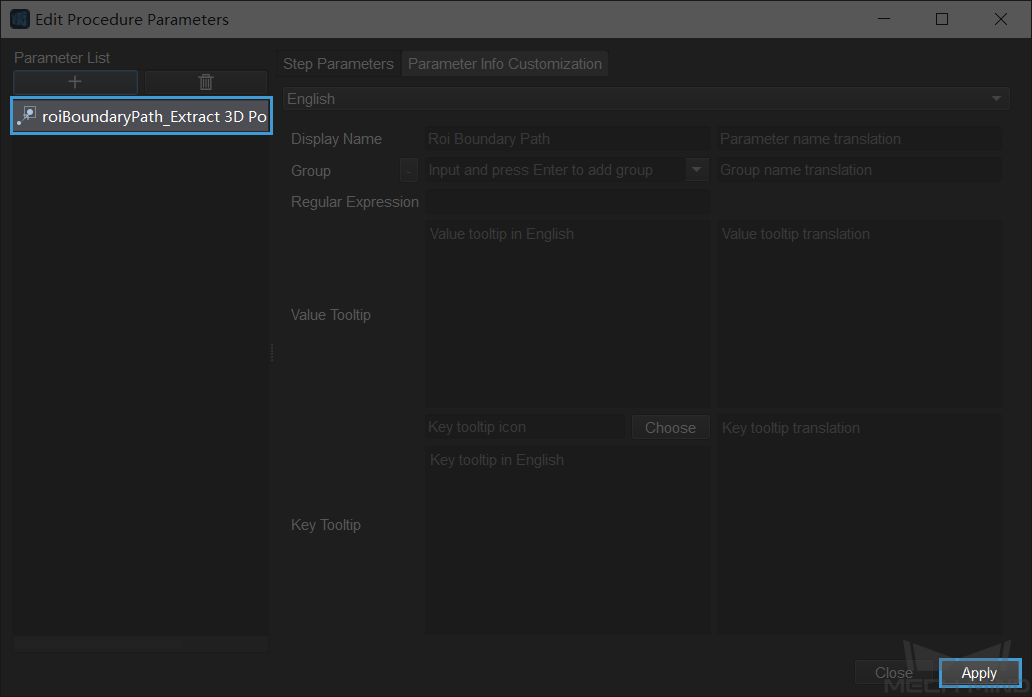
The selected parameter will appear in the Step Parameters window.

Save the Procedure
You can add the customized Procedure to the Custom directory in the Step library.
Right click on the Procedure and select Save Procedure as Template in the context menu.

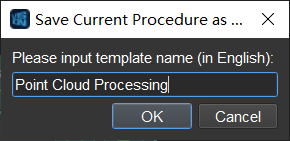
Name the Procedure template.
Attention
The name of the customized Procedure template cannot be the same as other existing Step/Procedure names.
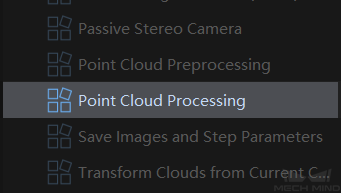
Click on OK to save the name. Then you can see the newly added Procedure in the Custom directory in the Step library.
To delete a customized Procedure, you can select the Procedure and press Delete key, or right click on the Procedure and select Delete in the context menu.

