From Depth Map to Point Cloud
Sample Scenario
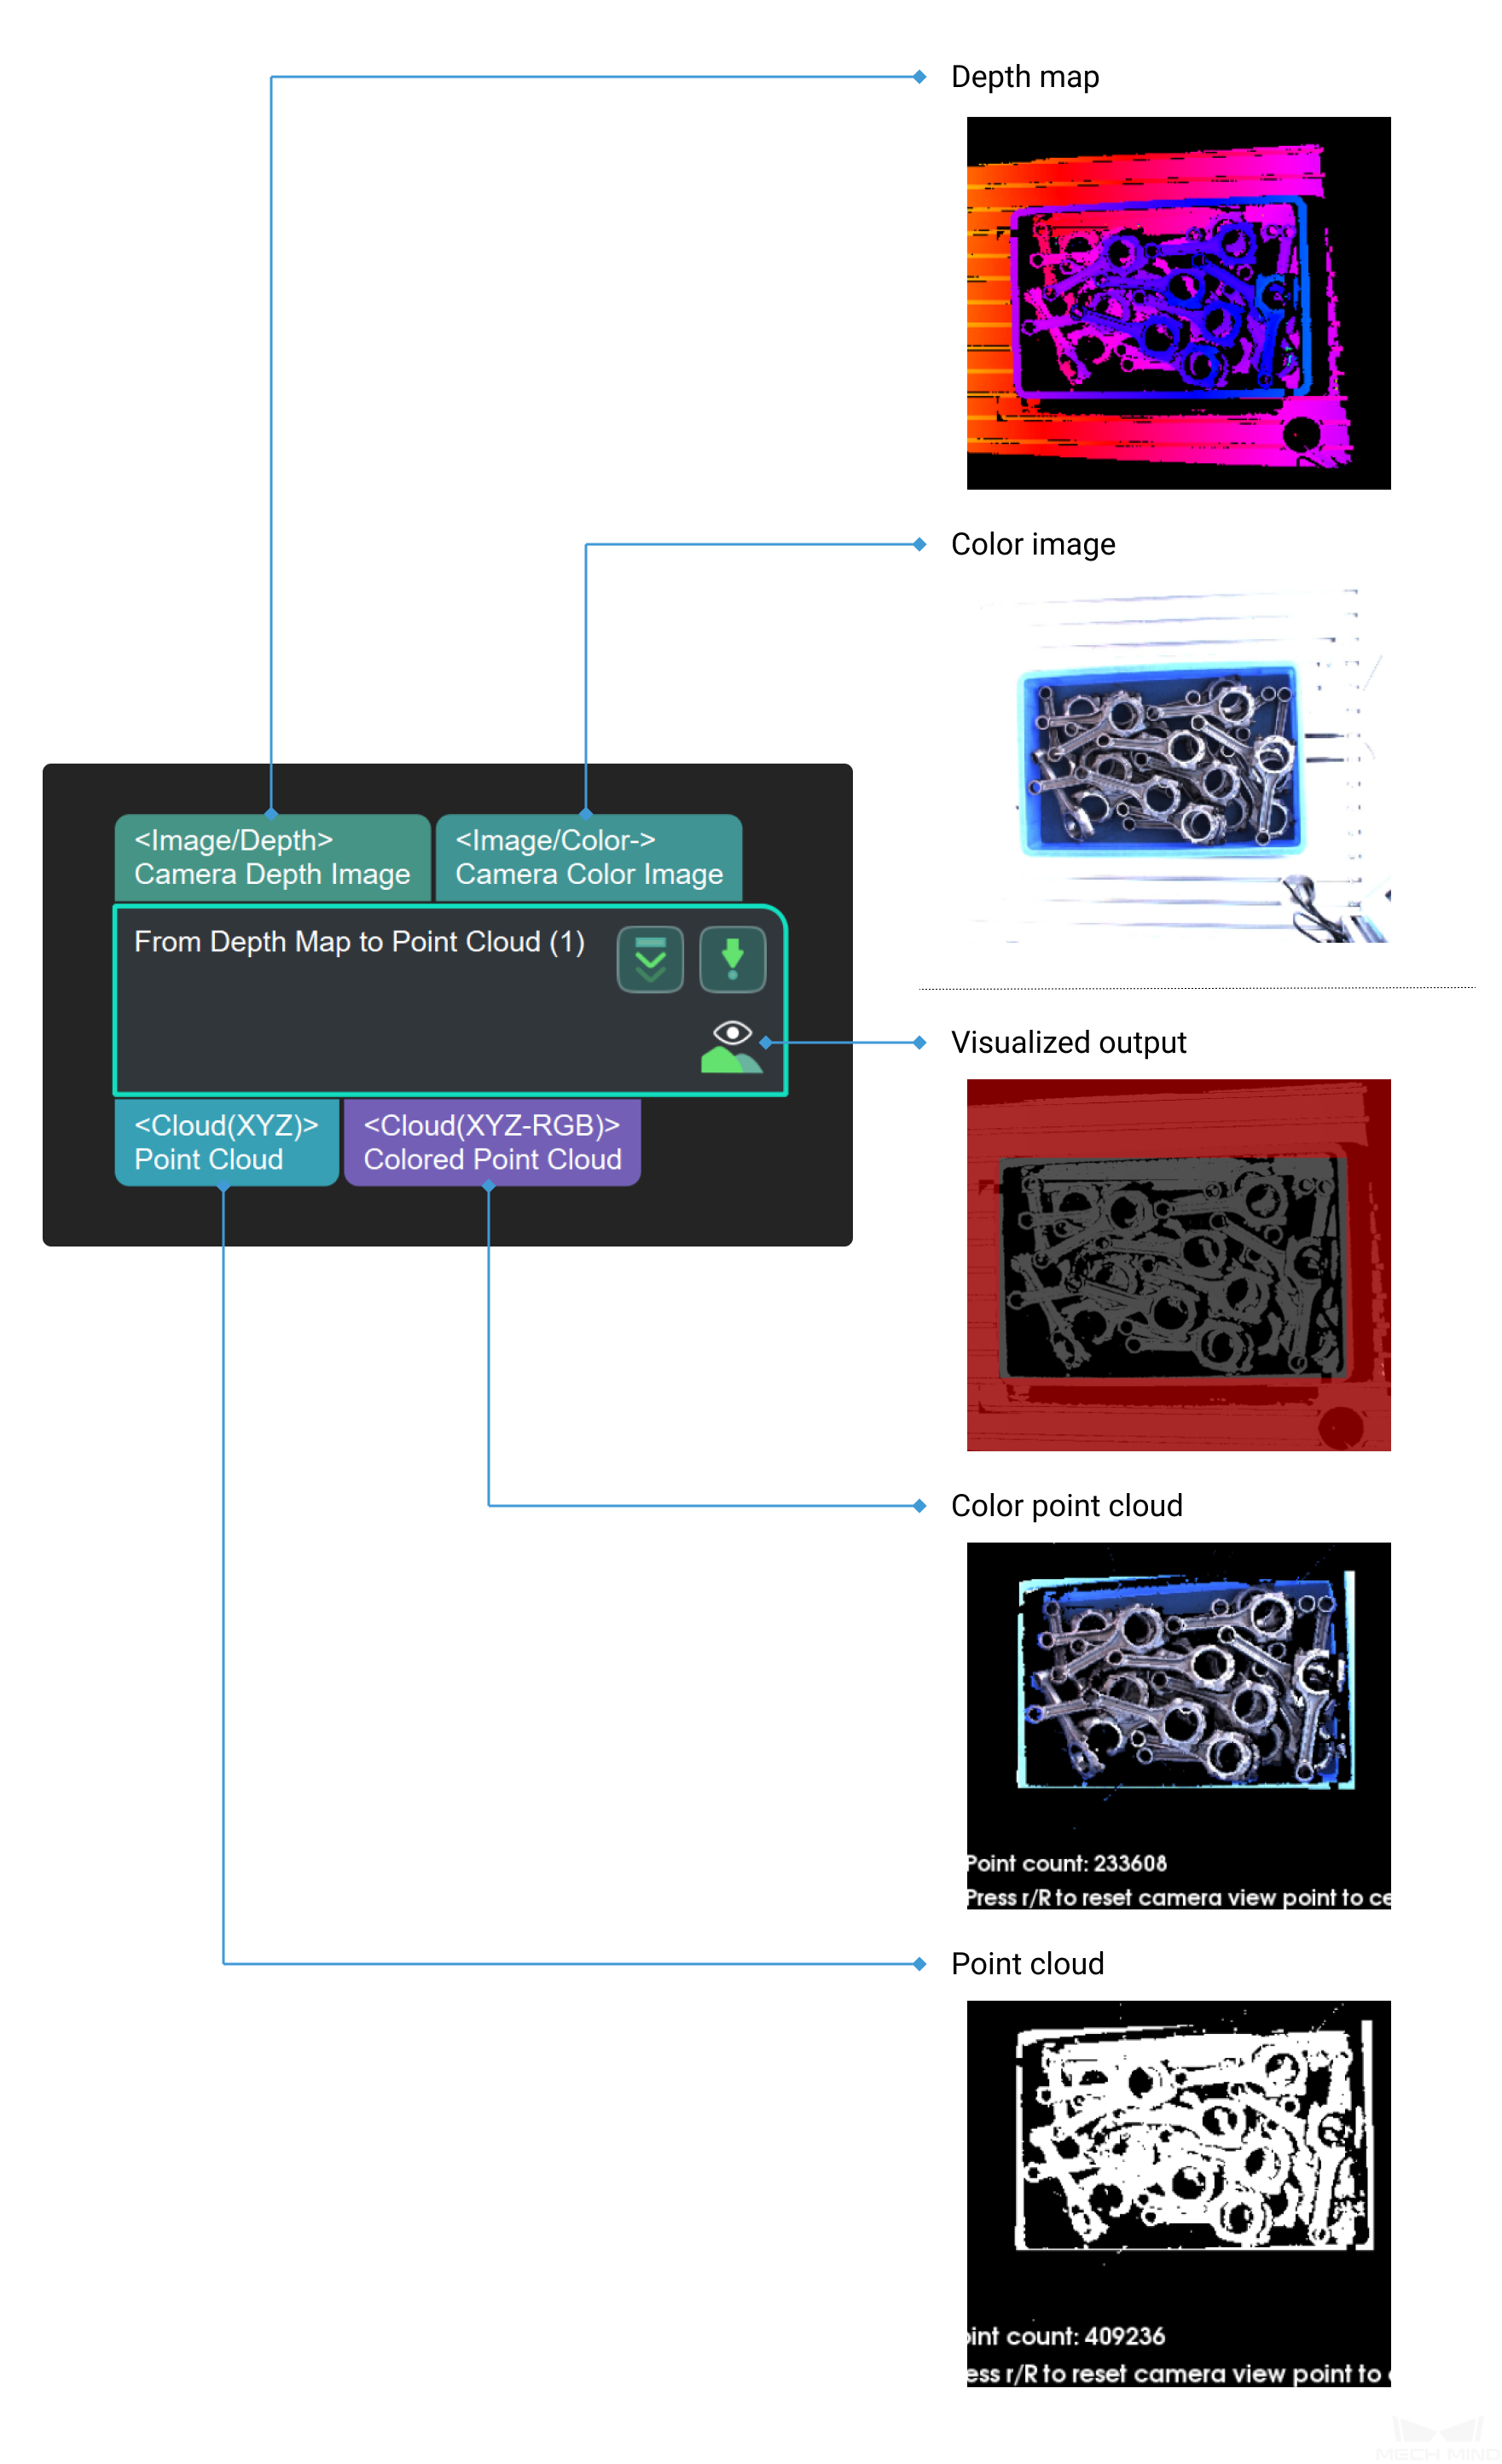
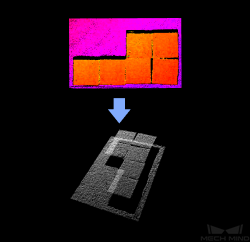
This Step is usually connected after the Step Capture Images from Camera and can generate point clouds from depth maps. You can set an ROI in the depth map in this Step to improve the processing speed.
Input and Output

Parameter Descriptions
Parameter |
Description |
|
Depth Roi File Name |
Select the Set 2D ROI button on the right to select an ROI manually |
|
Background Removal Settings |
Remove Background by Depth Image |
Once this option is selected, the input depth map will be compared with the depth map of the background, and the backgournd with the depth difference within the fluctuation range will be removed. |
Depth Background Filename |
Click the Set 2D Background button on the right to capture an image of the background and then obtain the depth map of it. Please remove all objects before capturing image. |
|
Variation of Background Depth |
The background depth fluctuation threshold. Points with a depth difference from the background lower than this value will be eliminated. |
|
Parameter Tuning
- Depth Roi File Name
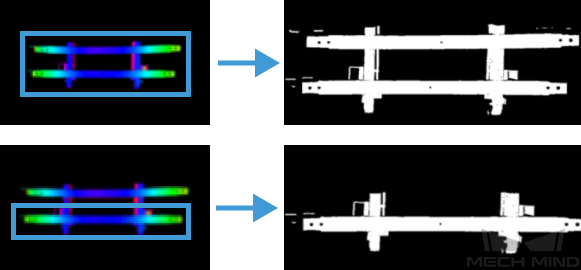
- Description: Select an ROI on the depth map.Example: Select different ROIs.

The image on the left shows ROI in an depth map, and the image on the right shows the output point cloud.
Instructions:Click the Set 2D ROI on the right of the parameter Depth Roi File Name to open the Set ROI window.
Select an ROI in the window.
Click OK to save the setting. A depth_image_roi.json will be saved to the root directory of the project.
Background Removal Settings
- Remove Background by Depth Image
- Default setting: UnselectedDescription: The following parameters will only be displayed only Remove Background by Depth Image is selected.
- Depth Background Filename
- Instructions: Please follow the instructions as follows to set a depth map of the background.
Click Set 2D Background button on the right of the Depth Background Filename to open the Set Background window.
Click … and then select an image of the background that you have already prepared. Once the message Load background successfully message appears in the Log Messages panel, click OK.

Hint
You can also connect to the real camera and capture an image of the background on site.
- Variation of Background Depth
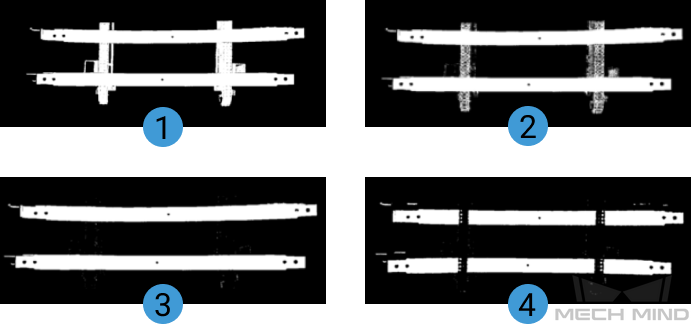
- Default setting: 10.000 mmDescription: The input depth map will be compared with the depth map of the background, and points with a depth difference from the background lower than this value will be eliminated.Example: In the figure below, the background of image 1 has not been removed; backgrounds of images 2, 3, and 4 have been removed and the Variation of Background Depth are set to 1mm, 10mm, and 30mm respectively.
If the value of background depth fluctuation is too small, the background cannot be removed completely. If the value of background depth fluctuation is too large, the point cloud of the object may be removed as well. Therefore, the Variation of Background Depth should be set to a proper value according to actual requirements on site, and 10mm is recommended to use.
Note
Capture Images from Camera can also output point cloud and color point cloud. However, to accelerate project running, please use this Step to obtain point cloud and color point cloud. Also, setting an ROI in this Step will avoid generating unnecessary point cloud parts and therefore improve the processing speed as well.


