Set ROI
By setting a 2D or 3D ROI, the unwanted pixels in the image or points in the point cloud can be filtered in succeeding Step, and thus the processing speed of the entire Mech-Vision project can be increased.
Instructions for Setting 2D ROI
Steps related to 2D ROI include:
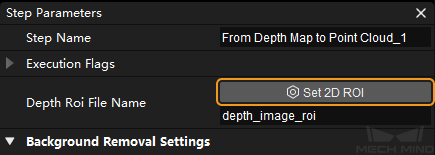
Select the Step in which you want to set a 2D ROI, click Set 2D ROI button in the Step Parameters panel, and then a Set ROI window will pop up.
Hold down the left mouse button and drag to select an ROI on the displayed color image or depth map, and then click the left mouse button again to confirm, as shown below. The select frame will be displayed in red if the ROI is set successfully. If you need to re-select the ROI, please click the left mouse button and drag again.
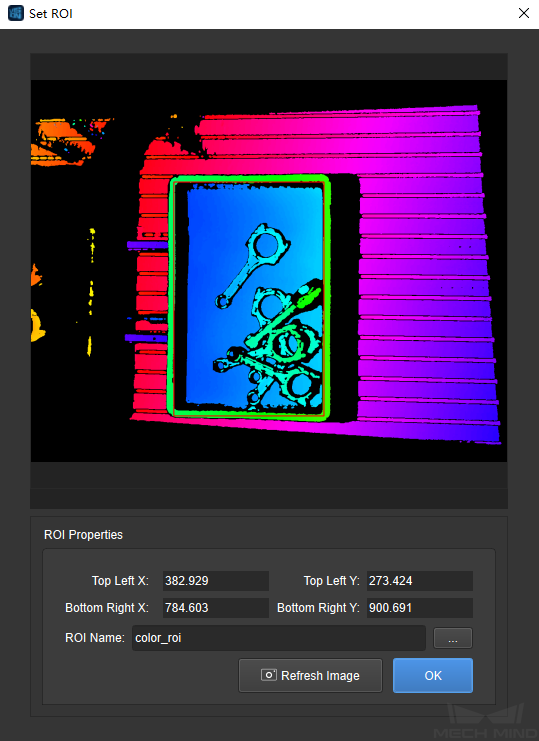
The coordinates of the selected ROI will be displayed in the ROI Properties section. Click OK to save and exit.
Attention
The size of the set ROI should not exceed the size of the image, or else a “Failed to save ROI” error message will pop up after clicking OK in the Set ROI window and the ROI cannot be set successfully.
The set ROI should cover the bin where workpieces are placed. It is because that the bin in use may be worn or shaking during picking, and an ROI that is slightly larger than the bin will reduce the picking deviation.
Instructions for Setting 3D ROI
Steps related to 3D ROI include:
Attention
Before setting a 3D ROI, please go to Project Assistant and select a scene point cloud for reference, or else an alert window will pop up and the setting cannot continue. For detailed settings, please refer to Scene Point Cloud.
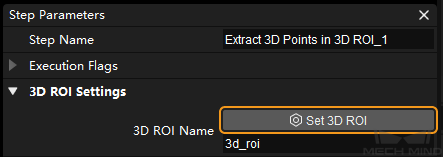
Select the Step in which you want to set a 3D ROI, click Set 3D ROI button in the Step Parameters panel, and then a Set ROI window will pop up.
The Set ROI window consists of 4 parts: Point Cloud Display, 3D ROI Parameters, Display, and Tips, as shown below.
Point Cloud Display Area
Includes the robot base coordinate system, camera coordinate system, 3D ROI, and target cloud.
3D ROI Parameters
Includes the name, size, center, and orientation of the 3D ROI.
Display
Adjusts the display status of ground and robot base coordinate system. Click on
 in Display section to display or hide the ground and robot base coordinate system. You can also configure the height between the origin of the robot base coordinate system and the ground.
Tips
Provides tips for 3D ROI setting.
You can adjust the default generated 3D ROI by holding down the Ctrl key on the keyboard and drag it with the left mouse button. You can also configure the size, center, and orientation to adjust the 3D ROI in the 3D ROI Parameters section.
Tip
Scroll up and down with the mouse to zoom in and out in the point cloud display area.
Click and hold the left button on the mouse and drag in any direction to rotate the view.
Click and hold the scroll wheel and drag in any direction to pan the view.
In addition to editing the default 3D ROI directly, a new 3D ROI can be created by clicking + next to the ROI Name, and an Add ROI pop-up window will appear, as shown below. Enter the name of the new 3D ROI, and click OK to finish. To switch between different 3D ROIs, please click on
 next to the ROI Name and select the 3D ROI you want to edit in the drop-down list.
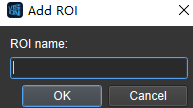
Attention
If different 3D ROIs are created, please make sure that the one used in the Step corresponds to the appropriate 3D ROI.
The set ROI should cover the bin where workpieces are placed. It is because that the bin in use may be worn or shaking during picking, and an ROI that is slightly larger than the bin will reduce the picking deviation.