Data Storage
This function is used to save on-site data for efficient troubleshooting and regression testing.
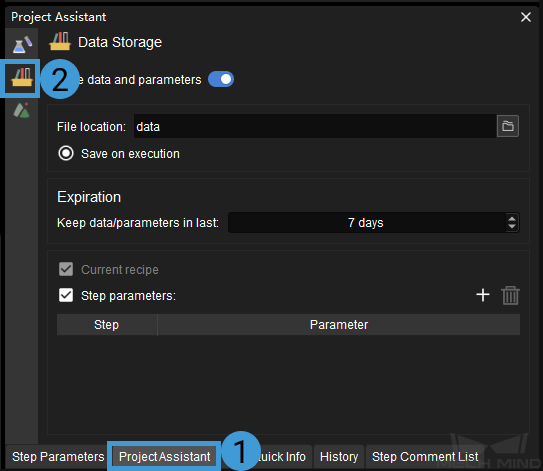
Click on Project Assistant tab in the lower right corner of the interface, and then click on ![]() to open the data storage panel, as shown below.
to open the data storage panel, as shown below.
Hint
If you cannot find the Project Assistant tab in the interface, please go to View in the menu bar and check whether the box before Project Assistant has been checked.
Instructions
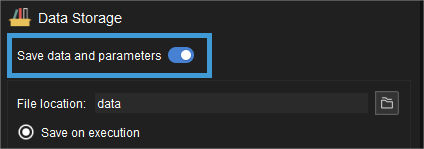
Open the Save images and parameters switch, and the data will be automatically stored in the data directory in the project file by default.
Hint
After opening the Save images and parameters switch, the software will check if the Procedure Save Images and Step Parameters exists in the project, and it is recommended to delete the Procedure and use the Data Storage feature instead.
For example, the figure below shows the directory structure and the names of saved files in the data folder. In this example project, depth map and color image data has been obtained from Capture Images from Camera. The names of image files are added with timestamps, which indicate the date and time of the day when the images are captured.

You can also click on
 to specify another directory to store the data.
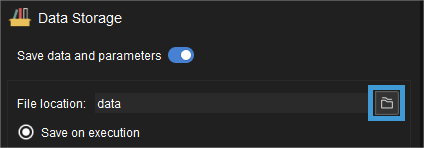
Hint
When errors of the E level occur in the project, the abnormal data will be stored in the error_data folder in the data folder.
Click on the small arrows in the Expiration panel to adjust the maximum days to save the data. The data will be overwritten after this period.

Others
Current recipe: select to save the parameter recipes used in the project.
Step parameters: select to save the parameters of certain Steps so that the Step can be guaranteed to run successfully in data playback mode.
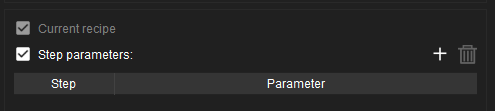
Click on
 , select the Step and relevant parameters you want to save in the pop-up Select Step Parameters window, and then click on OK.
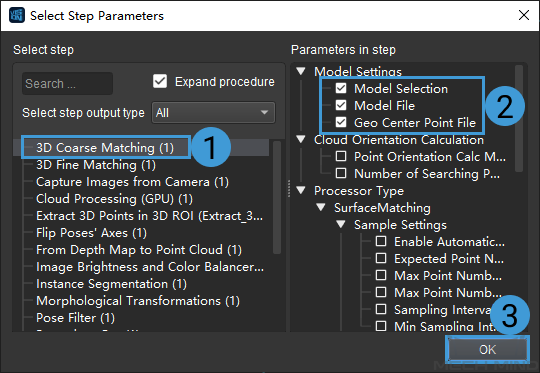
To delete a selected parameter of a Step, select the parameter and then click on
 .
.
For data playback in virtual mode, if you want to use the saved parameters instead of current parameters, please select Reuse parameters for virtual camera at the bottom of the panel.
Hint
The Data Storage tool enables to save data when multiple cameras are used. If there are multiple Capture Images from Camera Steps in the project, the data derived from all the cameras will be automatically saved.