UR Setup Instructions
This section introduces the process of setting up master control of an UR robot.
The UR robots can be controlled at script level. At the script level, the URScript is the programming language that controls the robot. Therefore, the IPC controls an UR robot by sending scripts to it.
Attention
Once received a script, the robot will execute it. If the script has not finished executing, and the robot received another script which contains motion commands, the robot will stop immediately and execute the current script. If a script function defined by “sec” (not “def”) is sent via the port 30002, and the function does not contain motion commands, the robot will not stop immediately.
For e-Series robots such as UR5e, Mech-Viz can only guide the robot to move when they are set to remote control, or else Mech-Viz can only synchronize the robot instead of moving it.
Set up the Network Connection
Hardware Connection
Start the robot and plug the Ethernet cable into the port of the robot controller, as shown below.
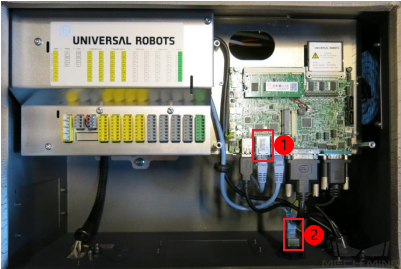
1 is the network port inside the controller, and 2 is the default network port.
Tip
In order to make the network connection faster and more stable, it is recommended to use port 1.
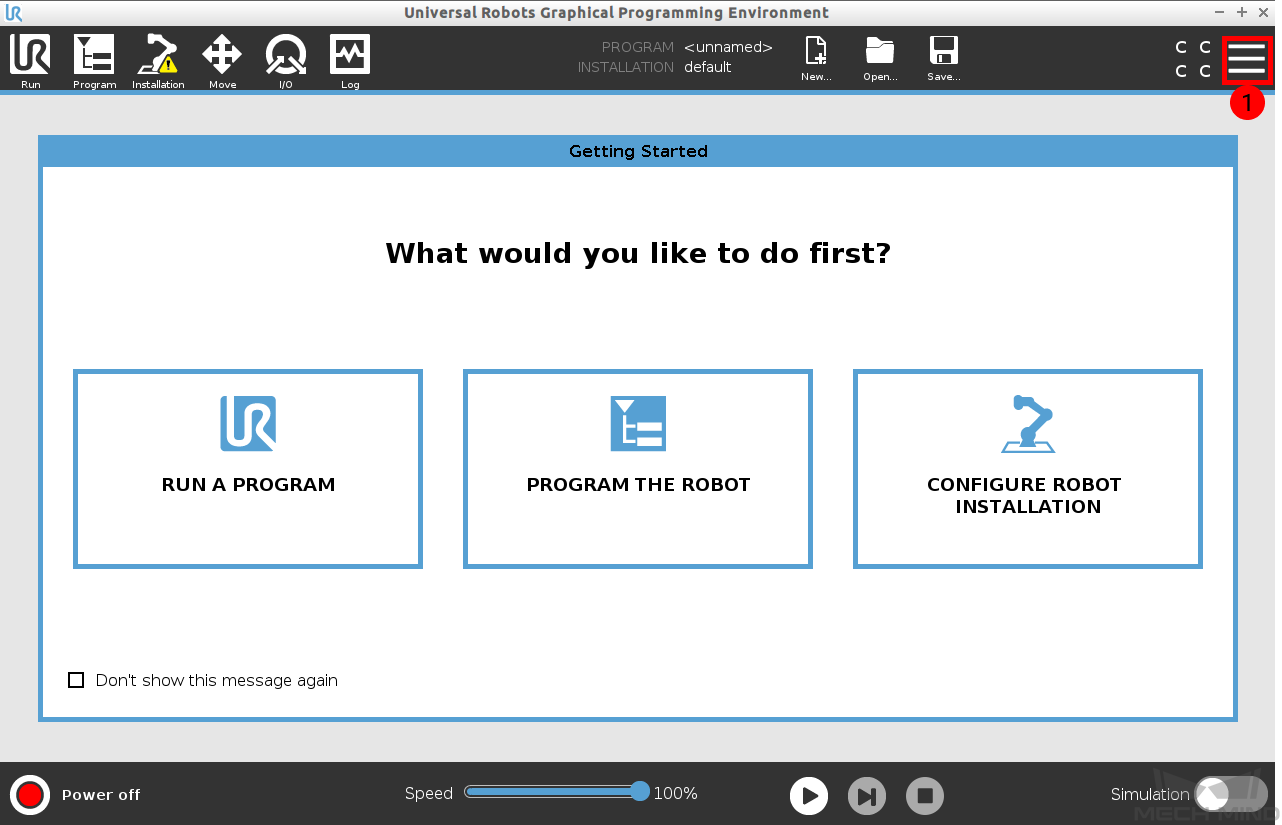
Check IP and Controller Compatibility
Press on the icon in the upper-right corner of the teach pendant.
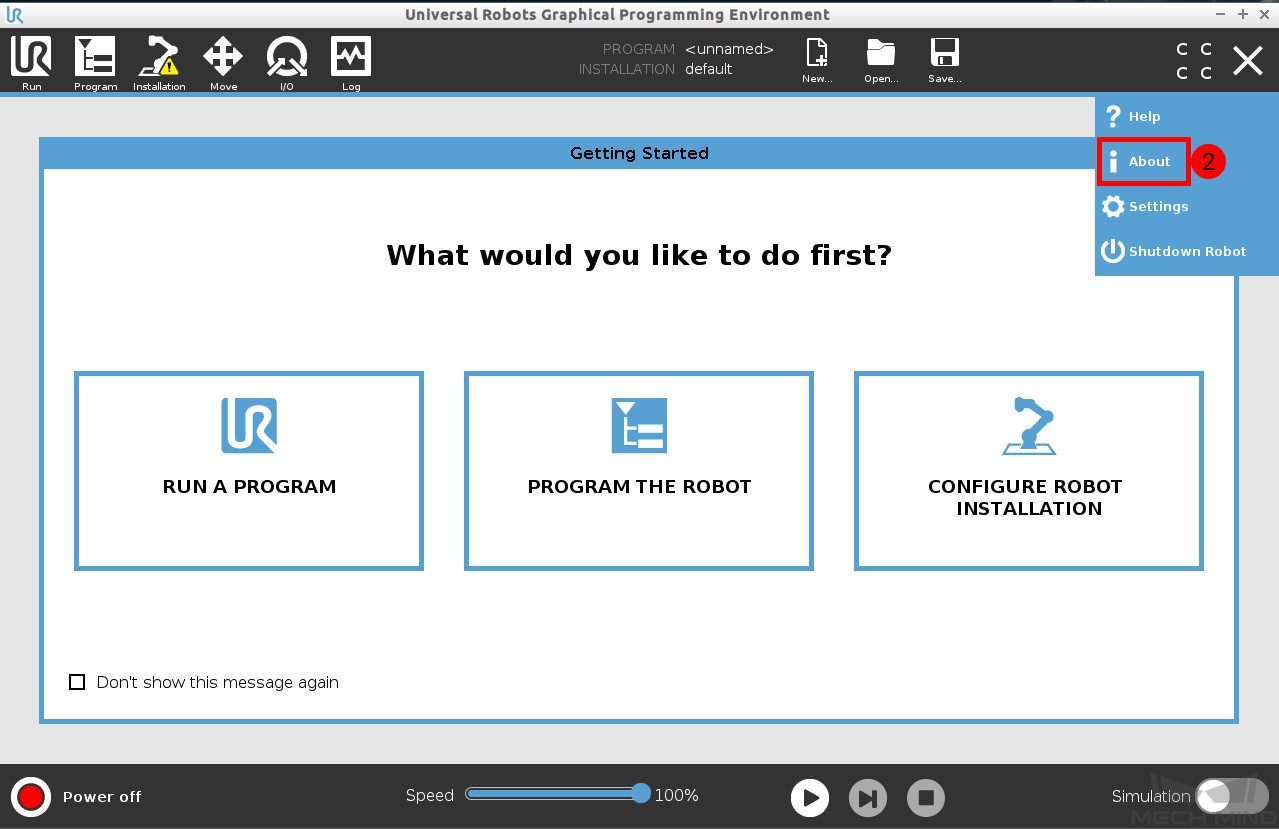
Select About.
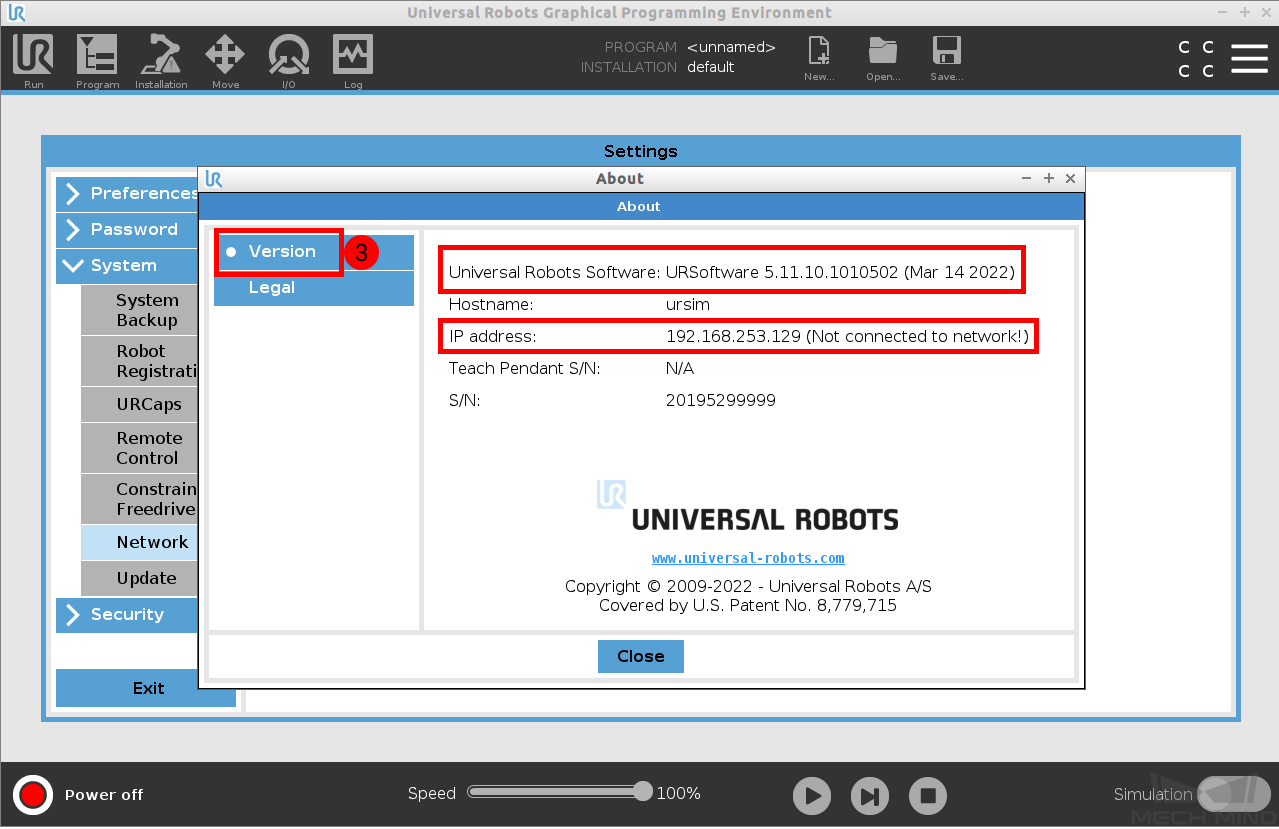
Press on Version.
IP Configuration
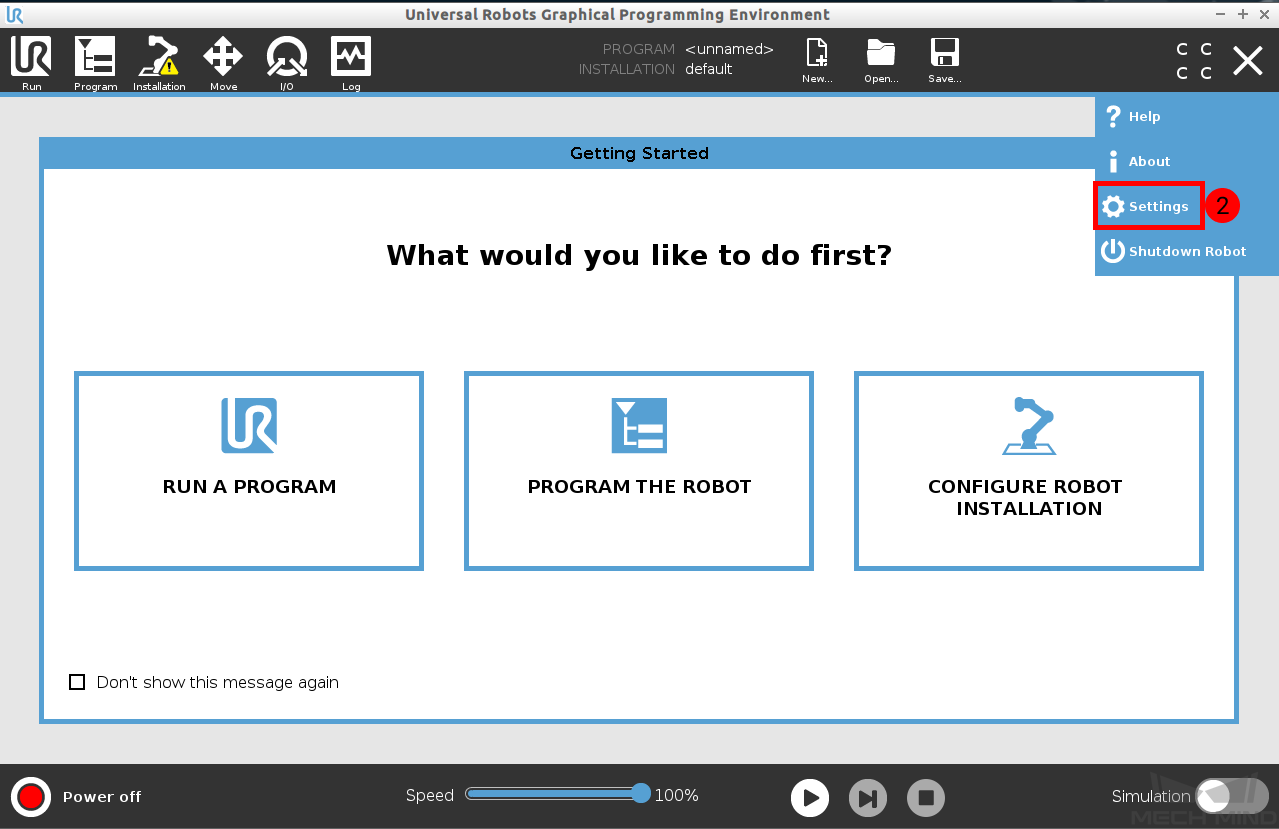
Press on the icon in the upper-right corner of the teach pendant.
Select Settings.
Select .
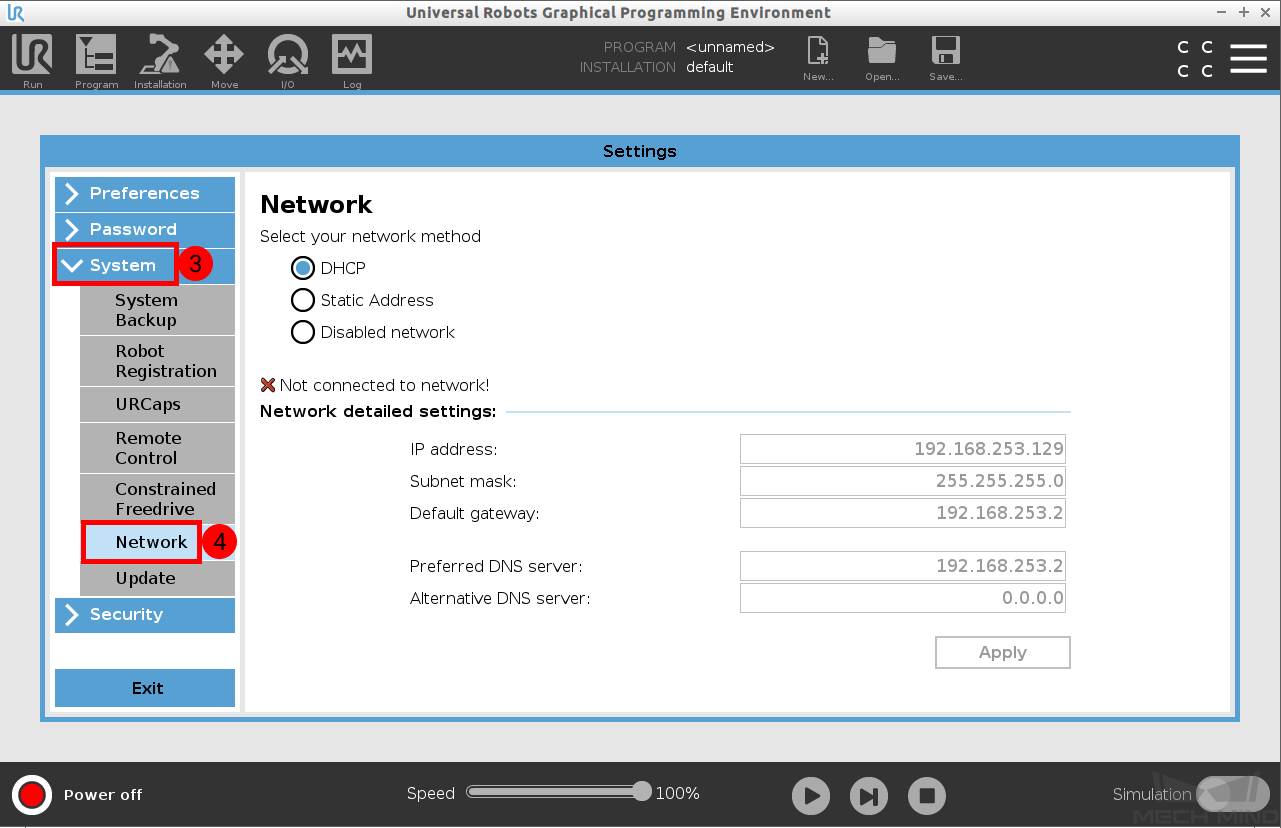
Enter the correct IP address, which should be in the same subnet as the IPC. After configuration, press on Apply.
Start Remote Control
Press on the icon in the upper-right corner of the teach pendant.
Select Settings.
Select .
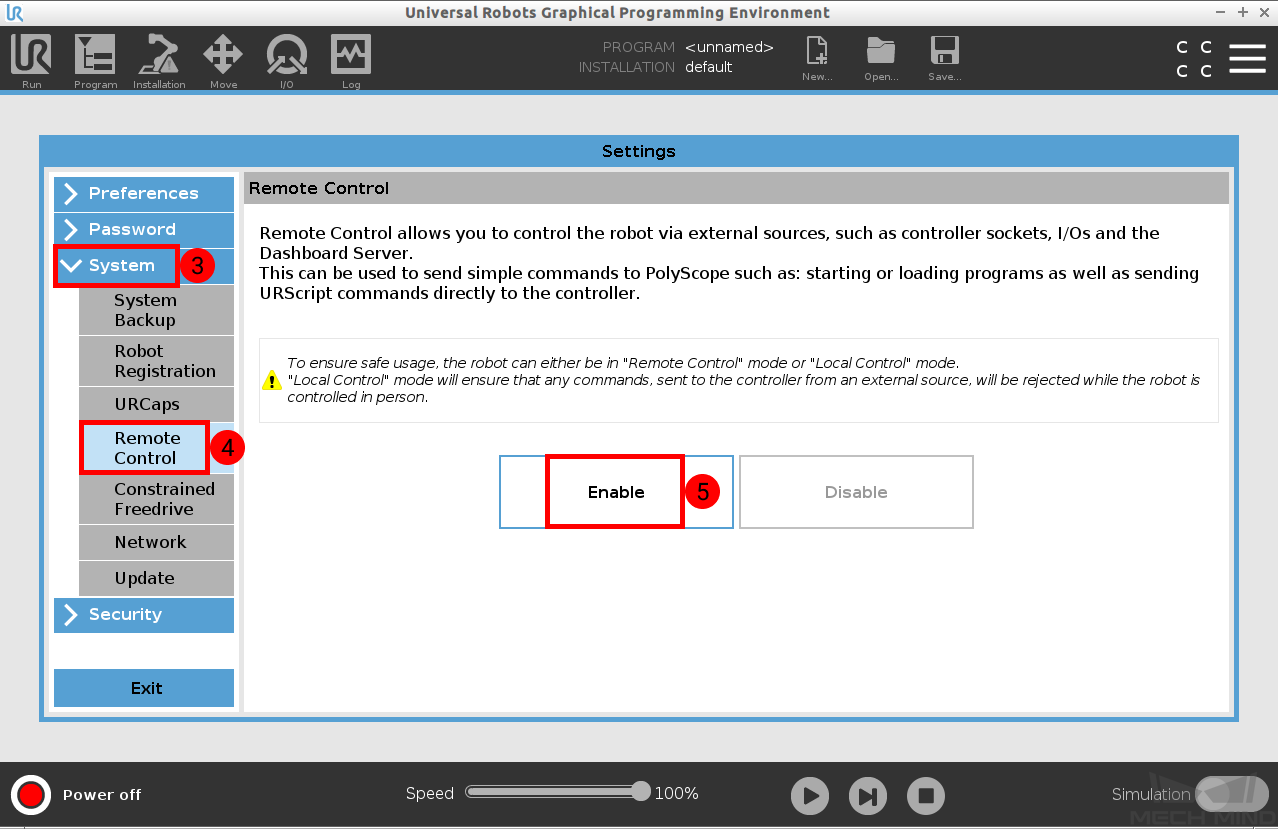
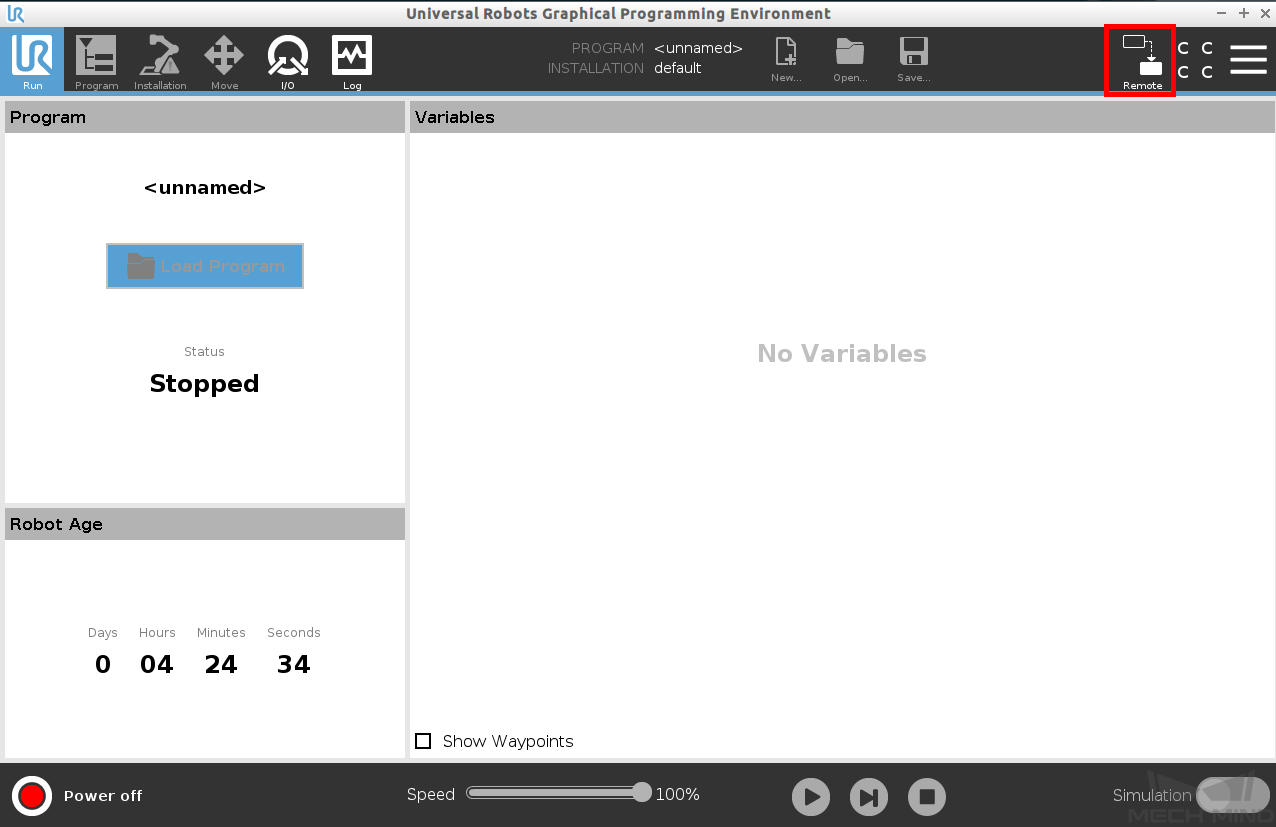
Press on the Local icon on the screen, and select Remote Control.
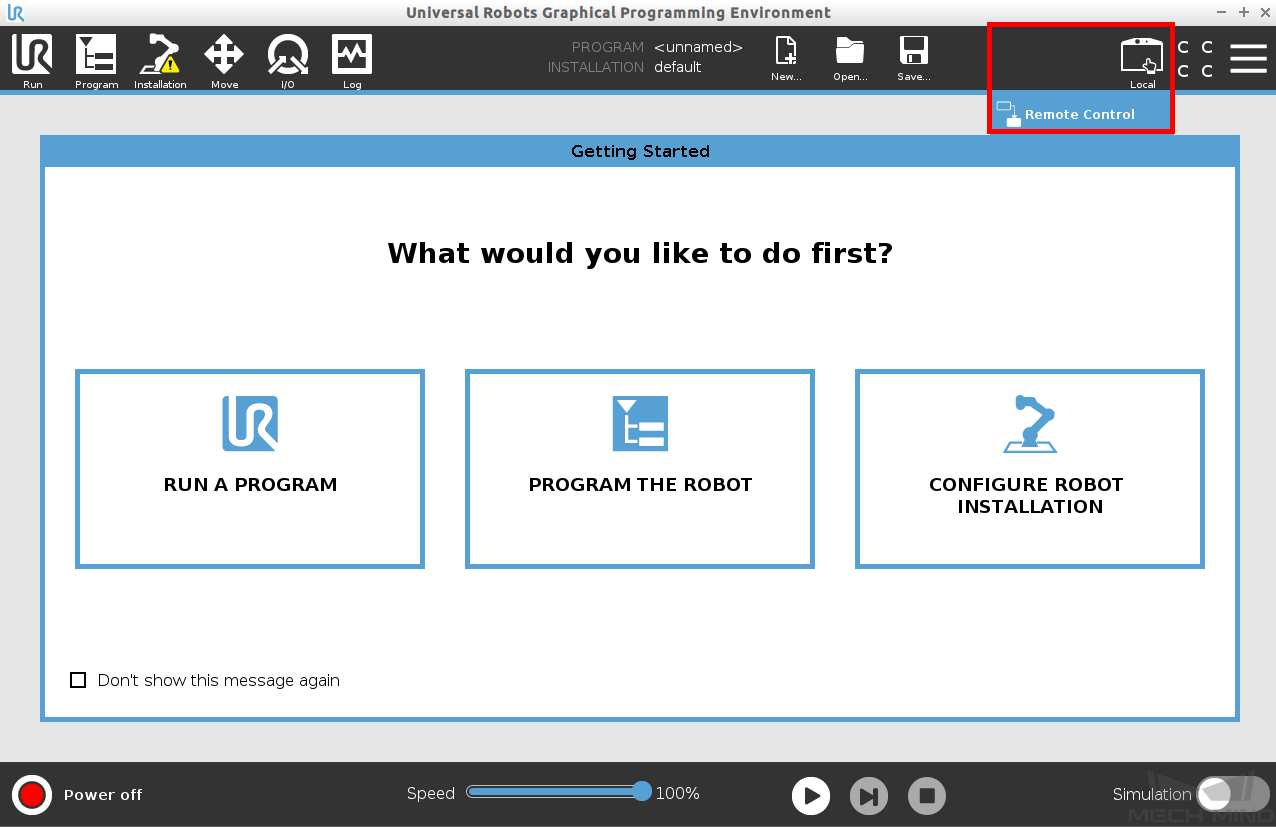
If the remote control is enabled successfully, the Local icon will turn to the Remote icon as shown below.
Test Robot Connection
Configure Robot in Mech-Viz
Open Mech-Viz, click New project to create a new project.
Select the robot model in use in the next page.
Save the project by pressing Ctrl + S.
In the toolbar, change the Vel. (velocity) and Acc. (acceleration) parameters to 5%.
Right-click the project name in Resources and select Autoload Project.
Configure Settings in Mech-Center
Open Mech-Center and click on Deployment Settings.
Go to Robot Server, and make sure Use robot server is checked.
Check if the robot model displayed next to Robot type in Mech-Viz project matches the one in use.
Set the Robot IP address, and click Save.
Connect to Robot in Mech-Center
Click Connect Robot on the toolbar.
The robot is successfully connected if:
A message saying Robot: server connected to the robot shows up in the Log panel, and
A robot icon with the robot model shows up in the Service Status panel.
Move the Robot
In Mech-Viz, click Sync Robot on the toolbar to synchronize the pose of the real robot to the simulated robot. Then, click Sync Robot again to disable the synchronization.
Click the Robot tab in the lower right, and change the joint position of J1 slightly (for example, from 0° to 3°). The simulated robot will move accordingly.
Click Move real robot, the real robot should move accordingly.
Attention
When moving the robot, please pay attention to safety hazards. In the case of an emergency, press the emergency stop button on the teach pendant!