Cartons (Single Case, Input Dimensions)
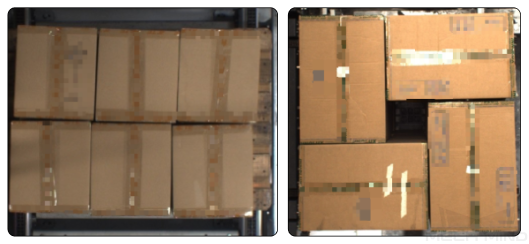
Single-case depalletizing means depalletizing where a single stack has cartons of the same dimensions.
In carton depalletizing scenarios, instance segmentation is usually utilized to identify each carton in the image and recognize poses of the cartons. Mech-Mind Robotics provides a super model specifically used for carton depalletizing. It can be directly applied in Mech-Vision to correctly segment most of the cartons without deep learning training.
Preparation
Before deploying the project, please confirm the carton dimensions.
Instructions for Creating a New Typical Application Project
1. Create Project
Click on in the menu bar or New Typical Application Project in the toolbar to open the following window.
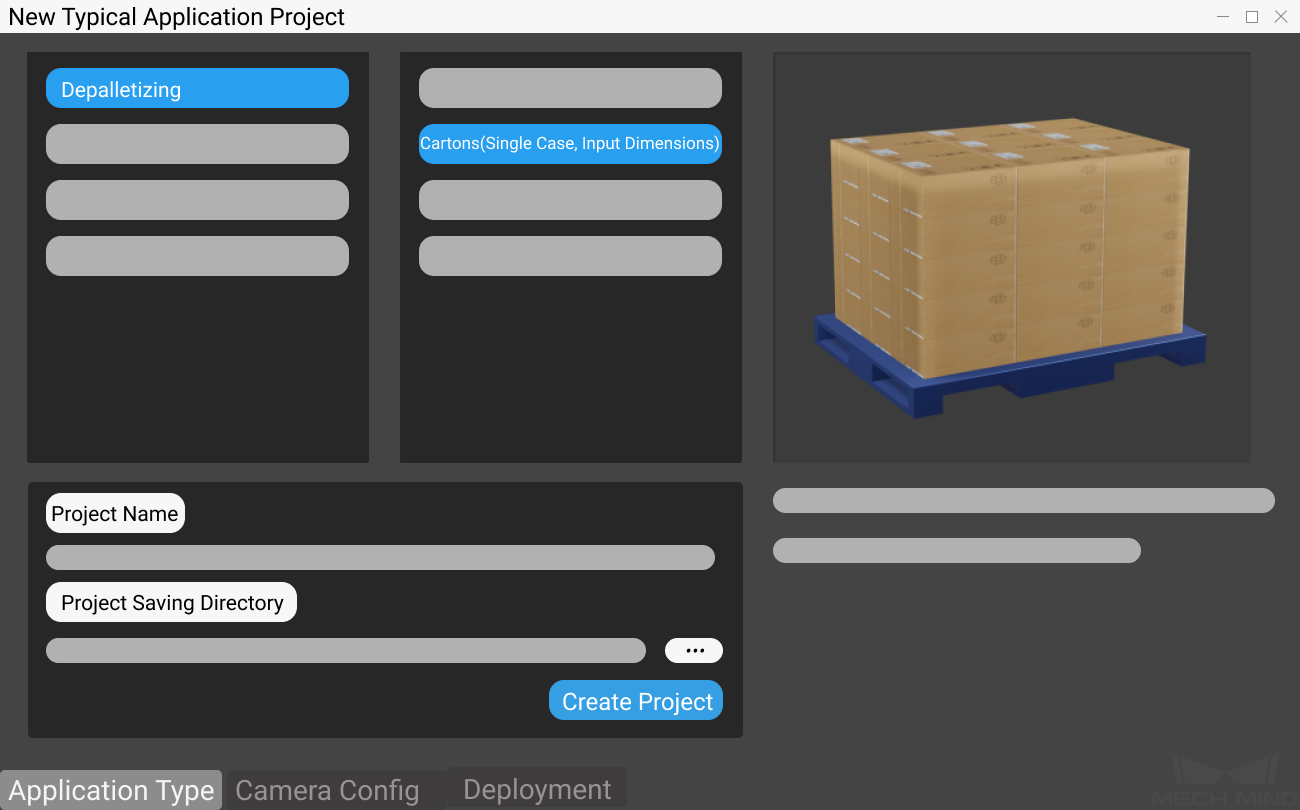
Select Cartons (Single Case, Input Dimensions).
Name the project.
Click on
 to select a folder to save the project (it is recommended to create an empty folder), then click Create Project .
2. Camera Configuration and Calibration
Please refer to Camera Configuration to complete the related operations of camera configuration.
Object Recognition
Click on Generate Pose to recognize the objects and get the object poses. Click on Deep Learning Results or Pose to view the recognition results.
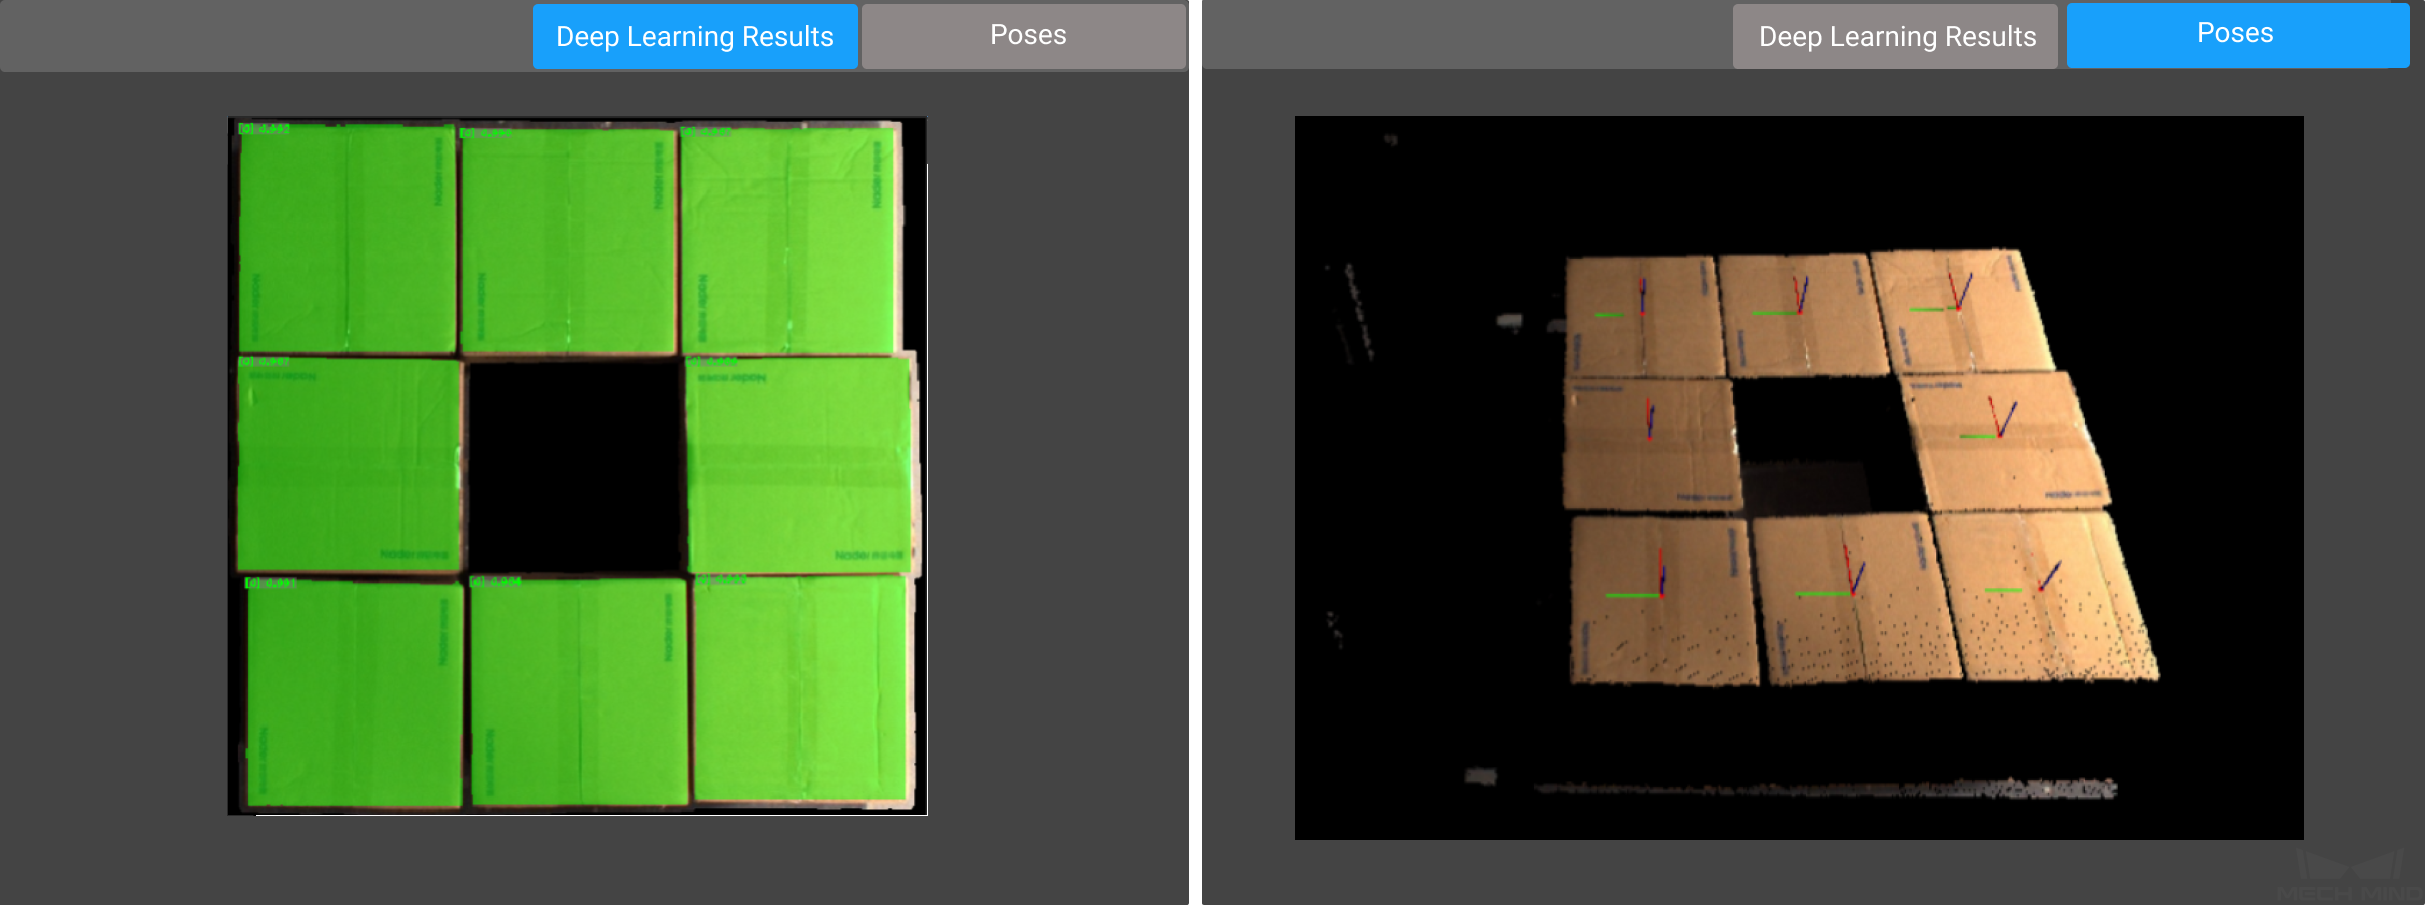
After viewing the pose results, click on Edit Pose and enter Pose Editor to sort and align the poses.
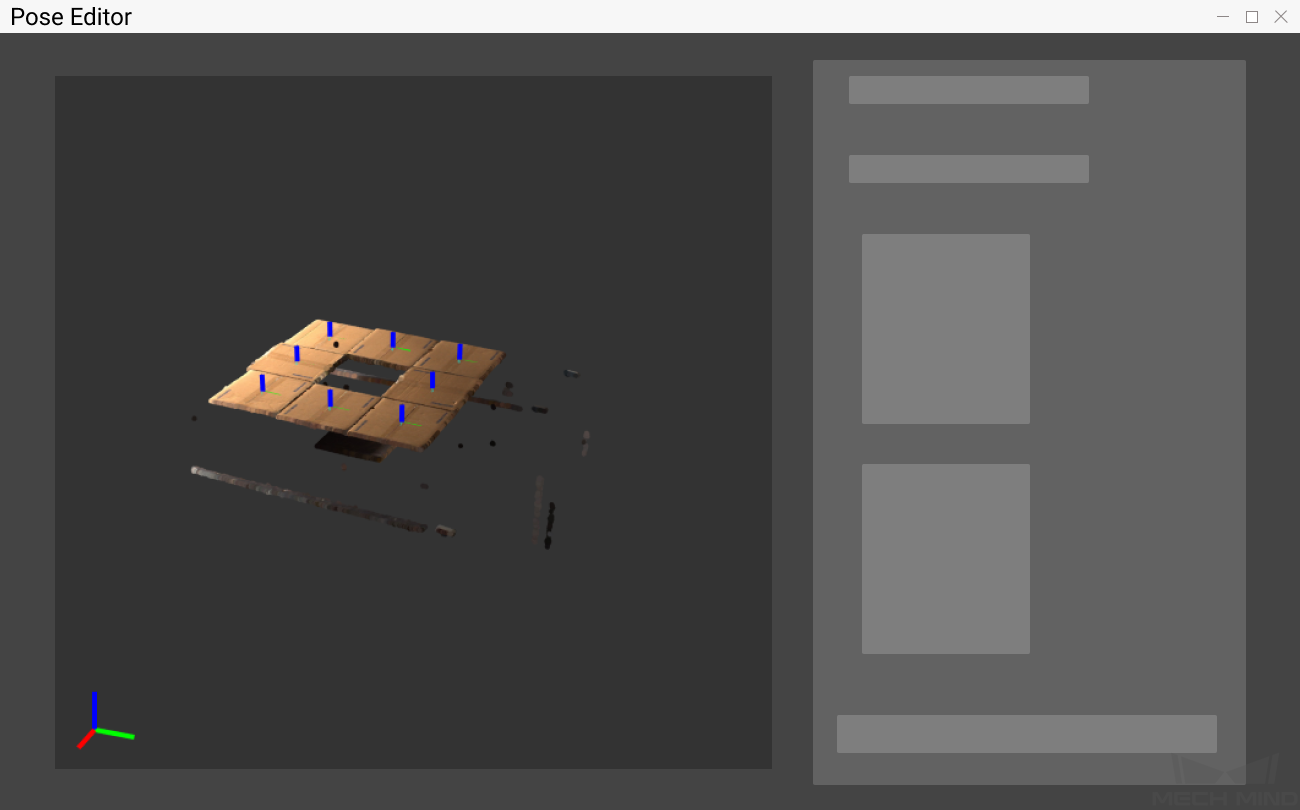
4. Finish Deployment
Please preview the result first. If there is no problem, you can finish deploying the typical application project. If you have other communication requirements, please make corresponding settings in the Mech-Center interface.
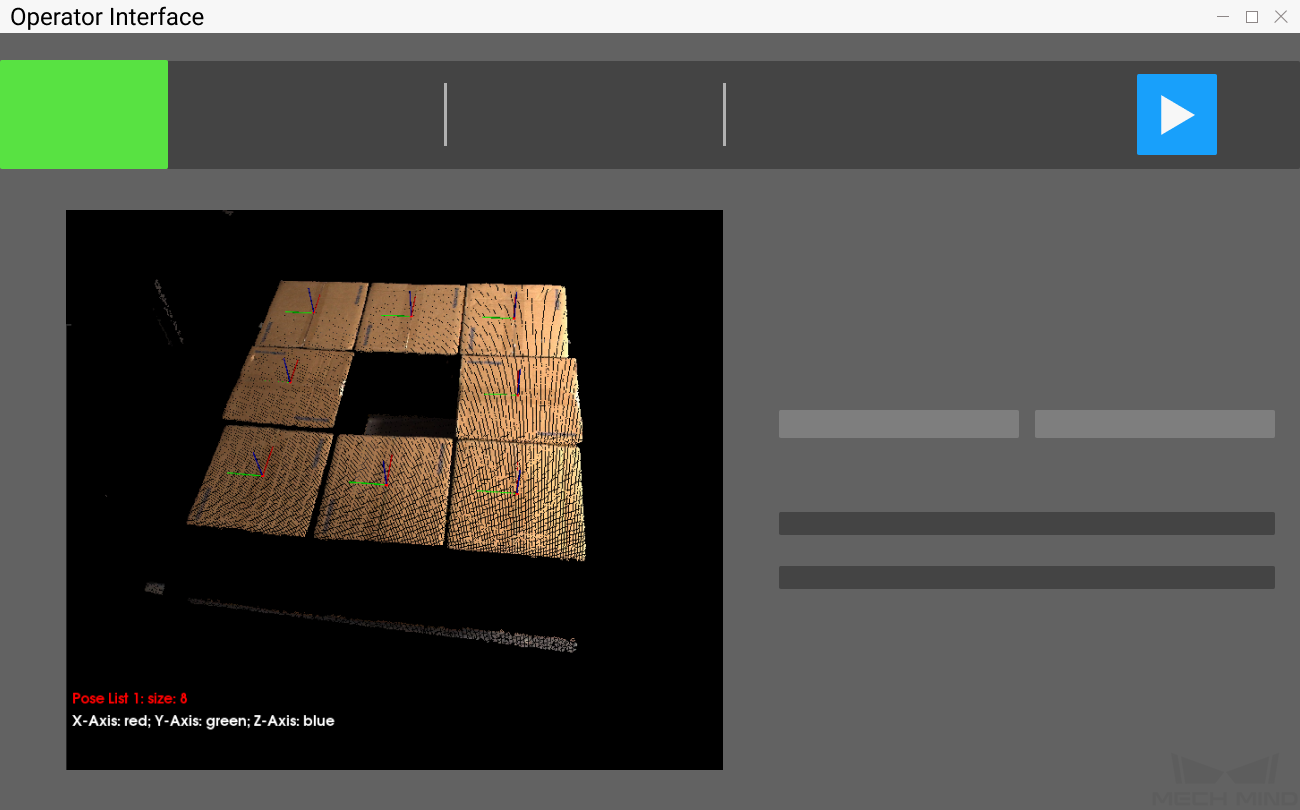
Click Finish in the deployment interface to open the operator interface.
Running and Debugging
Click on ![]() in the upper right corner of the application interface to run the project, and you can view the Top-Layer Point Cloud, Deep Learning Results, and Pose while running the project.
in the upper right corner of the application interface to run the project, and you can view the Top-Layer Point Cloud, Deep Learning Results, and Pose while running the project.
When the project running result is poor, you can refer to the following ideas to try to solve the problem.
Confirm whether the box dimensions input are correct.
The top-layer point cloud is of poor quality.
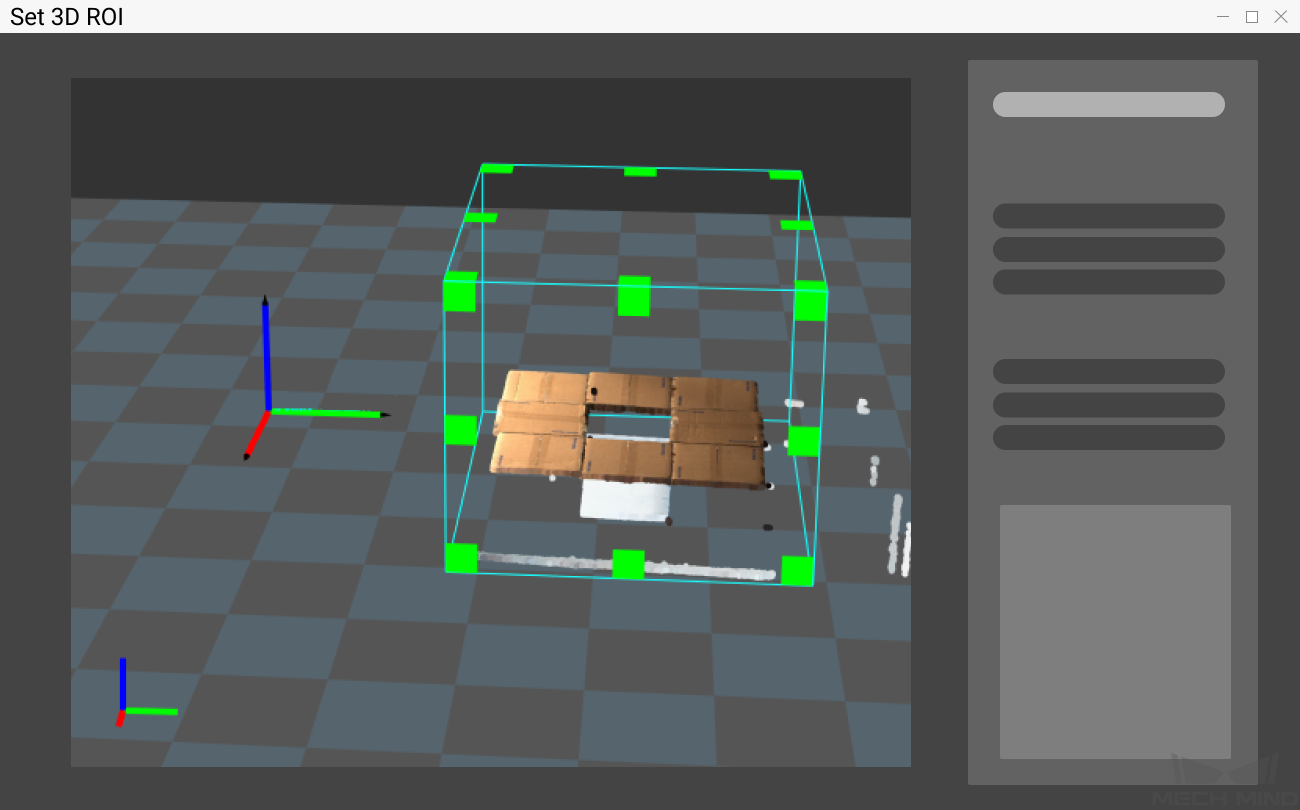
The point cloud is truncated: reselect the ROI.
The point cloud has irregular missing parts: adjust the camera parameters.
The deep learning result is poor.
Adjust the confidence threshold of deep learning.
Increasing the threshold will increase the number of results output.
Decreasing the threshold will decrease the number of results output.
Contact the support team to replace the deep learning model, or re-train the deep learning model.
The pose results are poor.
Re-edit the poses.
Note:
To change the deep learning model, please see Instance Segmentation.
You can switch to standard editing mode to view the detailed structure of the project. After reading and understanding Guide to Steps, you can try to add, delete related steps and modify the parameters of the steps in the project to meet the needs of more complex scenarios.
After successfully running and debugging the project, if you need to save the on-site data for future reference or you find that certain part of the project is not performing well and would like to optimize the Step or tune the parameters in an off-site situation, the tools Data Storage and Data Playback can be very useful.
Prerequisites for using the tool Data Playback:
A project file in which the project can run correctly without errors.
On-site source data which is gathered during the whole period while running the project, including 2D color images, depth maps, camera parameter file. Please refer to Data Storage for instructions on how to save the data.
