Create and Save Project
This section provides information on creating a new Mech-Vision project, saving the project, and the naming convention of project names.
Create New Projects
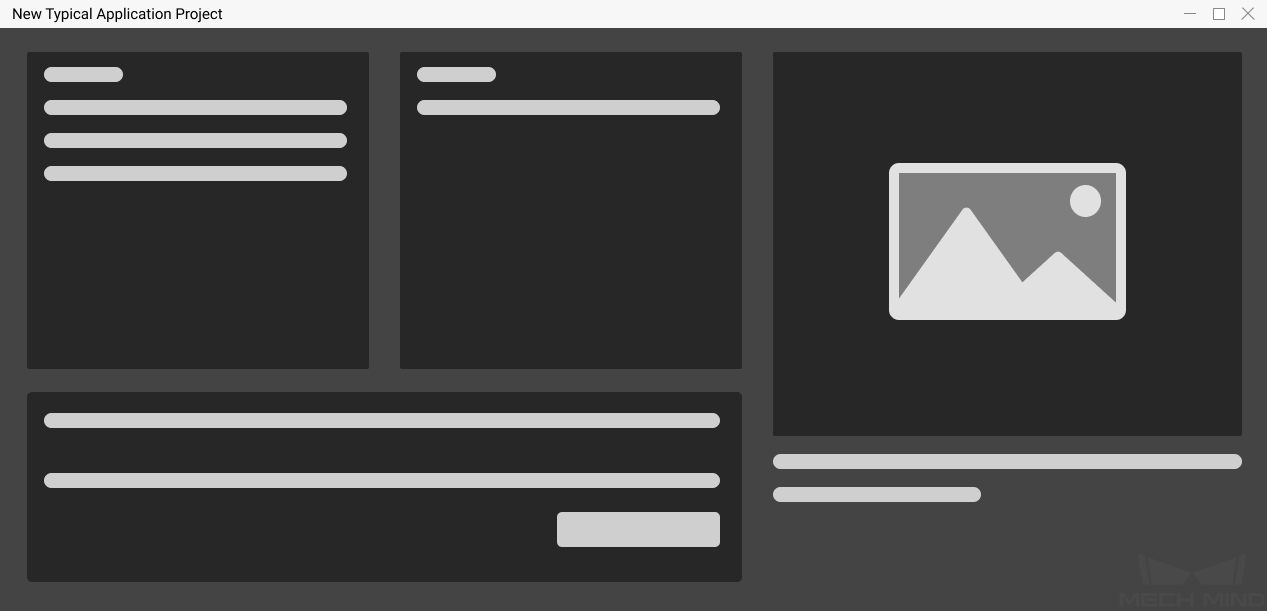
Create a new typical application project
In the menu bar, go to .

You can also click on the New Typical Application Project in the toolbar of the main interface to create a new typical application project.

Create a new project of your own
There are 3 ways to create a new project:
Click on the button in the middle of the initial interface to create a new project.
Click on on the Menu bar.
Use the shortcut Ctrl + N.
Save Projects
It is recommended to set a directory to save the project and always save the project in time.
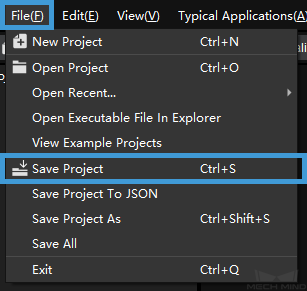
There are 3 ways to save the project:
Please go to to save the project.
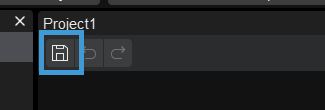
You can also click on the
 button on the left end of the project toolbar to save the project or use the shortcut Ctrl + S.
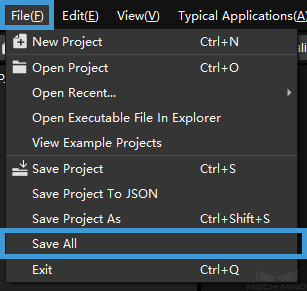
If you have created multiple projects, you can select to save all opened projects.
Attention
Before saving the project, please create an empty folder which will be specified as the save directory of the project in advance. After the project is saved, a VIS file with the same name as the folder will be generated in this folder.
Hint
If you want to register Mech-Vision project in Mech-Center and connect it with Mech-Viz, please check Autoload Project after saving the project.
Naming Convention of Project Names
The recommended naming convention of Mech-Vision projects as shown below.
Components in the name |
Description |
Vis |
In order to distinguish Mech-Vision projects from Mech-Viz projects (compulsary) |
Object Name + Application Scenario |
For exampla: CartonDepalletizing/DiscBrakeMachineTending/ElectricMotorAssembly/SpongeGluing/ParcelPicking |
No. or the position of the Camera |
Camera No.: 1#CrackDetection1#HeatTreating1# Camera Position: LeftCamera (Optional) |
Specific or special function |
Specific function: Category1WorkpieceRecognition/ReflectiveWorkpieceRecognition/BinDetection/ModelMaking Special function: PointCloudStitching/ImageStitchingFromTwoCameras (Optional) |
The table below provides some example names.
Scenario |
Example Name |
Single Robot Cell + Single Camera |
Vis-CartonDepalletizing |
Vis-DiscBrakeMachineTending |
|
Vis-ElectricMotorAssembly |
|
Vis-SpongeGluing |
|
Vis-ParcelPicking |
|
Single Robot Cell + Multiple Cameras |
Vis-WorkpieceMachineTending-LeftCamera |
Multiple Robot Cells + Multiple Cameras |
Vis-CrankshaftMachineTending-CrackDetection1#LeftCamera |
Multiple Robot Cells + Multiple Cameras + Function |
Vis-CrankshaftMachineTending-CrackDetection1#LeftCamera-PointCloudStitching |
One camera in the robot cell is used to enable multiple functions |
Vis-RzeppaJointMachineTending-5#LeftCamera-Category1WorkpieceRecognition |
Vis-RzeppaJointMachineTending-5#LeftCamera-Category2WorkpieceRecognition |
|
Vis-RzeppaJointMachineTending-5#LeftCamera-BinDetection |
|
Vis-RzeppaJointMachineTending-5#LeftCamera-ModelMaking |
|
Vis-RzeppaJointMachineTending-5#RightCamera-Category1WorkpieceRecognition |
|
Vis-RzeppaJointMachineTending-5#RightCamera-Category2WorkpieceRecognition |
Attention
Please use camel case in word combinations. For example, Vis-ConnectingRodMachineTending.