Calc Flatness Error
Function
This Step is used to calculate the flatness error of the planar point cloud.
Note
Degree of flatness is a critical indicator to maintain quality control throughout the manufacturing process. The surfaces of products are usually required to achieve a desired degree of flatness.
Flatness error describes the deviation of a measured plane surface from the theoretical plane surface which has the desired degree of flatness.
Hint
Before using this Step, please refer to Getting Started with Measurememt Mode to learn about basics of Measurement Mode.
Sample Application
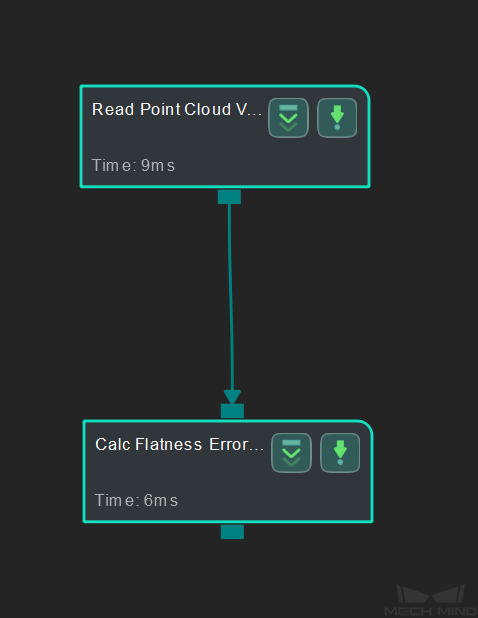
Connect Read Point Cloud V2 with Calc Flatness Error to calculate the flatness error of the planar point cloud.
Connect Steps
Click on Calc Flatness Error, go to the Step Input Source Selection panel, and then select Read Point Cloud V2_1_Point Cloud With Normals as Input 1 (Planar Point Cloud).
Configure parameters
Note
Please prepare the point cloud of the object to be measured in advance.
Configure in Read Point Cloud V2
Read the result
After running the project, click on Calc Flatness Error and check the flatness error in the Measurement Output panel.

Hint
You can set the LSL (lower specification limit) and USL (upper specification limit) in Measurement Output and Result View panels to check whether the measurement conforms to the specification.

