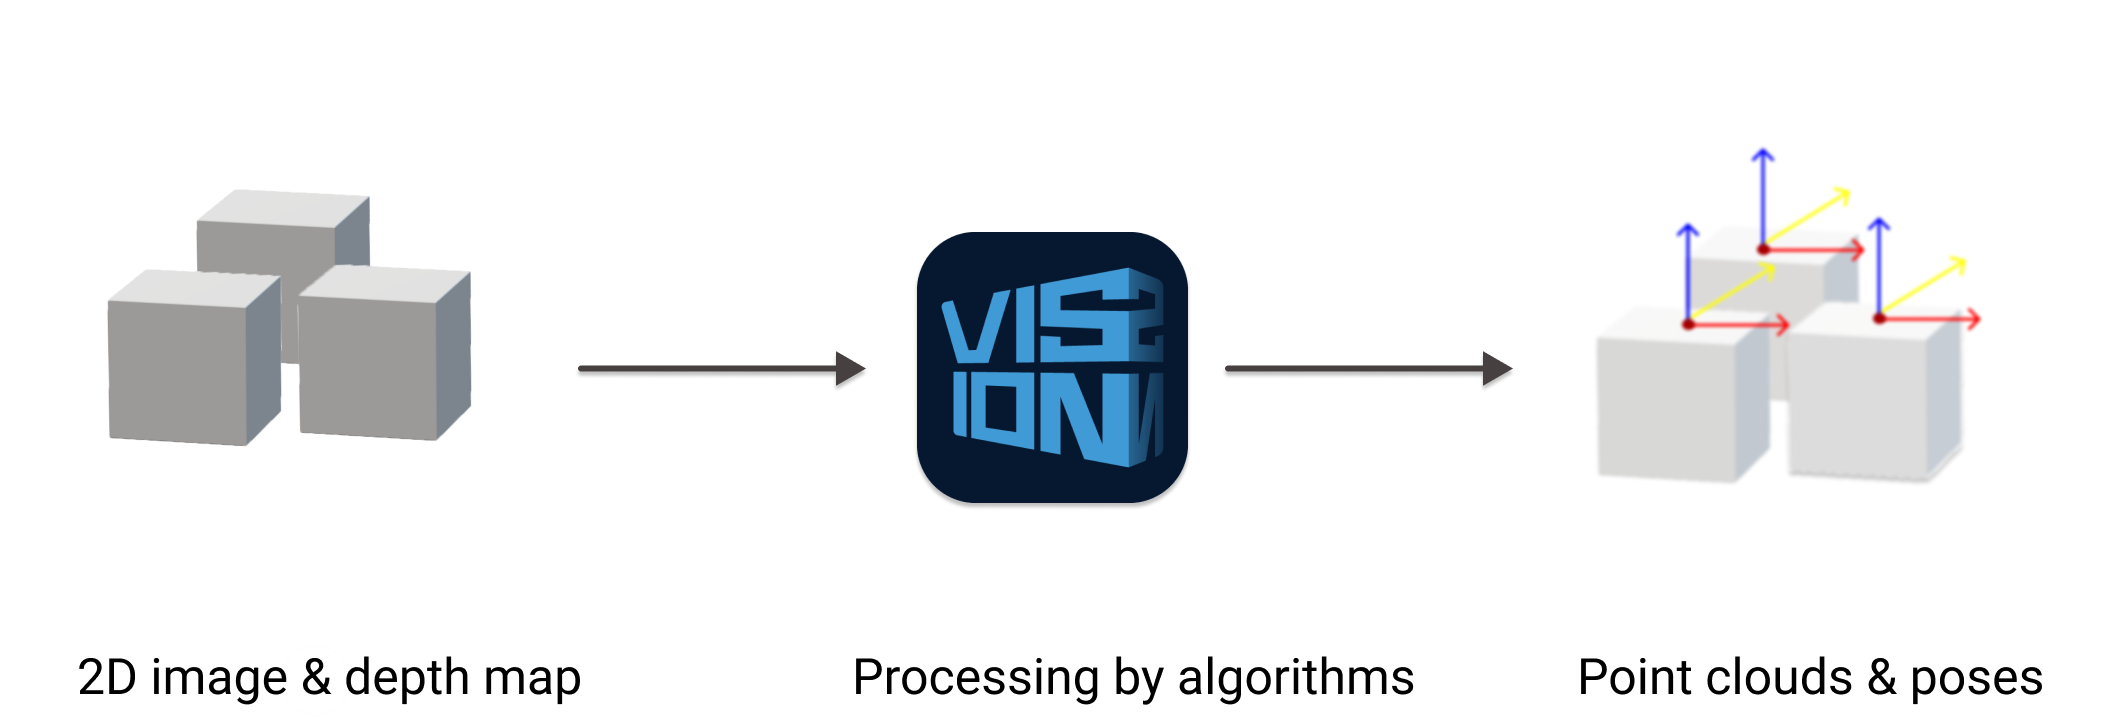
Use Mech-Vision to Obtain the Box Pose
In this section, you will learn how to use Mech-Vision to obtain the pose of a box.
Preparation
Get two boxes of the same dimensions and record the dimensions (length, width, and height).
Get a calibration board provided by Mech-Mind Robotics (please make sure the dots on the calibration board are clear and free of obvious scratches, and the calibration board does not have deformation).
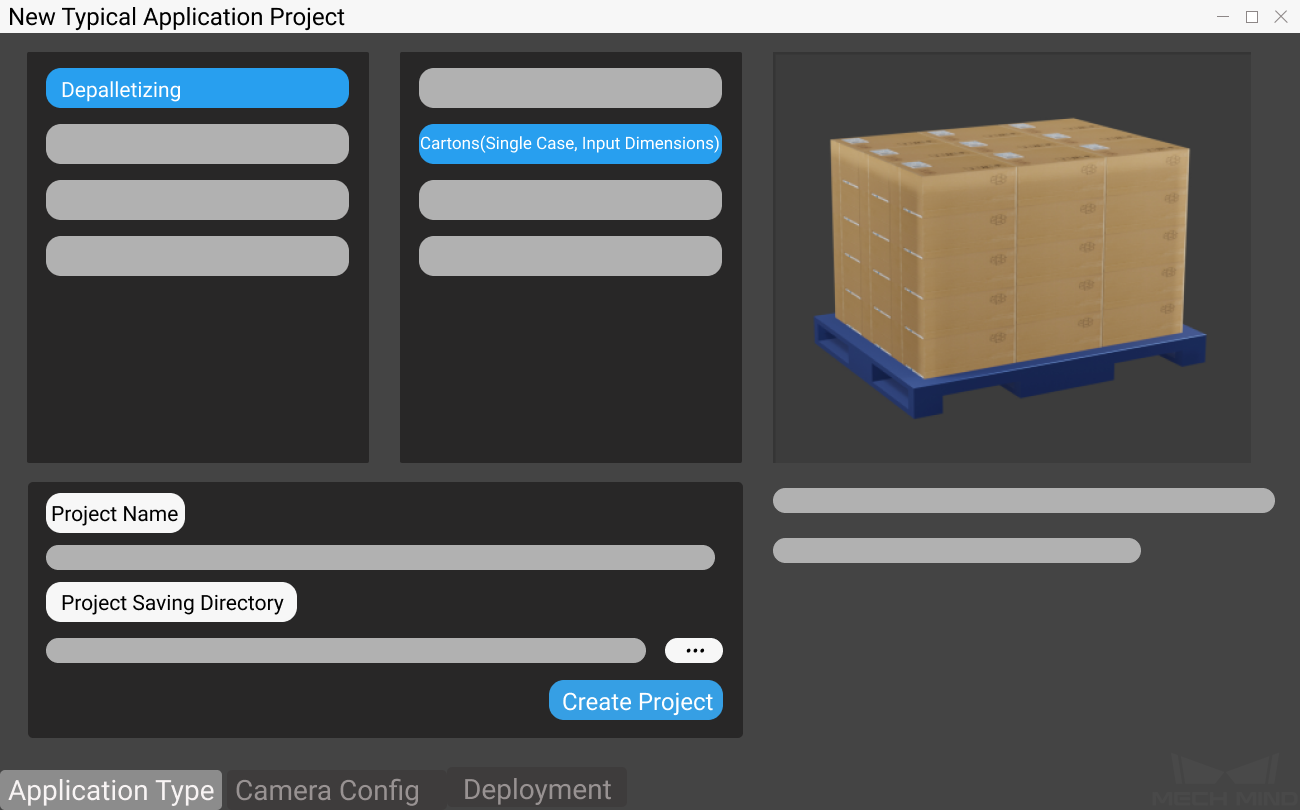
1. Create a new project via New Typical Application Project.
2. Complete camera configuration and calibration.
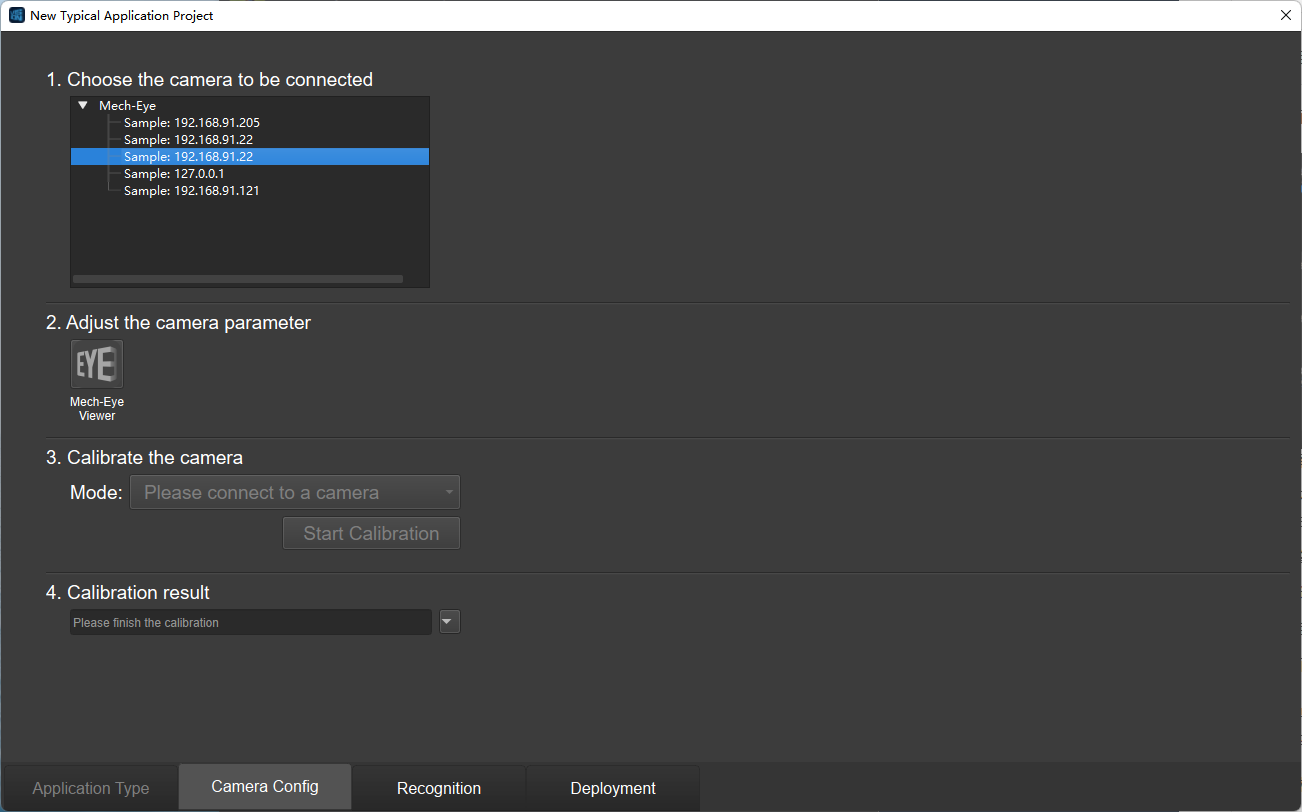
Please follow the instructions on the page to complete the following steps:
Select the camera to connect:
Double-click the camera to be connected in the camera list to create a connection with the real camera. After the connection is established, the interface of the remaining steps will be activated.
Adjust camera parameters:
Select the default parameter group built into the Mech-Eye Viewer.
Calibrate the camera:
First mount the calibration board to the end of the robot arm.
Click on Start calibration and follow the step-by-step instructions in Hand-Eye Calibration Guide to complete the calibration.
After the calibration is completed, remove the calibration plate and mount the end effector.
Calibration result:
Load the calibration results from the previous step to finish all the steps on the camera configuration page.
Click Recognition at the bottom of the interface to go to the next step.
3. Set the parameters related to object recognition.
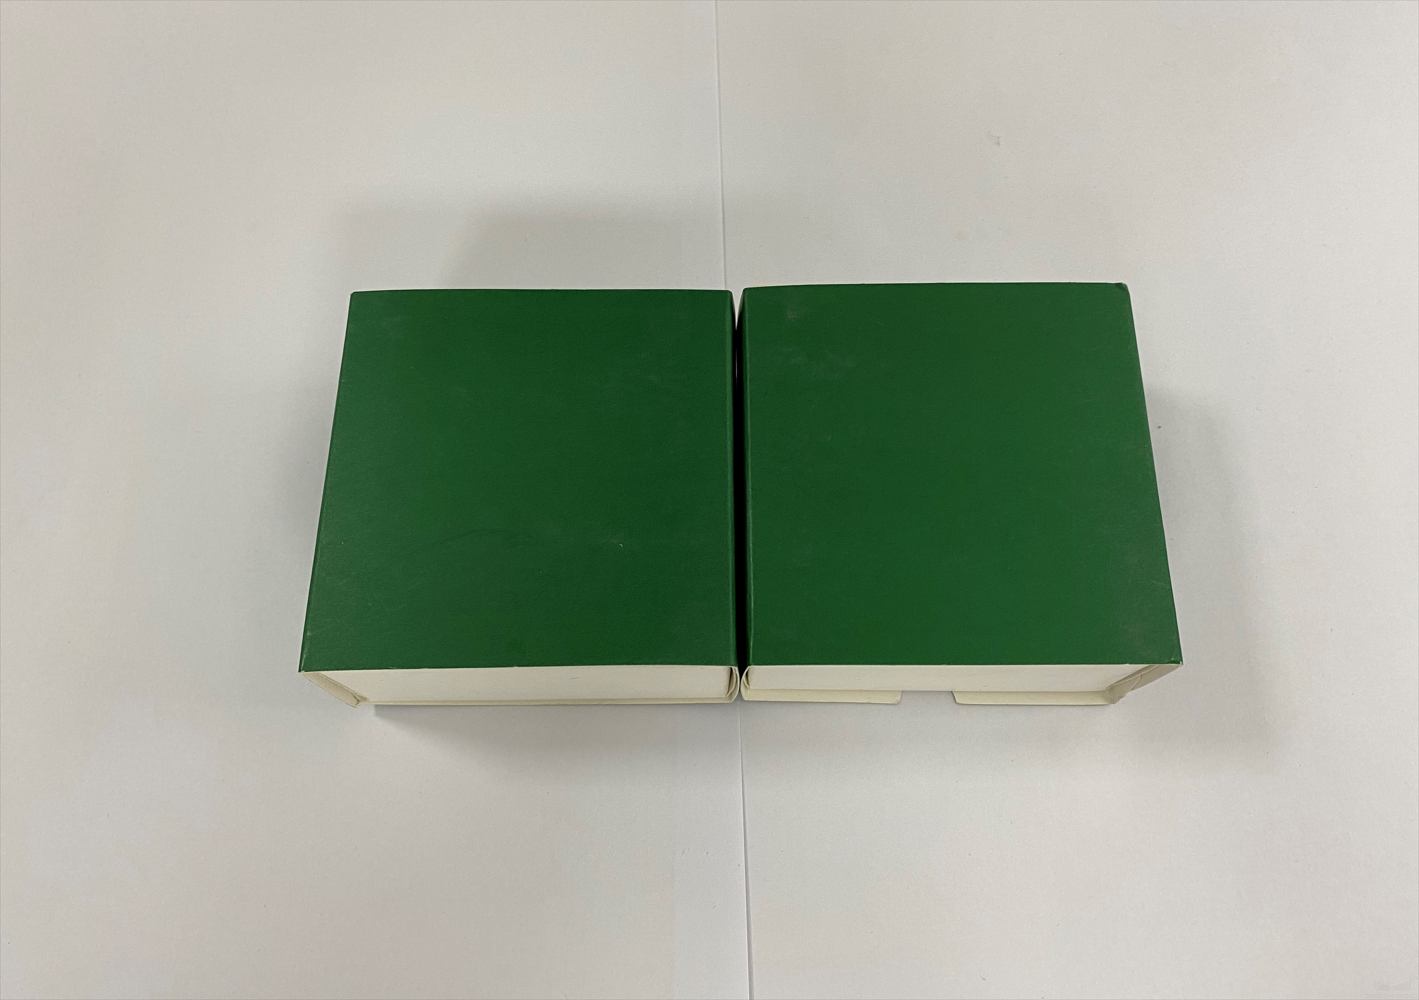
Please place the carton in the center of the camera’s field of view in a random orientation before proceeding, as shown in the figure below.
Attention
Please Make sure that only the target object to be recognized is in the camera’s field of view, which you can confirm by capturing images in Mech-Eye.
Box dimensions:
Fill in the box dimensions in the field of box dimensions on the right side of the interface. The model path and configuration file path are preset by the software, and you do not need to change them.
3D ROI:
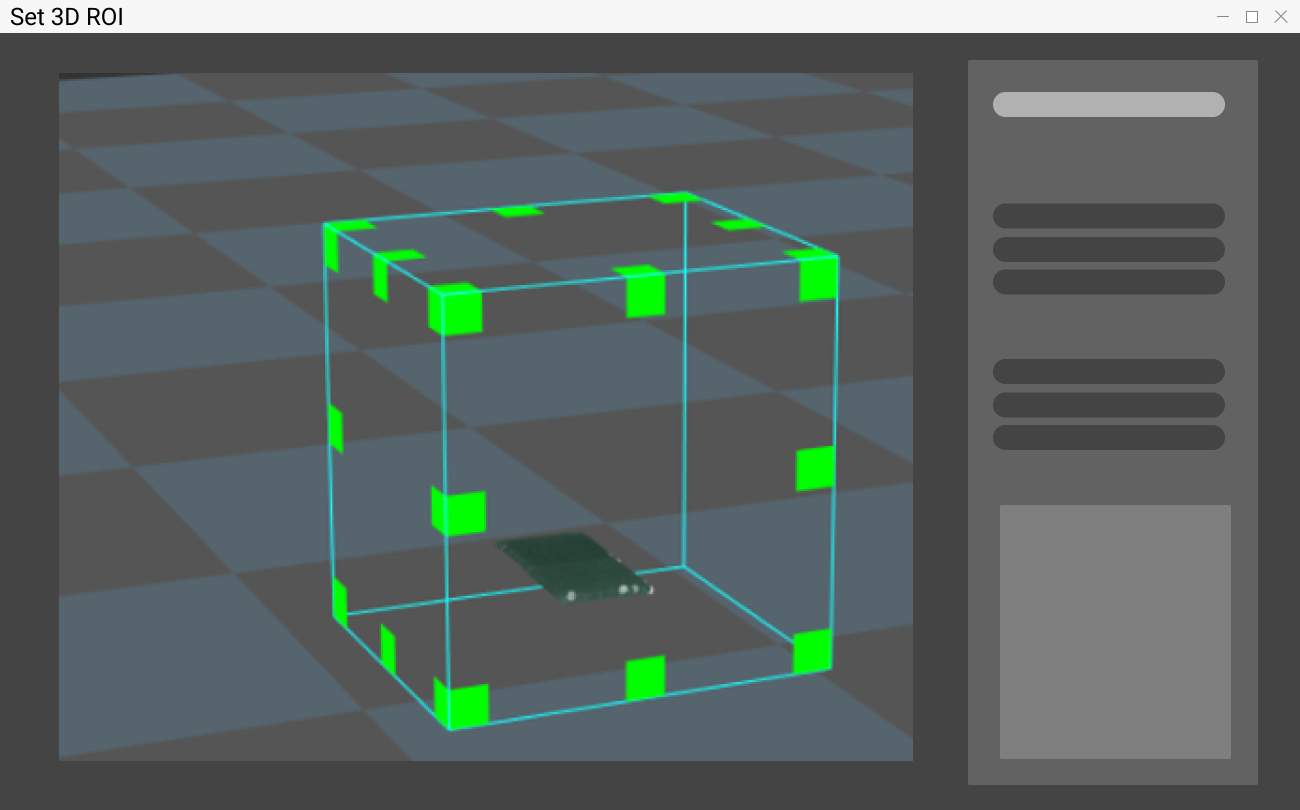
Click on 3D ROI in the upper left corner of the window to open the window of setting the ROI (region of interest) and complete the ROI settings. Press Ctrl and left-click on the little green squares on the edge of the cube that represents the ROI to adjust the ROI.
Attention
The cube representing the ROI should contain all the objects to recognize. The cube walls should not go through the object point clouds.
Deep learning results & poses:
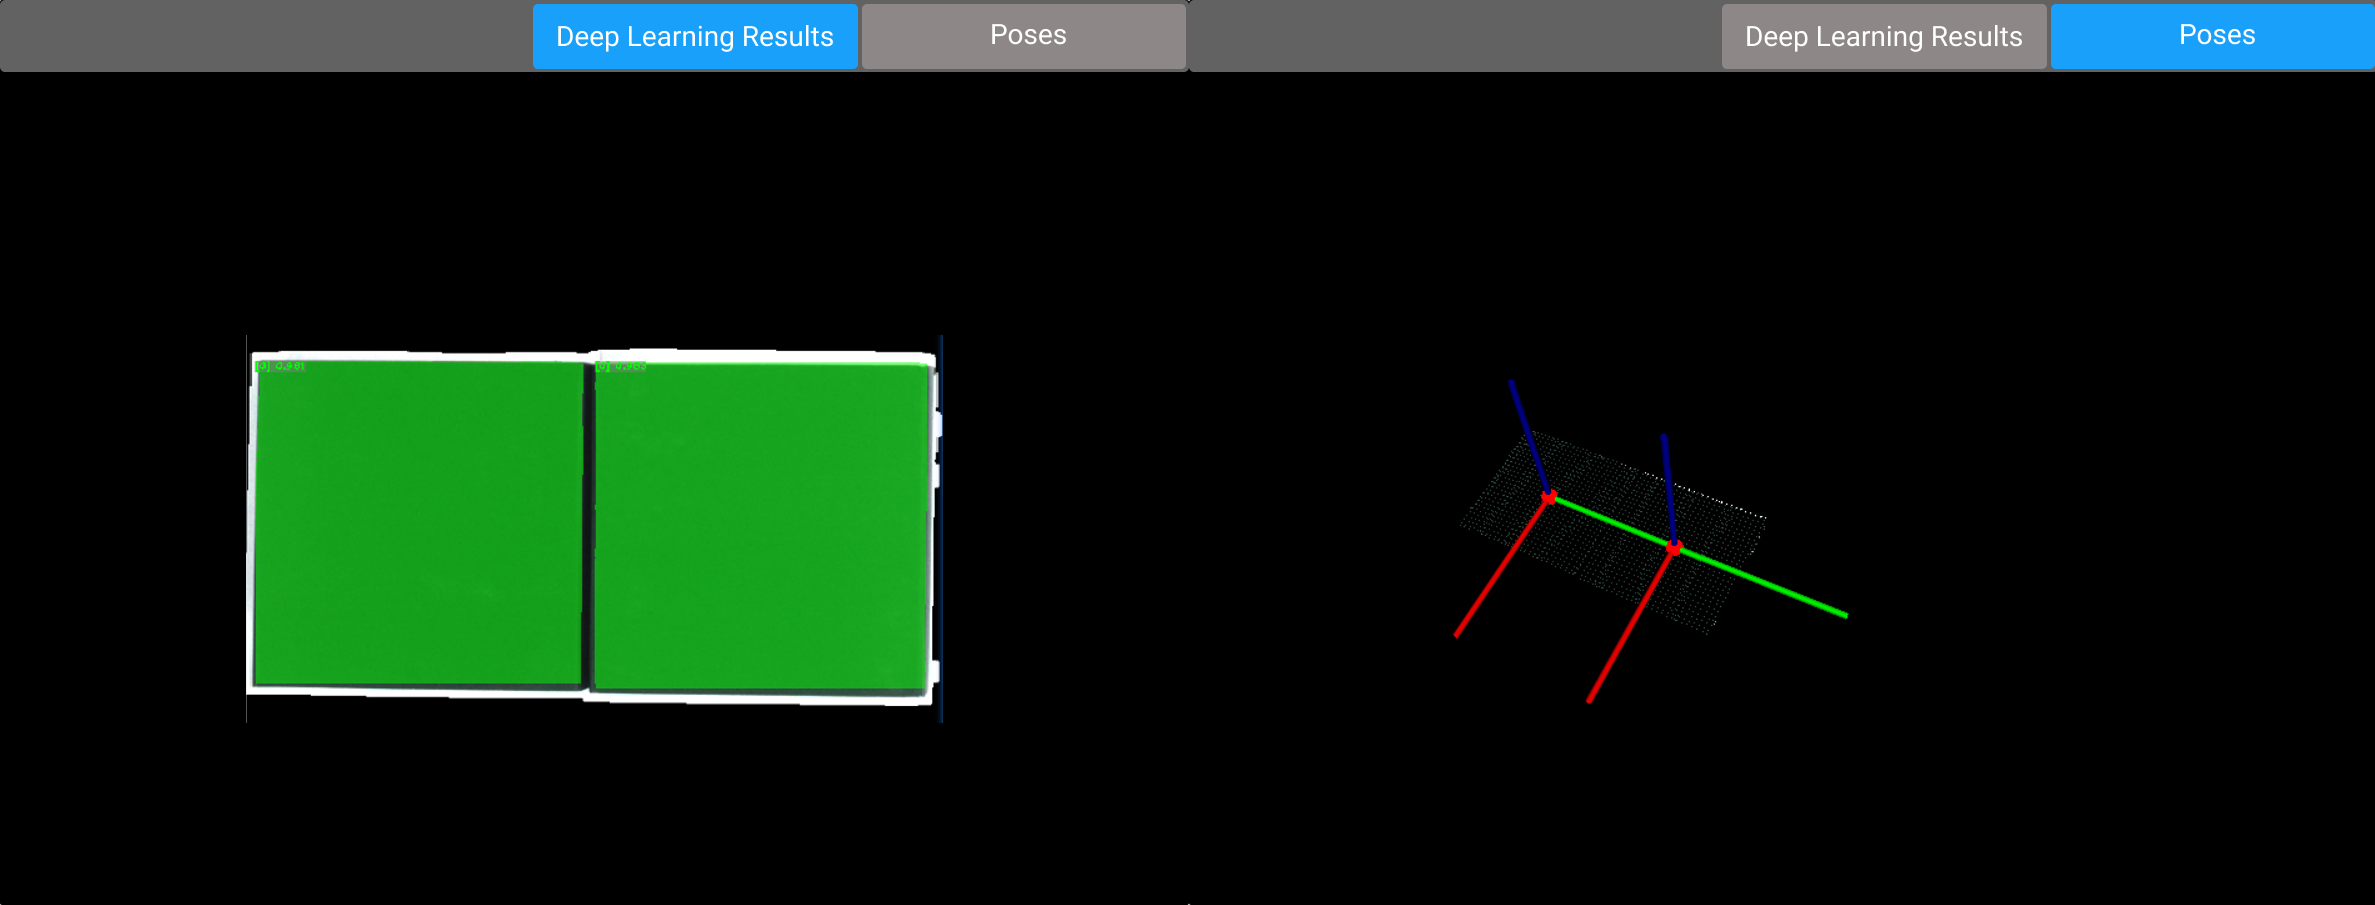
After you click on Generate pose, the project starts running and outputs the deep learning results and object poses, as shown below.
If there are X, Y, and Z coordinates marked on a box, the box has its pose output from the project.
When going through this step, if the two boxes are not segmented in the deep learning results or no pose is output, please try the following measures to solve the issue.
Confirm whether the box dimensions filled in are the same as the actual dimensions.
Re-set the 3D ROI.
Adjust the parameters of the camera.
Click on Deploy at the bottom of the interface to proceed to the next step.
4. Complete the deployment and view the final running result.
At this point, you have completed all the settings of the project. Please click on Finish to finish deploying the project and enter the custom editing mode.
You have done everything needed in Mech-Vision, please proceed to the next section.
