Parameter Adjustment for Depth Map
3D Scanning
Scan Multiplier
Scan multiplier sets the number of exposure times.
Multiple exposures are for superimposing images of different exposure effects and thus obtaining the optimal image.
Exposure Time
Exposure time sets the duration of each exposure. If you set the scam multiplier to be greater than 1, please set the exposure times individually.
If the image is too dark, please increase the exposure time.
If the image is too bright, please decrease the exposure time.
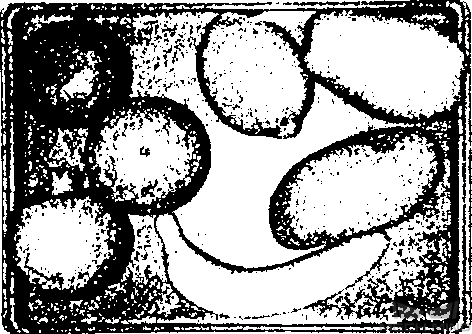
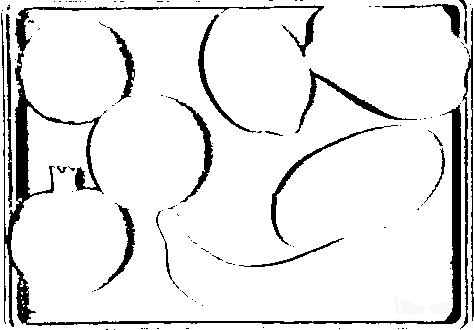
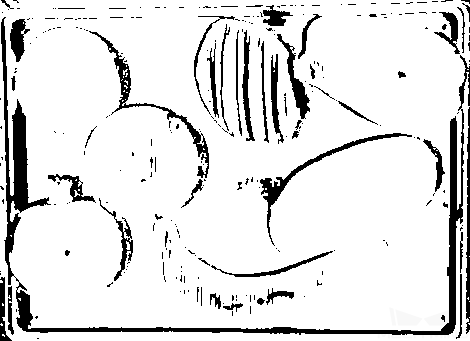
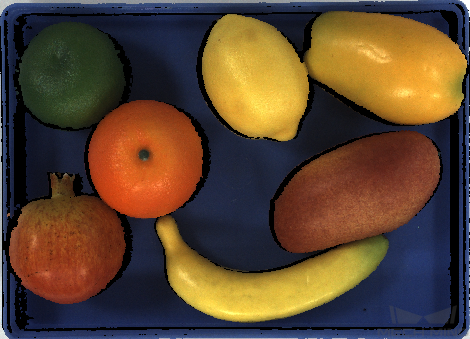
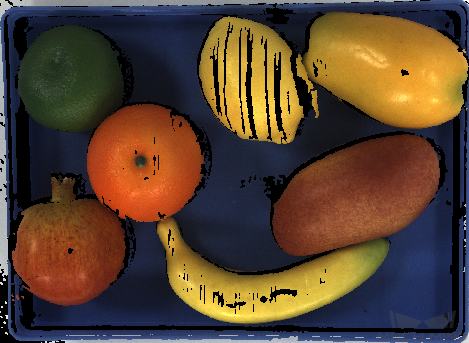
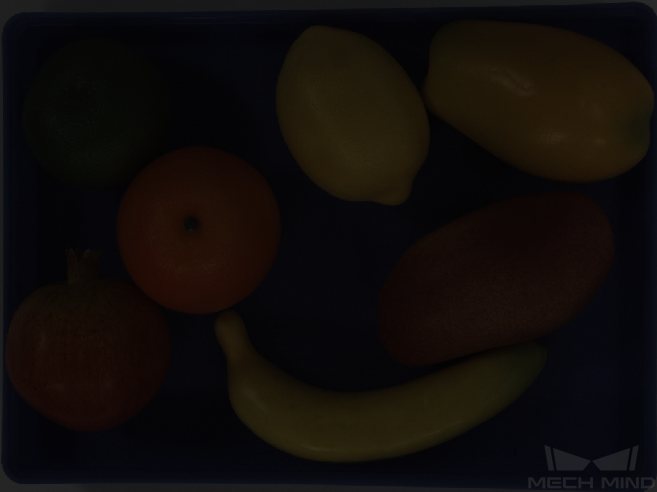
Images obtained with different exposure time settings:
0.25 ms
1 ms
9 ms
Please see Exposure Assistant to obtain the optimal exposure parameter settings.
Gain
You can increase the gain to brighten the image.
When increasing the exposure time can lead to an ideal degree of brightness, it is recommended to increase the gain. However, Increasing the gain may introduce image noise.
Default: 0 dBRange: 0 to 16 dB
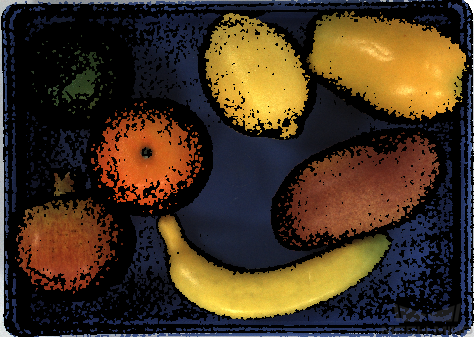
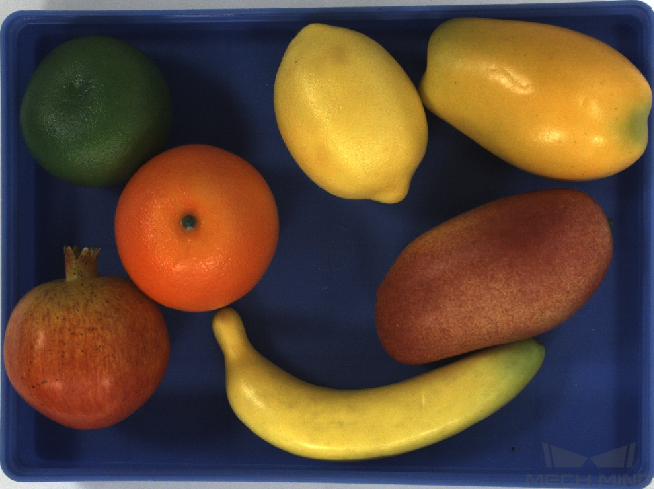
Images obtained with different gain values:
0 dB
16 dB
Hint
If the exposure time is too long, the time cost for image capturing will be higher, so it is recommended to increase the exposure time and the gain together to increase the brightness so that the exposure time will not be too long.
Laser
Hint
Laser parameters are only for laser cameras.
Coding Quality:
Fast: Fast caputuring. Low image quality.
High: Slow capturing. High image quality.
Laser Gray Power:
This parameter sets the projection intensity of the laser. The larger the value, the stronger the intensity; the smaller the value, the weaker the intensity.
The default value of 100% works for most regular cases.
For objects with special surface conditions, it is recommended to apply high intensity on dark objects and low intensity on reflective objects.
Default: 100%Range: 0 to 100%
Experimental Settings
Hint
Experimental settings are only for DLP cameras.
Projector
Projector Light Brightness:
High: High brightness. For dark objects.
Normal: Normal brightness. For objects of regular surfaces.
Low: Low brightness. For reflective objects.
Depth Range
This parameter sets the region of interest on the vertical direction.
Range: 1 to 9,999 mm
Please set the depth range based on dimensions and the positions of the objects to ensure there are no missing parts.
The range should not be too large, otherwise, it may introduce interference; nor should it be too small, otherwise key parts may be missing.
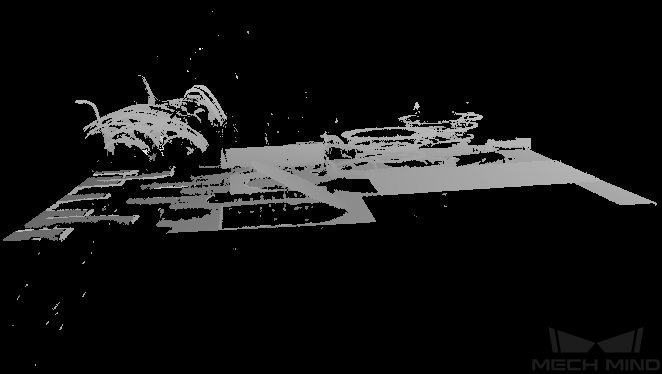
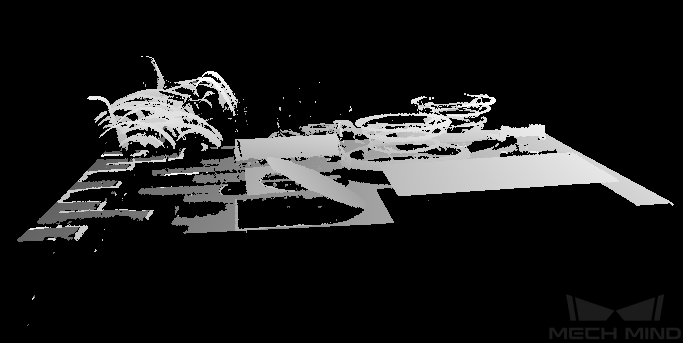
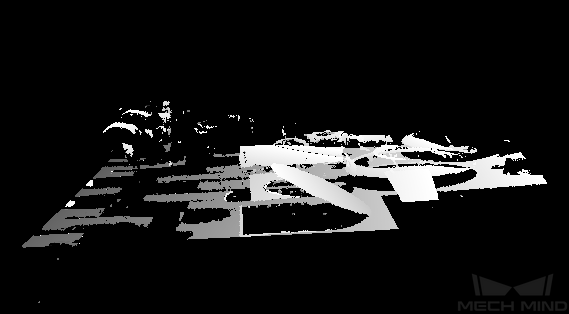
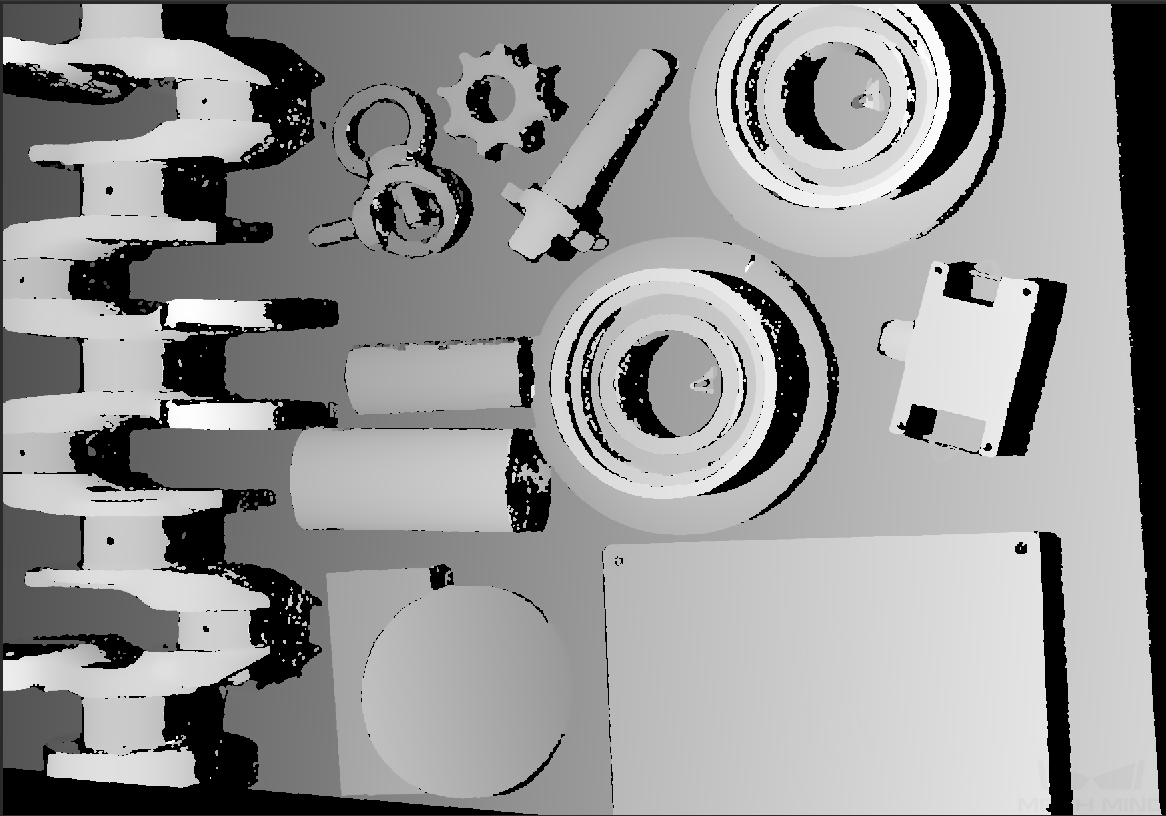
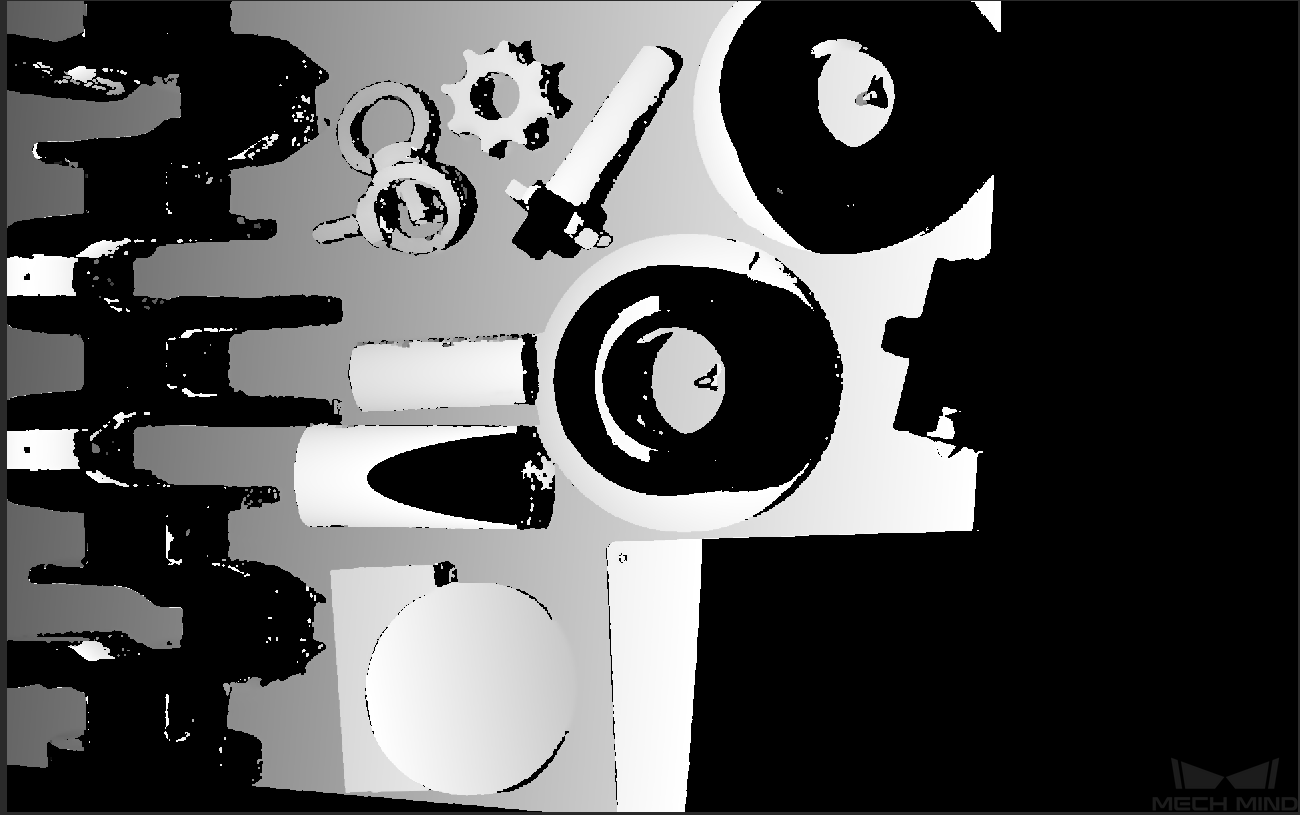
Below are the examples of different depth ranges:
Too large
Moderate
Too small
You can use Depth Analyzer to check the depth map quality.