Other Settings
IP Settings of Camera and IPC
Attention
The camera must be in the same network segment as the IPC before the two can be used together. To facilitate future use, please store the IP address after it is set.
To make sure the IP address is correct, please consult your network administrator before setting a fixed IP.
Set camera IP
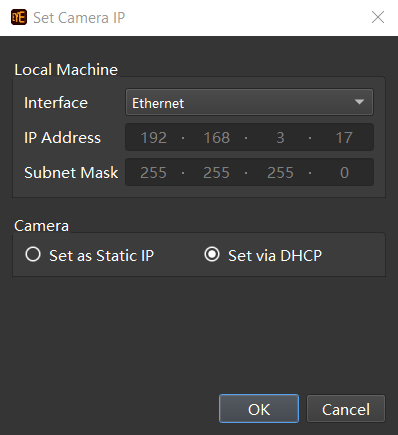
Open the software and enter the device finder interface. Click on Set Camera IP to enter the IP setting interface, as shown in the figure below.
Static IP
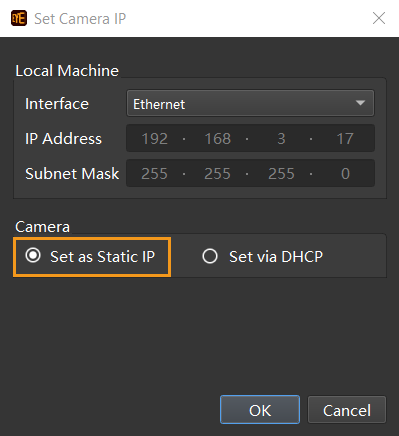
Check Set as Static IP and manually set the IP address class, IP address, and subnet mask.
Dynamic IP
Check Set via DHCP and click on OK. The IP address will be set via the Dynamic Host Configuration Protocol (DHCP).

Set IPC IP
Go to .
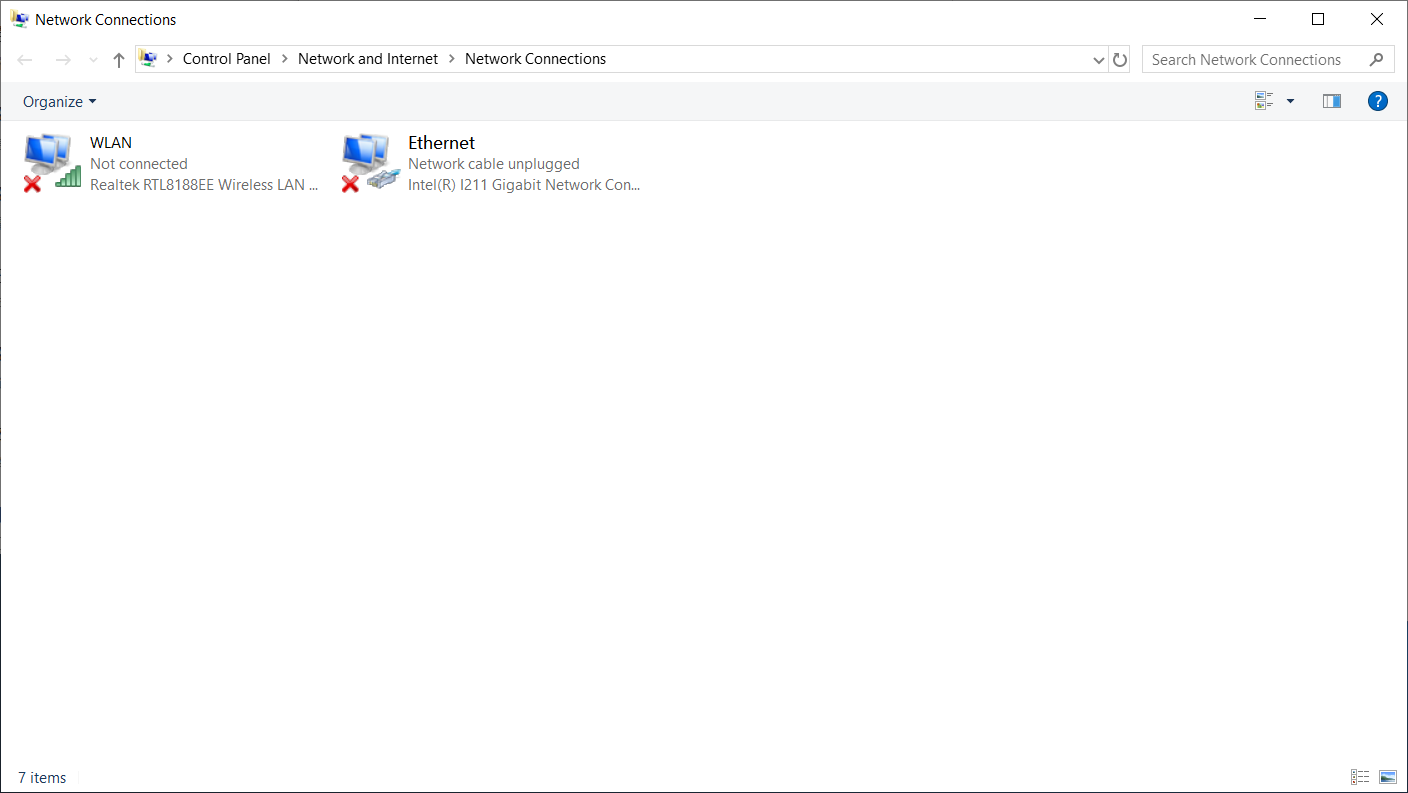
Right-click on the camera, and open Property.
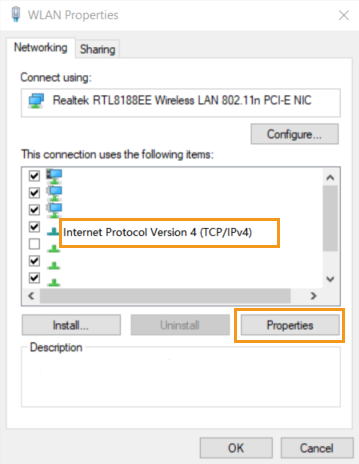
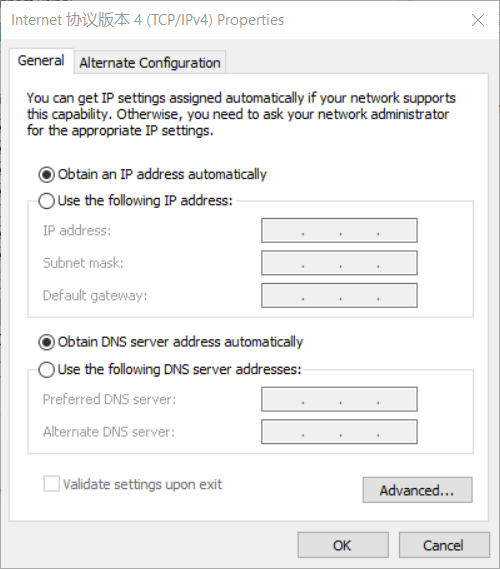
Right-click on Internet protocol version 4 (TCP/IPv4), open Property, and then set the IPC IP.
Log Operation
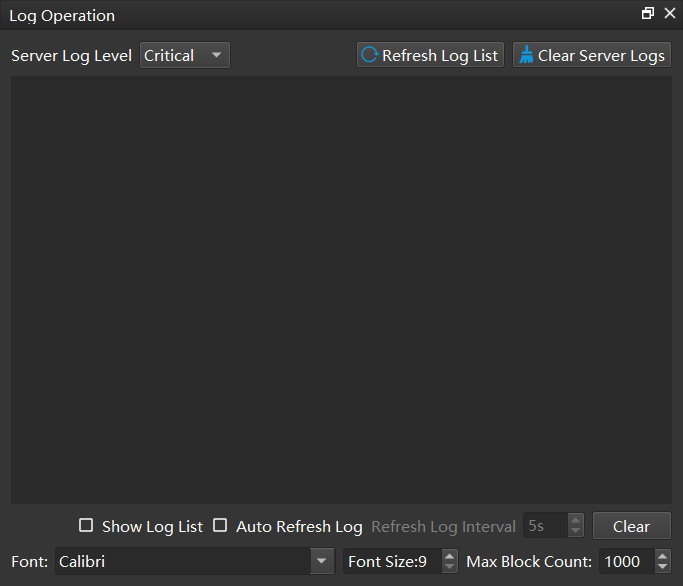
You can open the Log Operation at to view, clear, or export the log.
The interface of log operation is as follows:
User
The default option is Standard and is suitable for most uses.
It is not recommended to select other options.
If you need to switch to other options, please contact the support team.
Language
You can change the software language at .
Available languages include Chinese, English, Japanese, Korean.
Please restart the software to apply the language settings.