Quick Start Guide
Package Contents
Camera
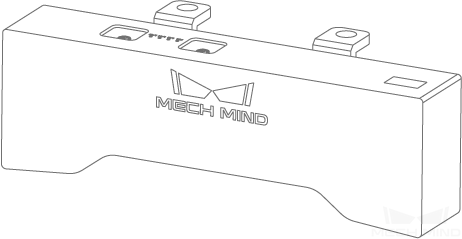
User Manual

Hint
When the camera leaves the factory, one or more L shaped brackets have been attached to the back of the camera with 8 screws.
Before using, please make sure that the package and the camera are intact, and there is no missing accessories.
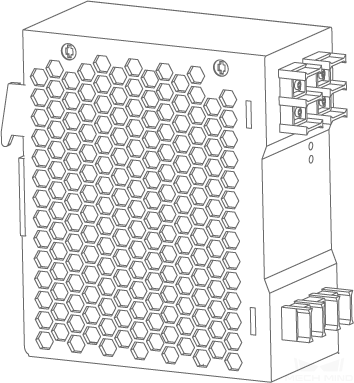
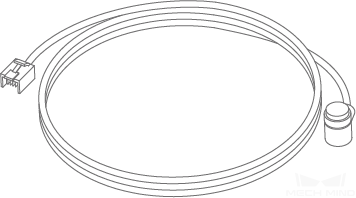
Cables and Accessories
DIN rail power supply |
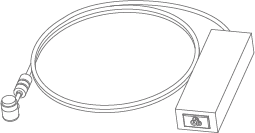
Adapter |
|
|
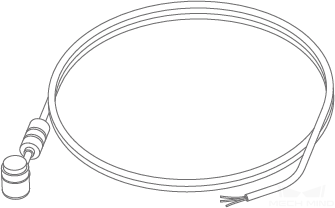
Power Cable |
Ethernet Cable |
|
|
Hint
All the above cables and accessories are optional; please select the type and length based on your actual needs. For detailed instructions on using, please see Connect Camera and Industrial PC.
Mounting the Camera
- Mounting by threaded holes
Use a wrench to pre-tighten the screws in a specified sequence, and then tighten all the screws, as shown in Figure 1 .
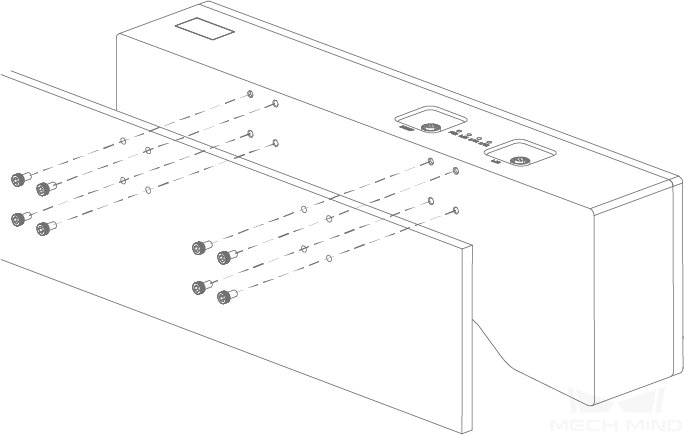
Figure 1 Mounting by threaded holes
- Mounting with L shaped bracket(s)
Use a wrench to tighten the two screws, as show in Figure 2.
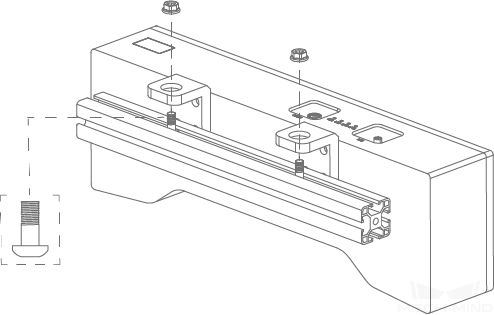
Figure 2 Mount with a L shaped bracket
Hint
The L shaped bracket(s) has(have) been attached to the back of the camera after manufacturing.
Connect the Camera
Use the Network Cable to connect the Industrial PC and the LAN port of the camera.
Use the Power Adapter to connect the power supply and DC 24V connector, as shown below.
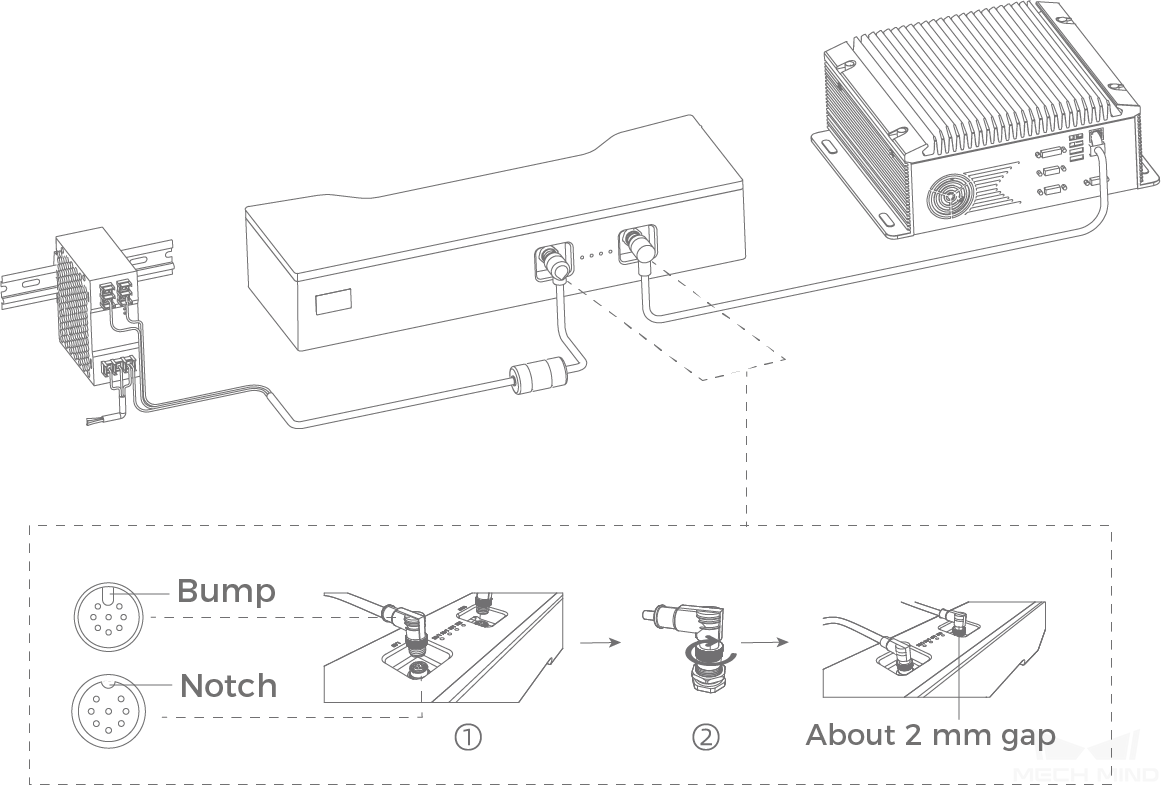
When inserting the ethernet cable and power cable:
① Make sure the bump on the connector is aligned with the notch of the port.② Tighten the nut after inserting the cable.
Attention
If multiple cameras or IPCs need to be connected, a network switch can be used.
The PWR indicator light should turn on after the cables are connected. If the light is not on, please contact technical support.
The recommended tightening torque for the bolts is 16 N·m.
The DIN rail or the DIN rail power supply should be reliably grounded. If using multiple DIN rail power supplies, ensure enough distance in between when mounting.
DIN Rail Power Supply
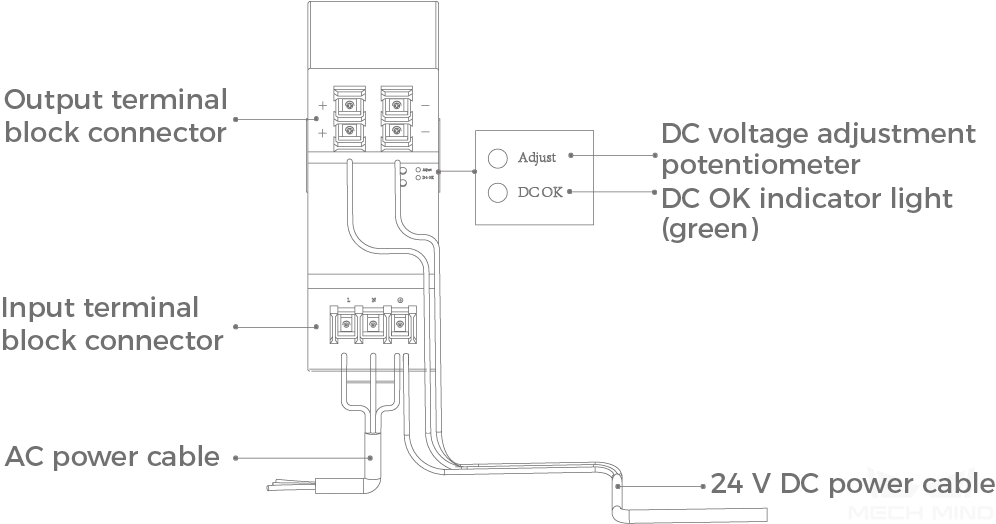
When wiring the DIN rail power supply, wires of the power cable must be inserted to the corresponding input/output terminal block connectors, as shown above.
The AC power cable has three wires: L, N, and PE ().
The 24 V DC power cable has three wires: V+, V- and PE (
Hint
Please attach the plastic cover once you finish wiring to ensure the wires are isolated from each other.
Mech-Eye Viewer Quick Start Guide
After connecting the camera to Mech-Eye Viewer, you can capture images, adjust parameters according to the characteristics of the target object, and obtain 2D images, depth maps, and point clouds of high quality. Please refer to Mech-Eye Viewer Quick Start Guide for detailed information.